
Basic Element: Image
Image Source
"Image Source" supports three configuration methods:
-
Upload Image
Currently only supports uploading JPG, JPEG, and PNG files not exceeding 2 MB.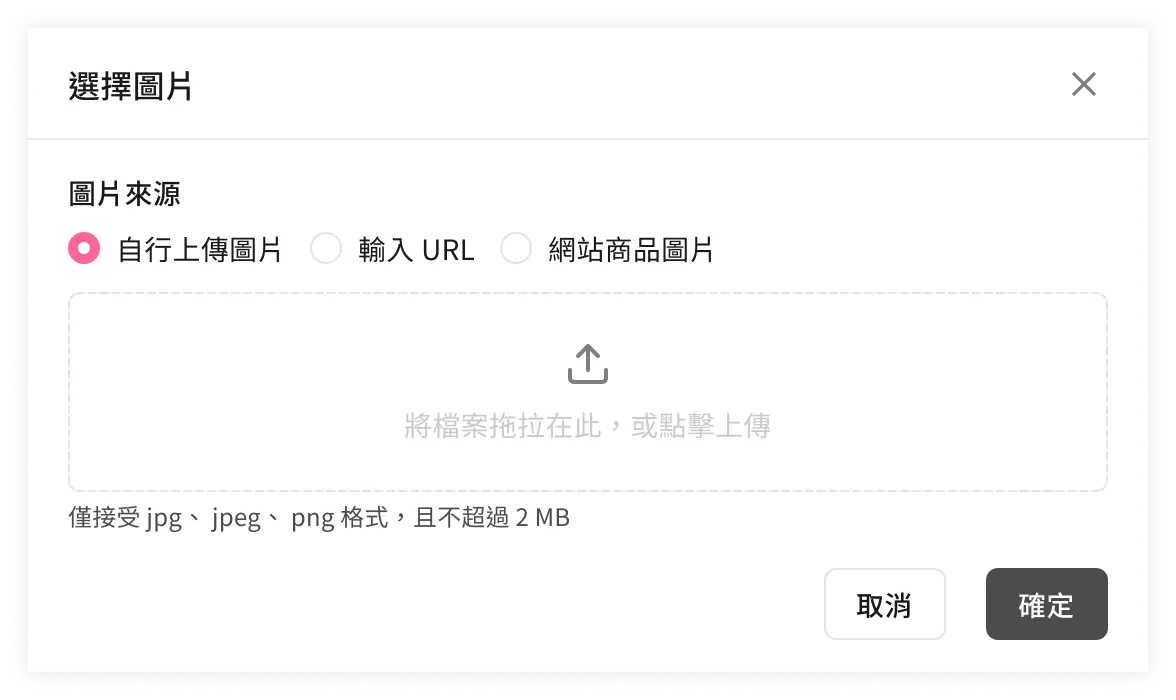
-
Enter URL
No limit on image file format or size.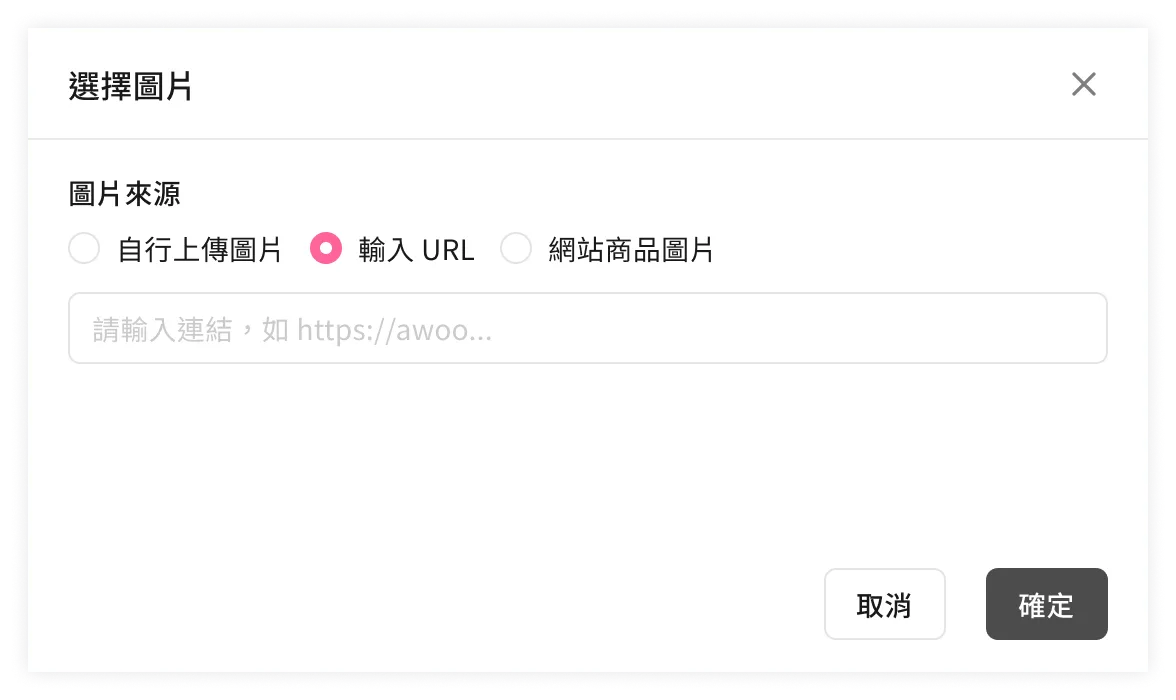
-
Website Product Image
Select product images directly from the site's Product Feed.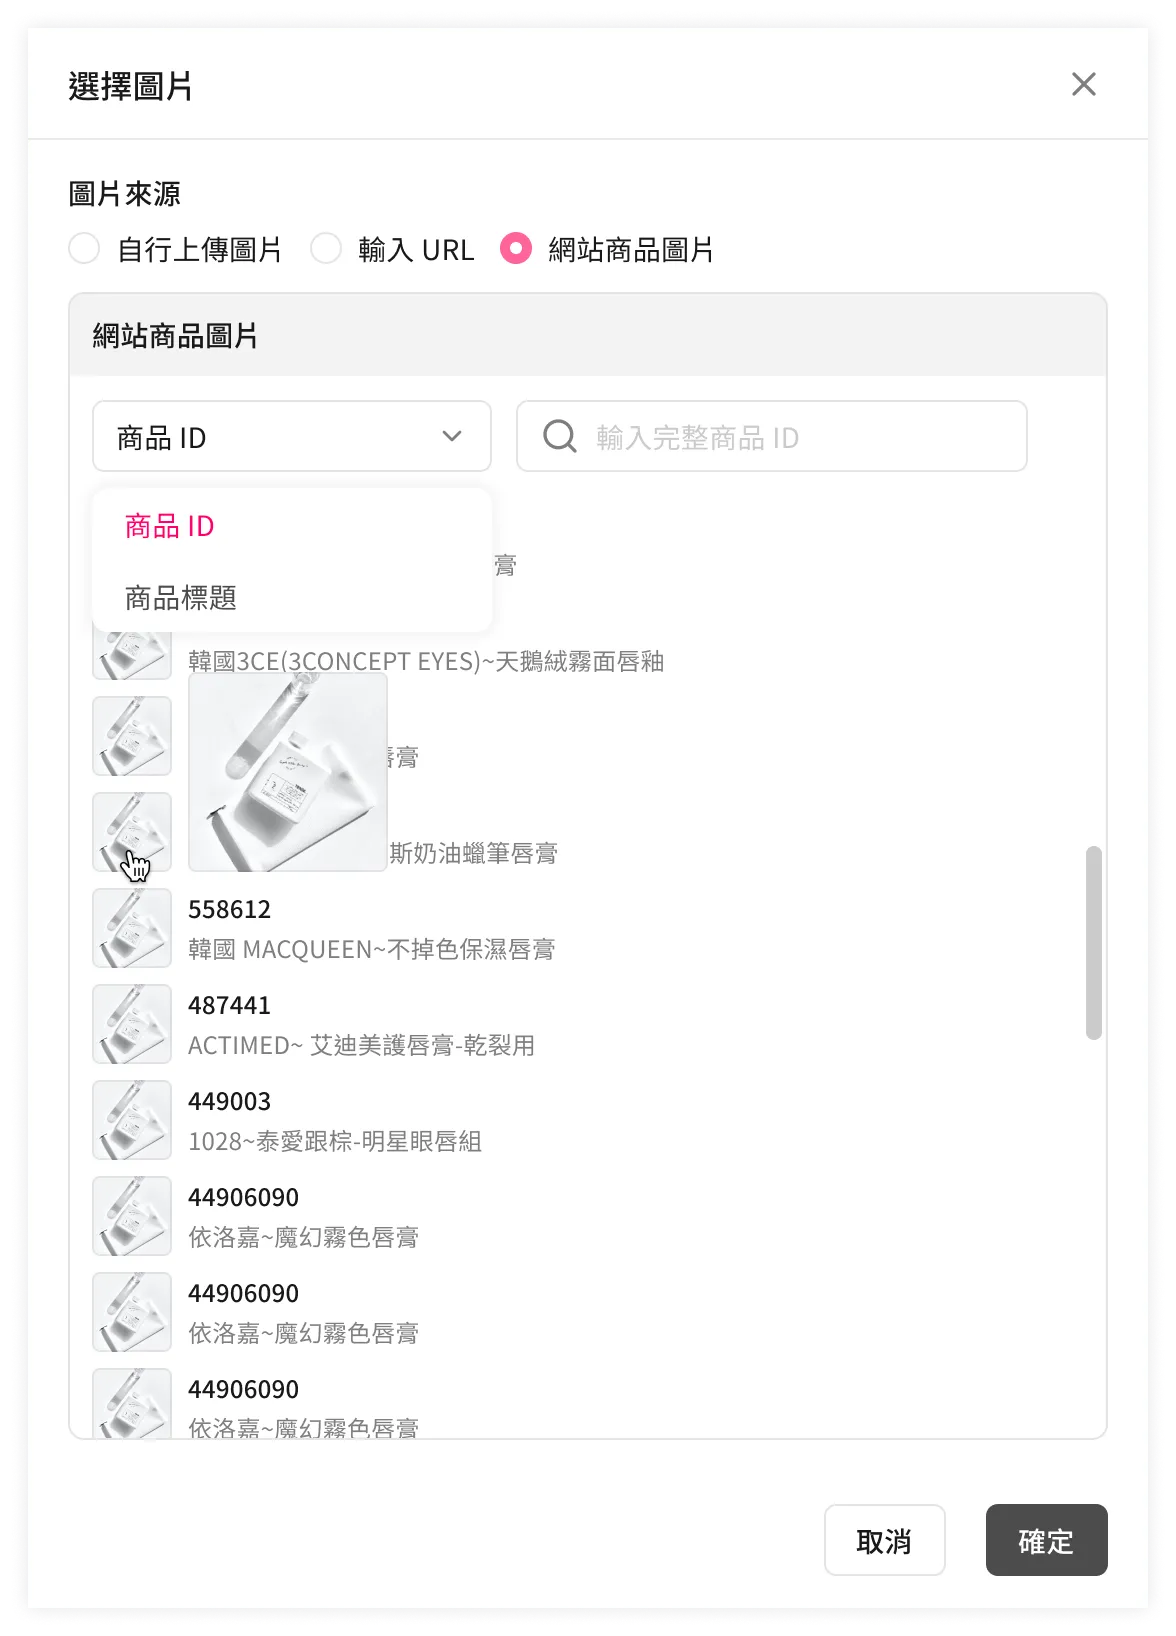
Image Size
▌ Set Image Width
-
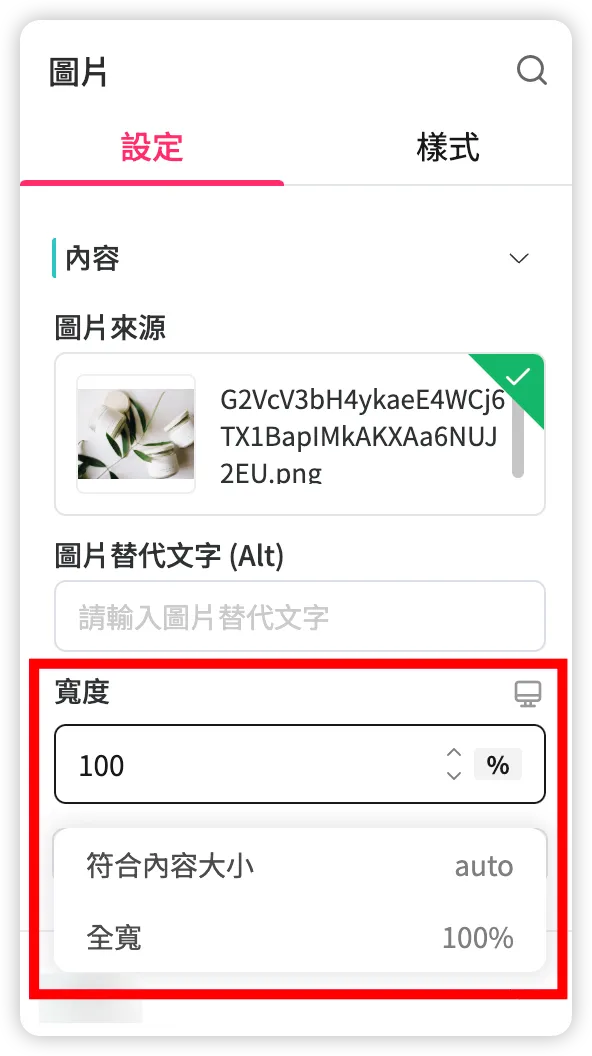
After adding an image component, the default is "Full Width," which displays the image at 100% width based on the parent Column it belongs to.
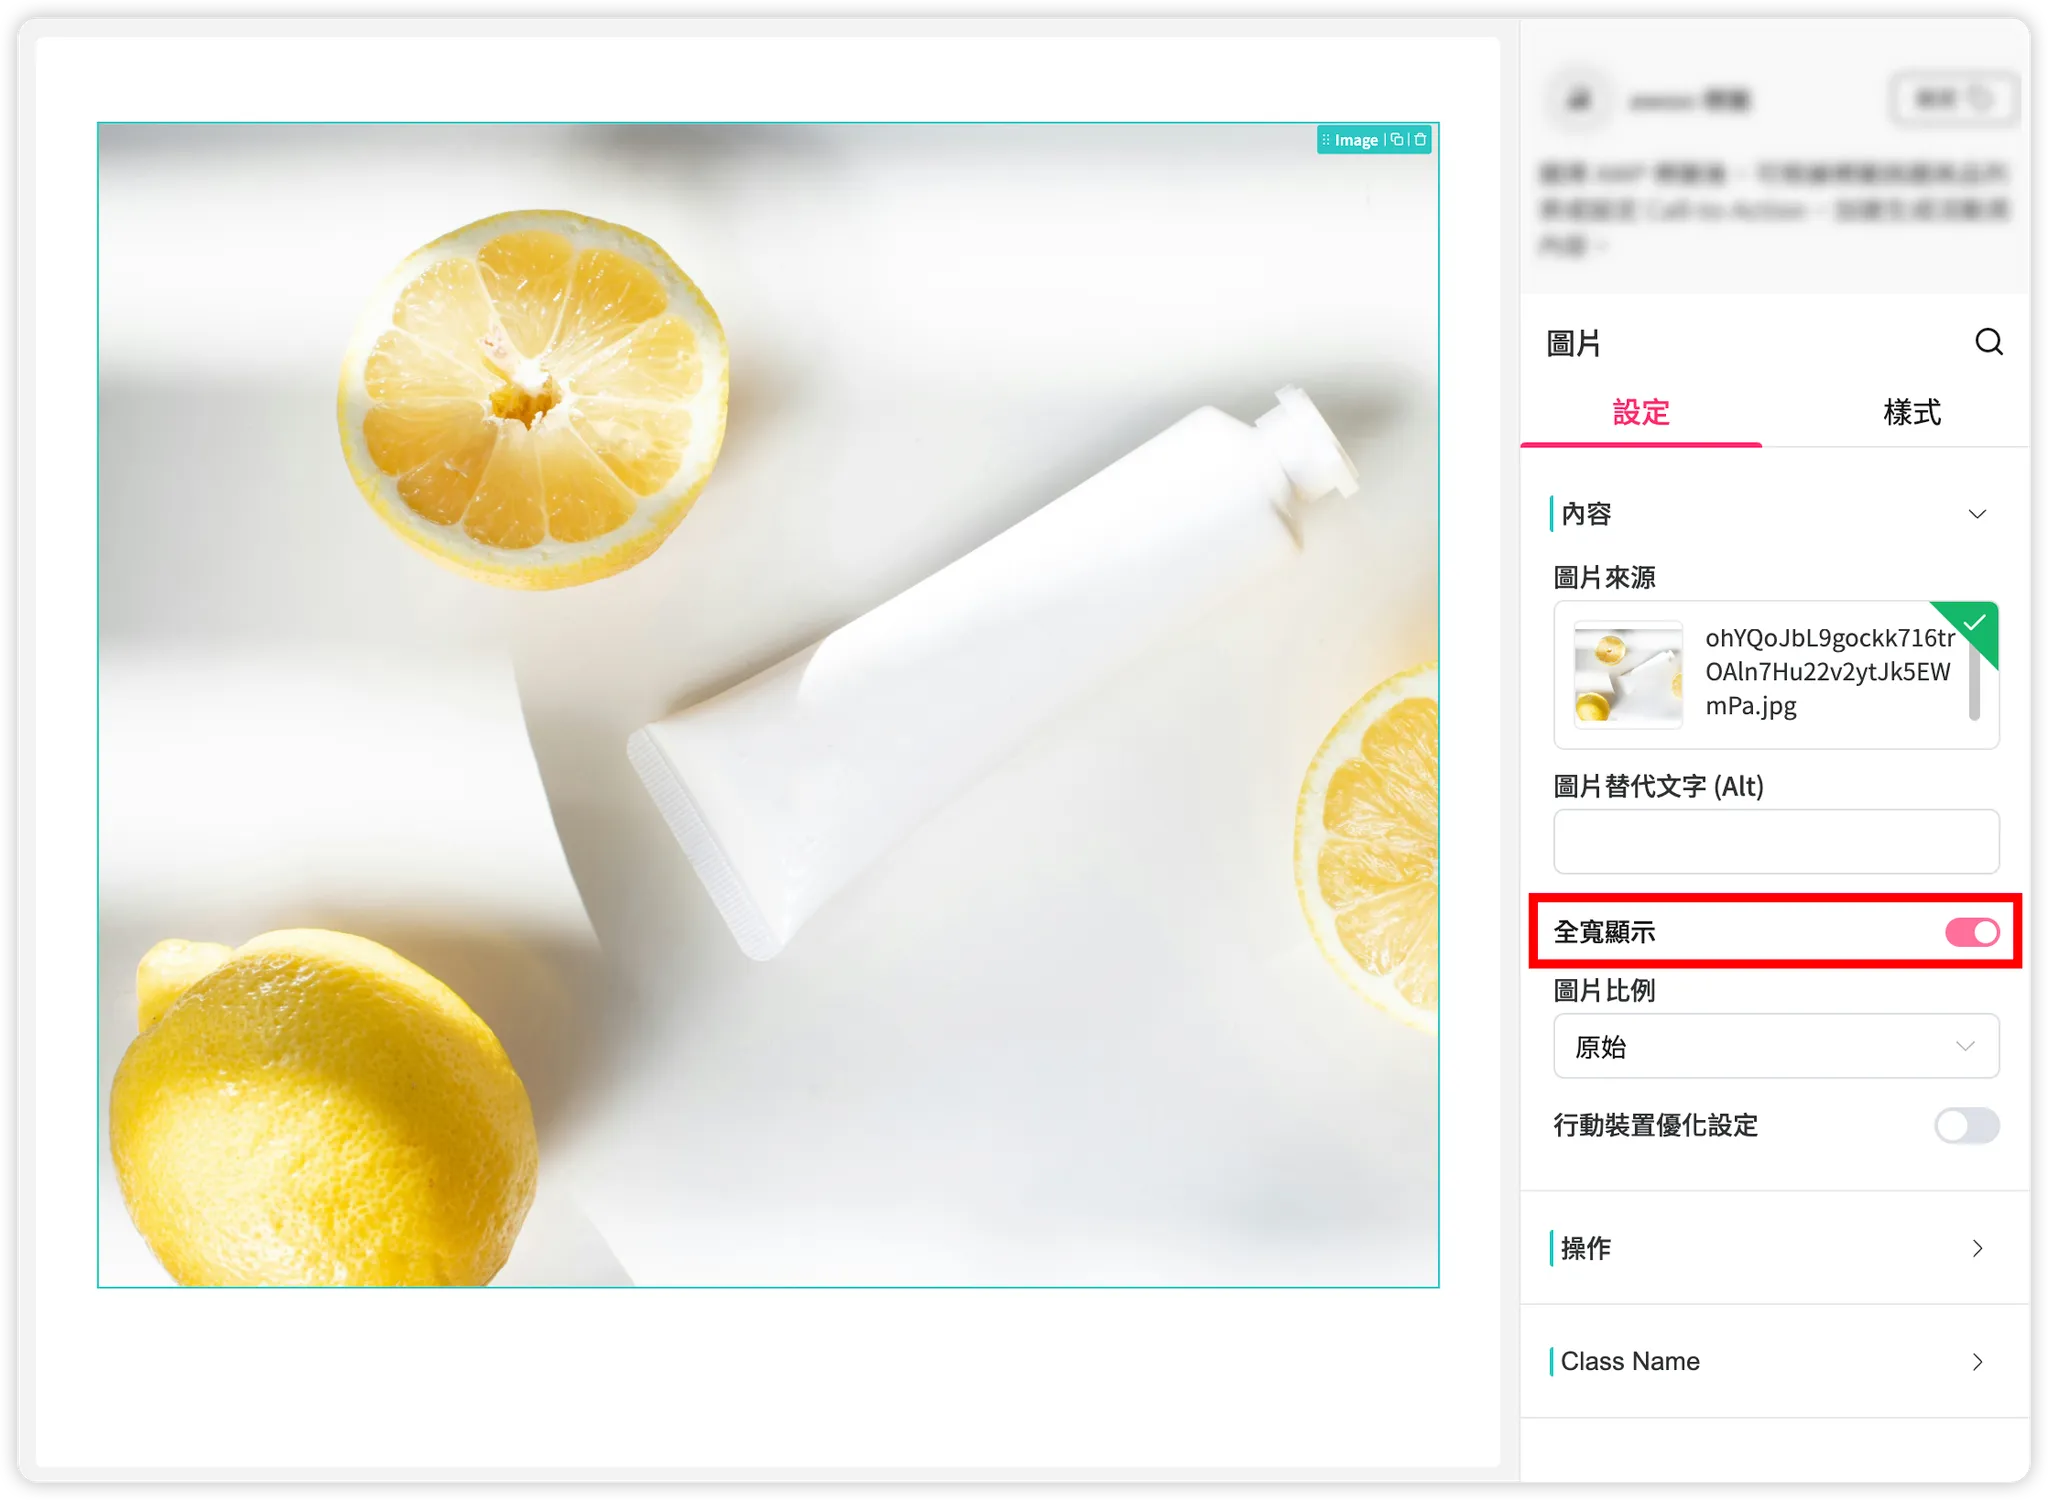
-
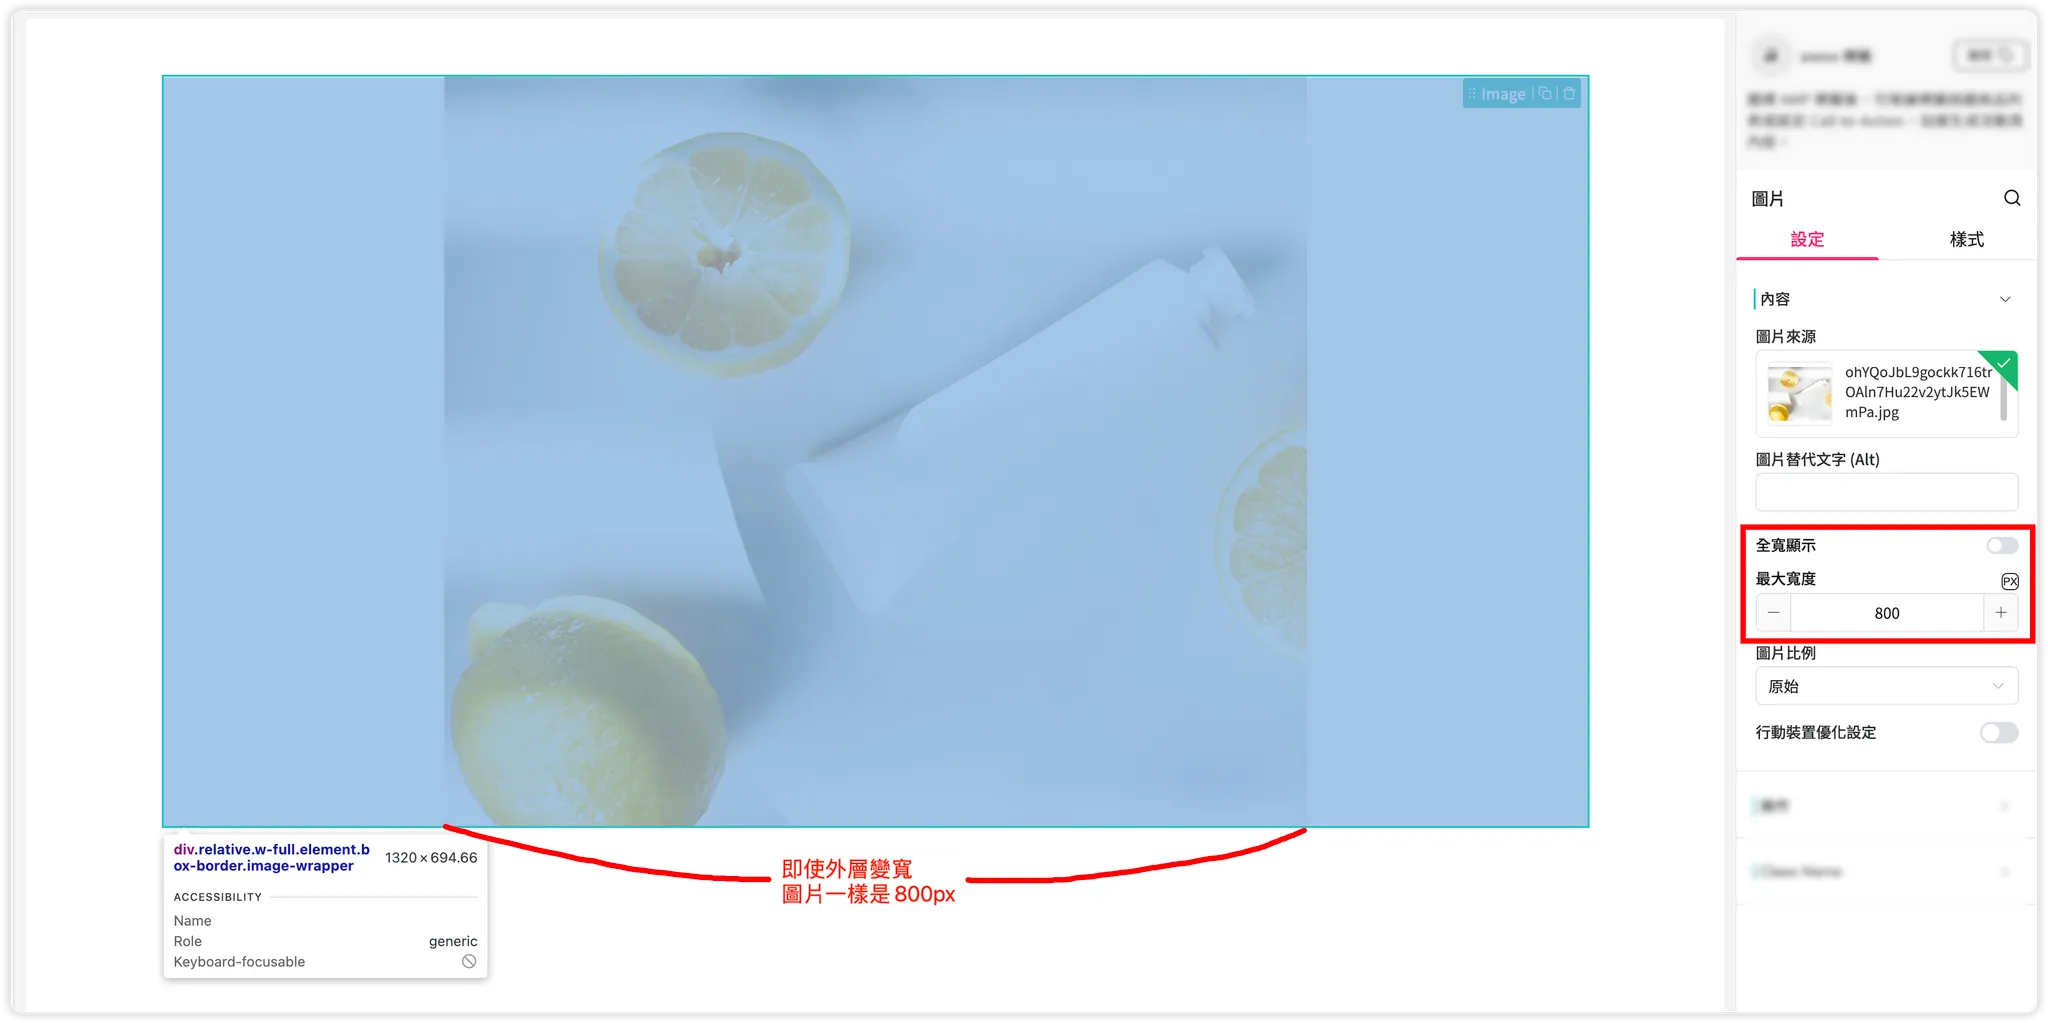
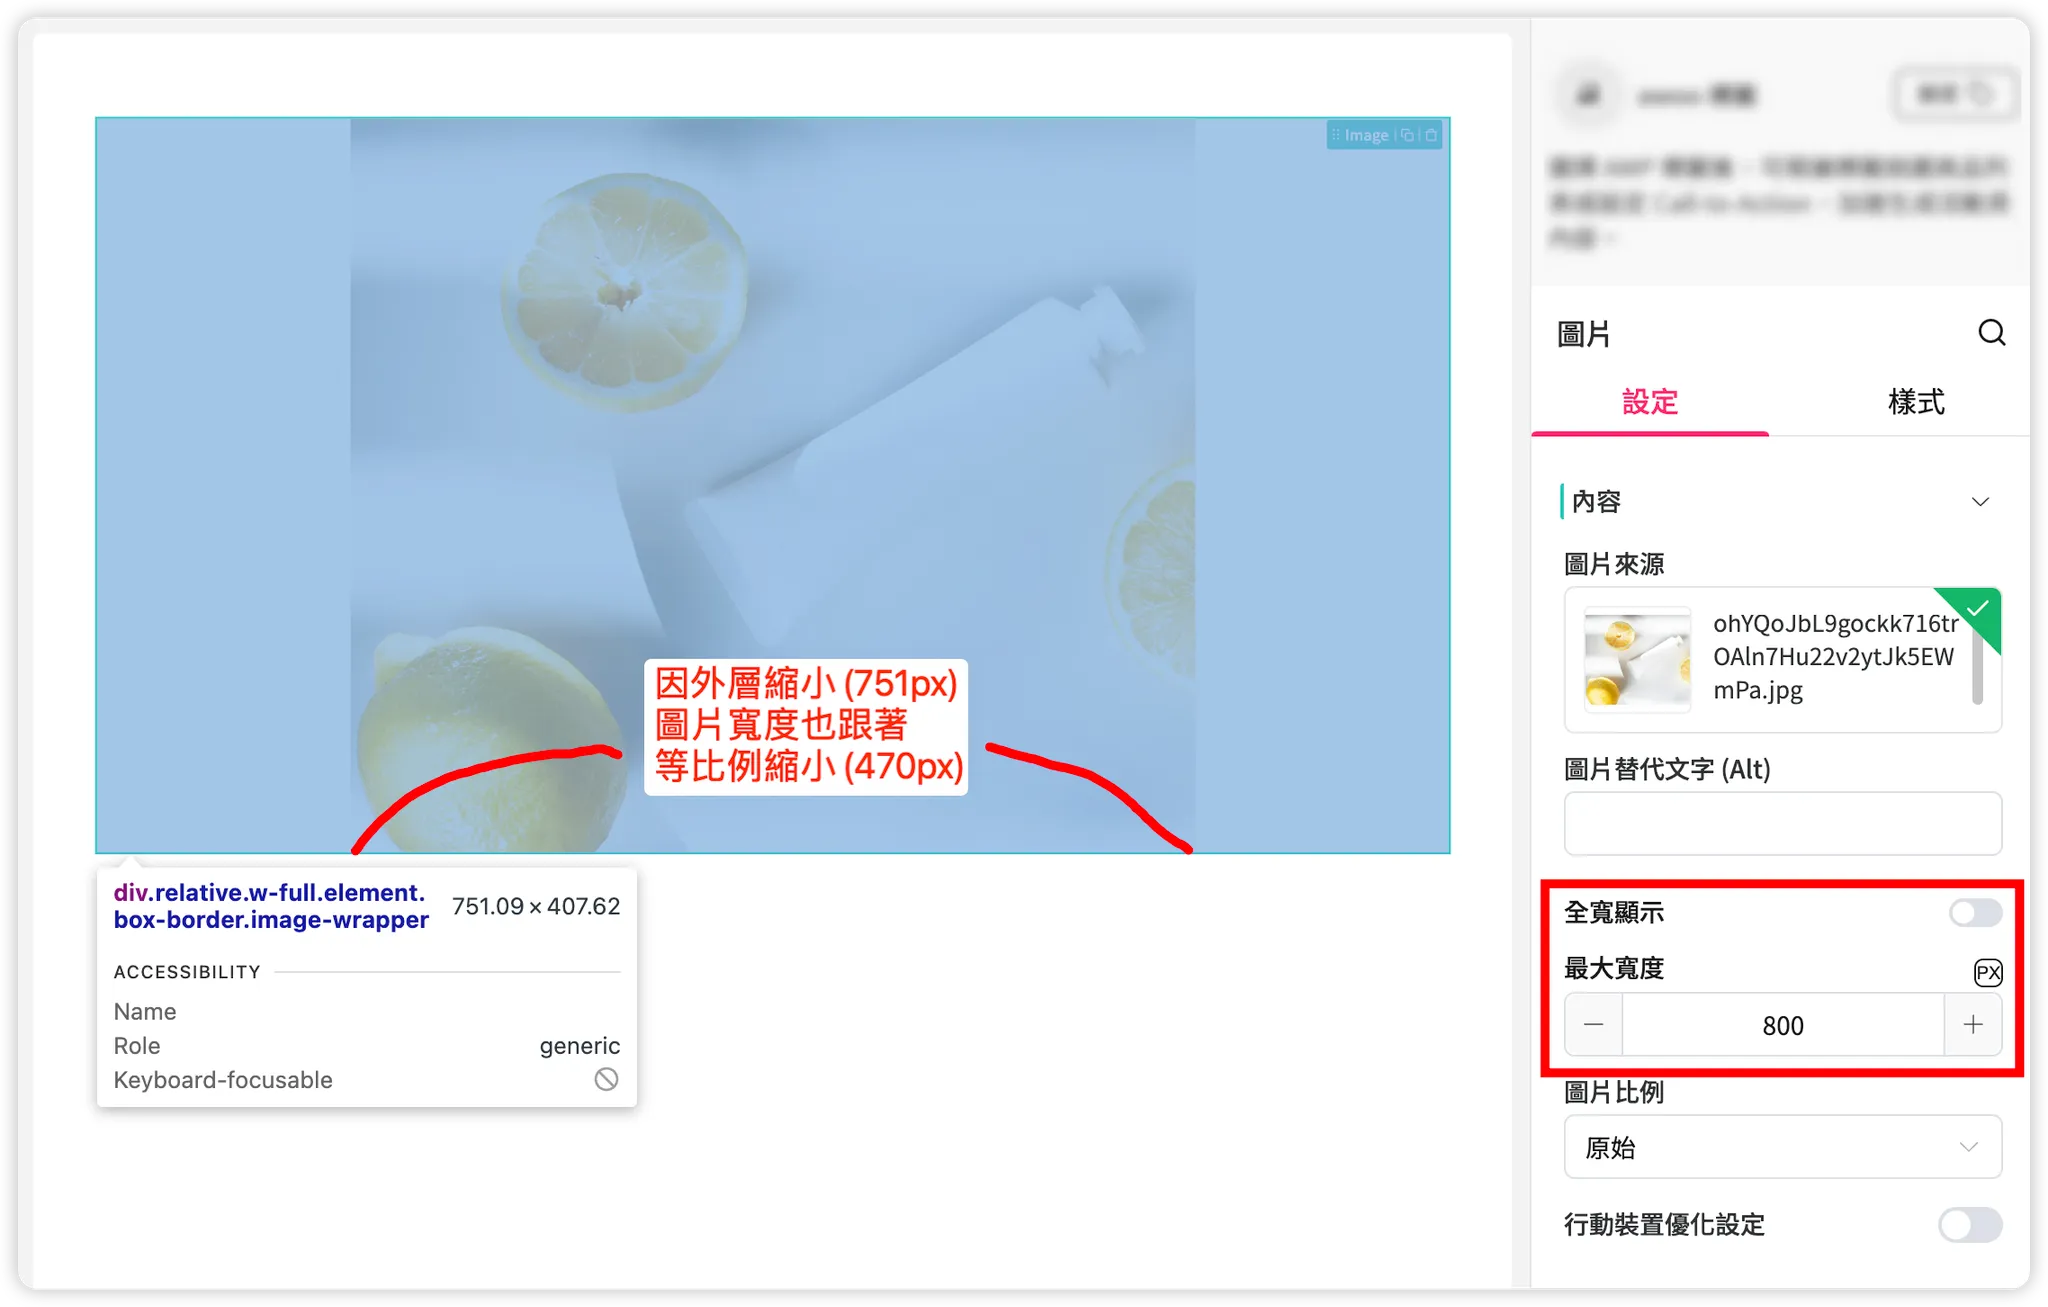
After turning off "Full Width," you can customize the "Maximum Width" of the image:
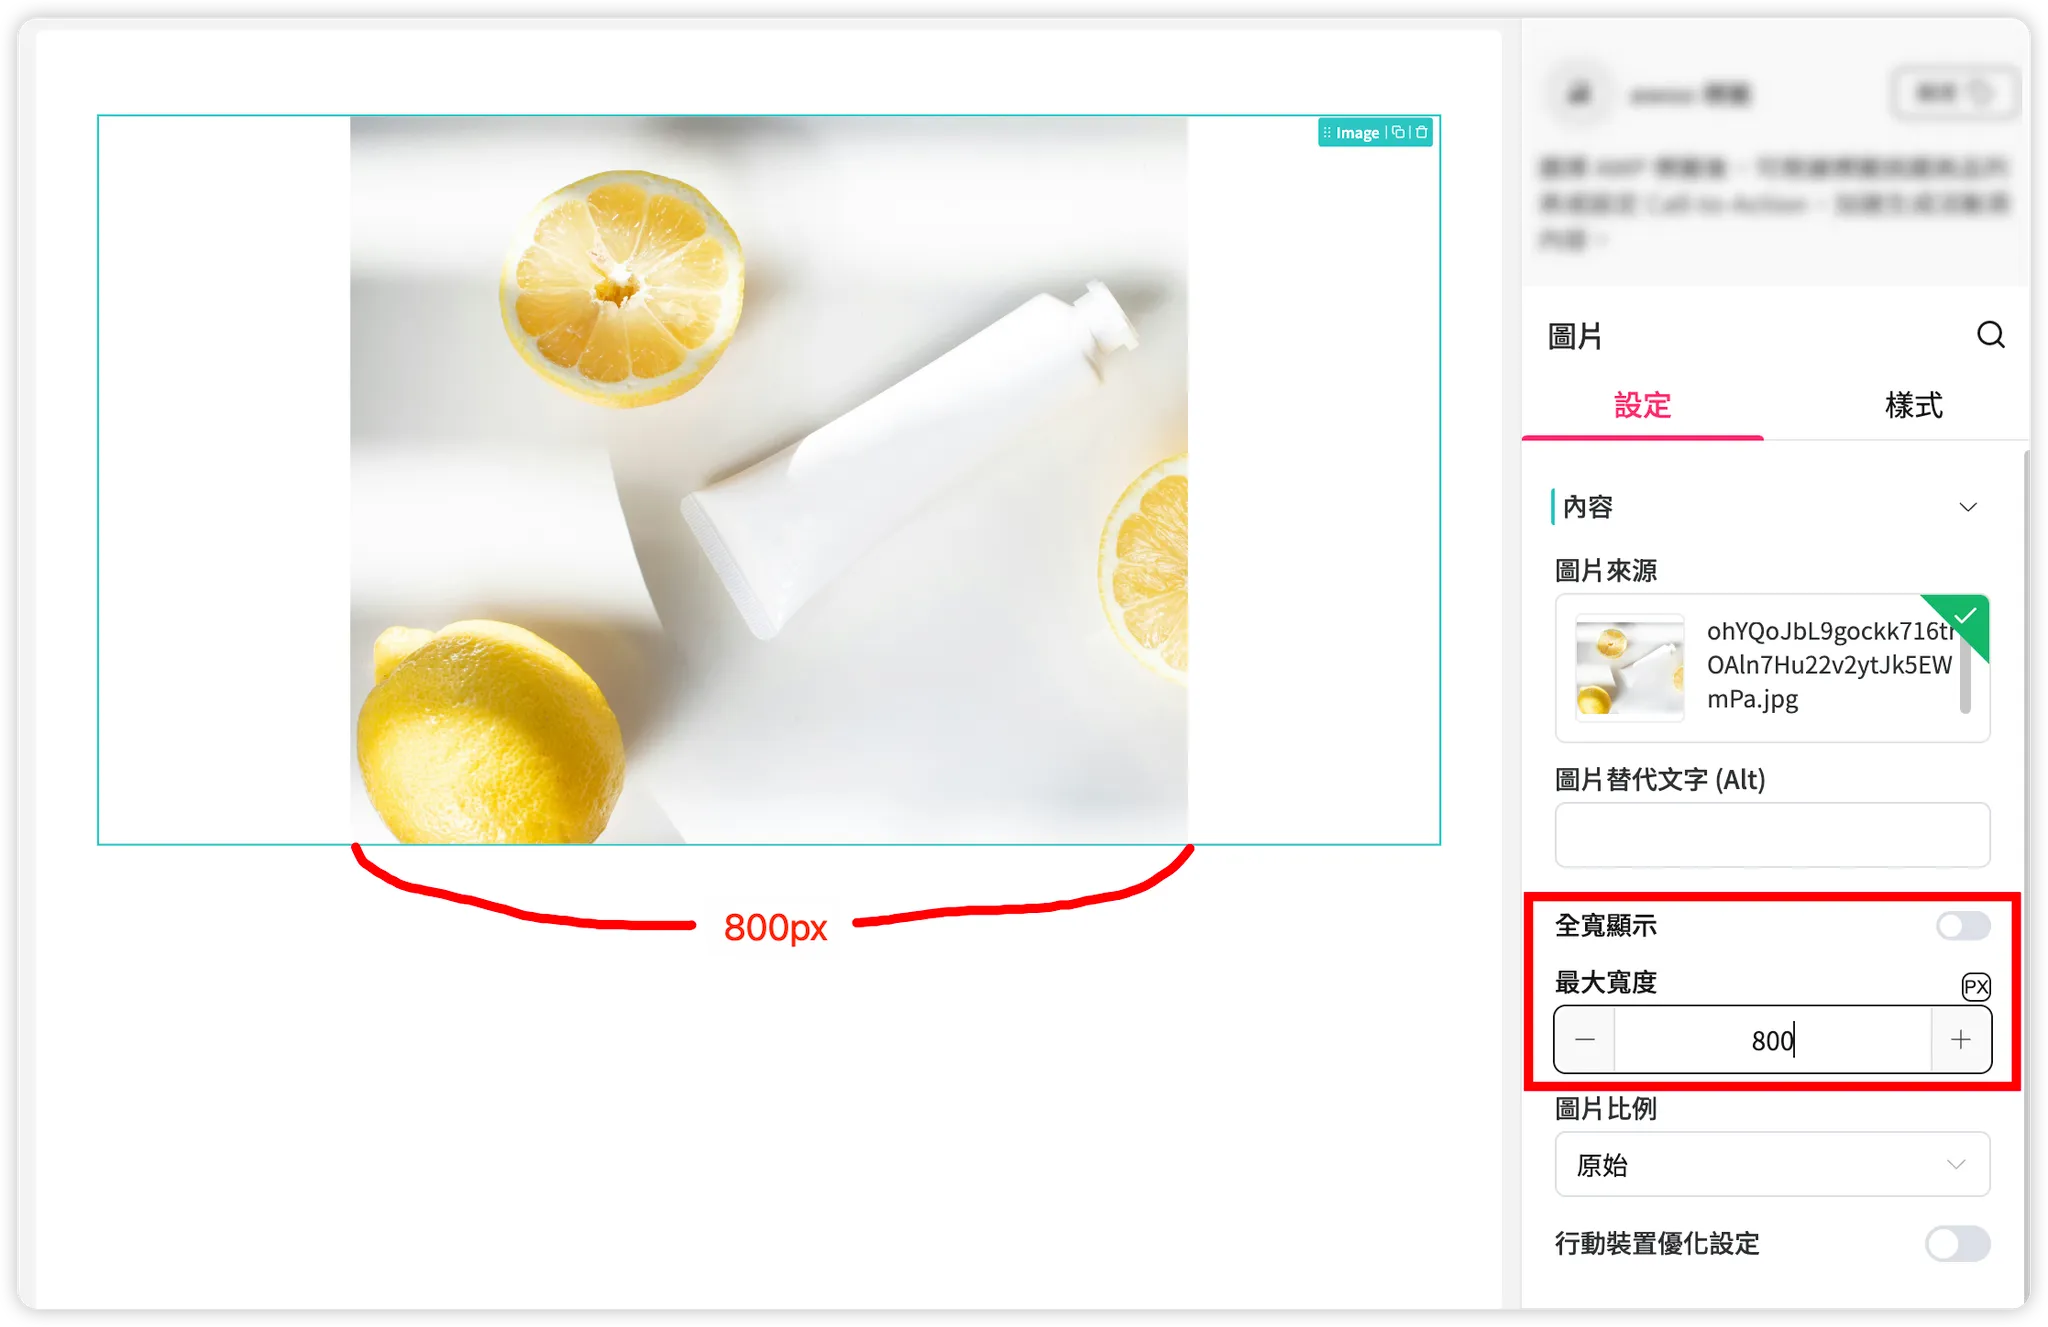
When the page width exceeds the maximum width value, the image width will only display at this set value.
When the page width is smaller than the maximum width value, the image width will shrink proportionally according to the page width.
Newly upgraded setting panel as of 2024/09/13:
▌ Set Image Height
The "Display Height" of an image cannot be set directly; it must be calculated using the "Display Width" and "Image Ratio" settings. For example:
- If the width is 200 px and the display ratio is 1:1, the height will be 200/1*1 = 200 px.
- If the width is 500 px and the display ratio is 4:3, the height will be 500/4*3 = 375 px.
Fill Effect & Image Position
Changing the image ratio from "Original" to a value like 1:1 or 16:9 effectively adds a limit to the "Display Height" (or "Display Area"). (See: ▌ Set Image Height)
However, the image size may exceed this "Display Area," causing parts of the image content to be cropped. You can adjust the visual effect by configuring the "Image Fit" and "Image Position."
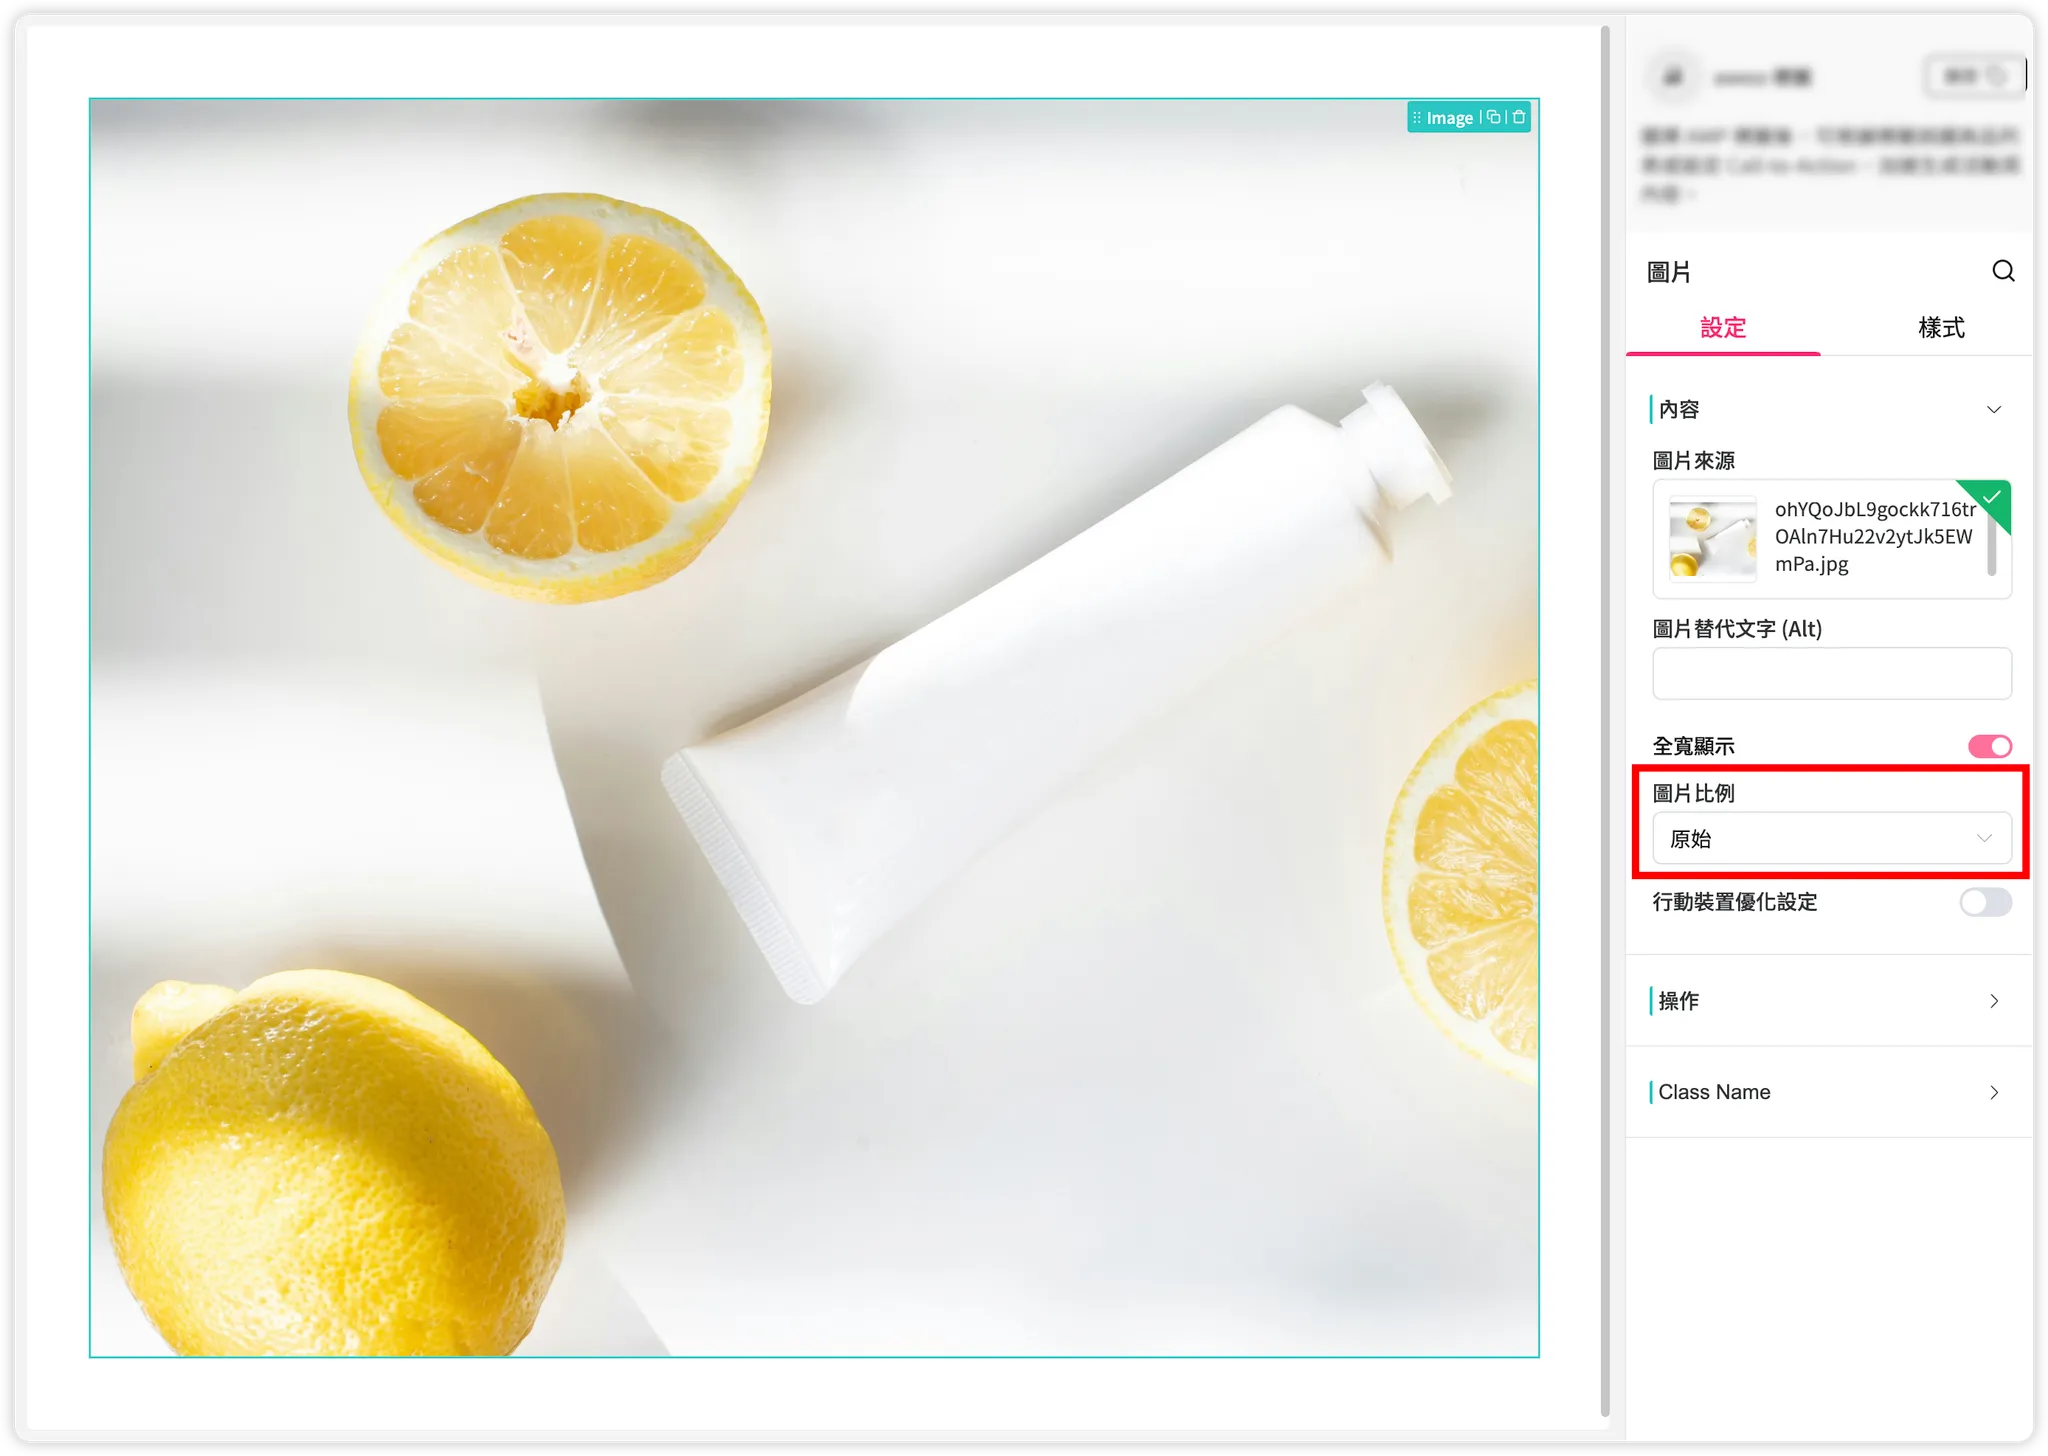
When image ratio is 'Original'
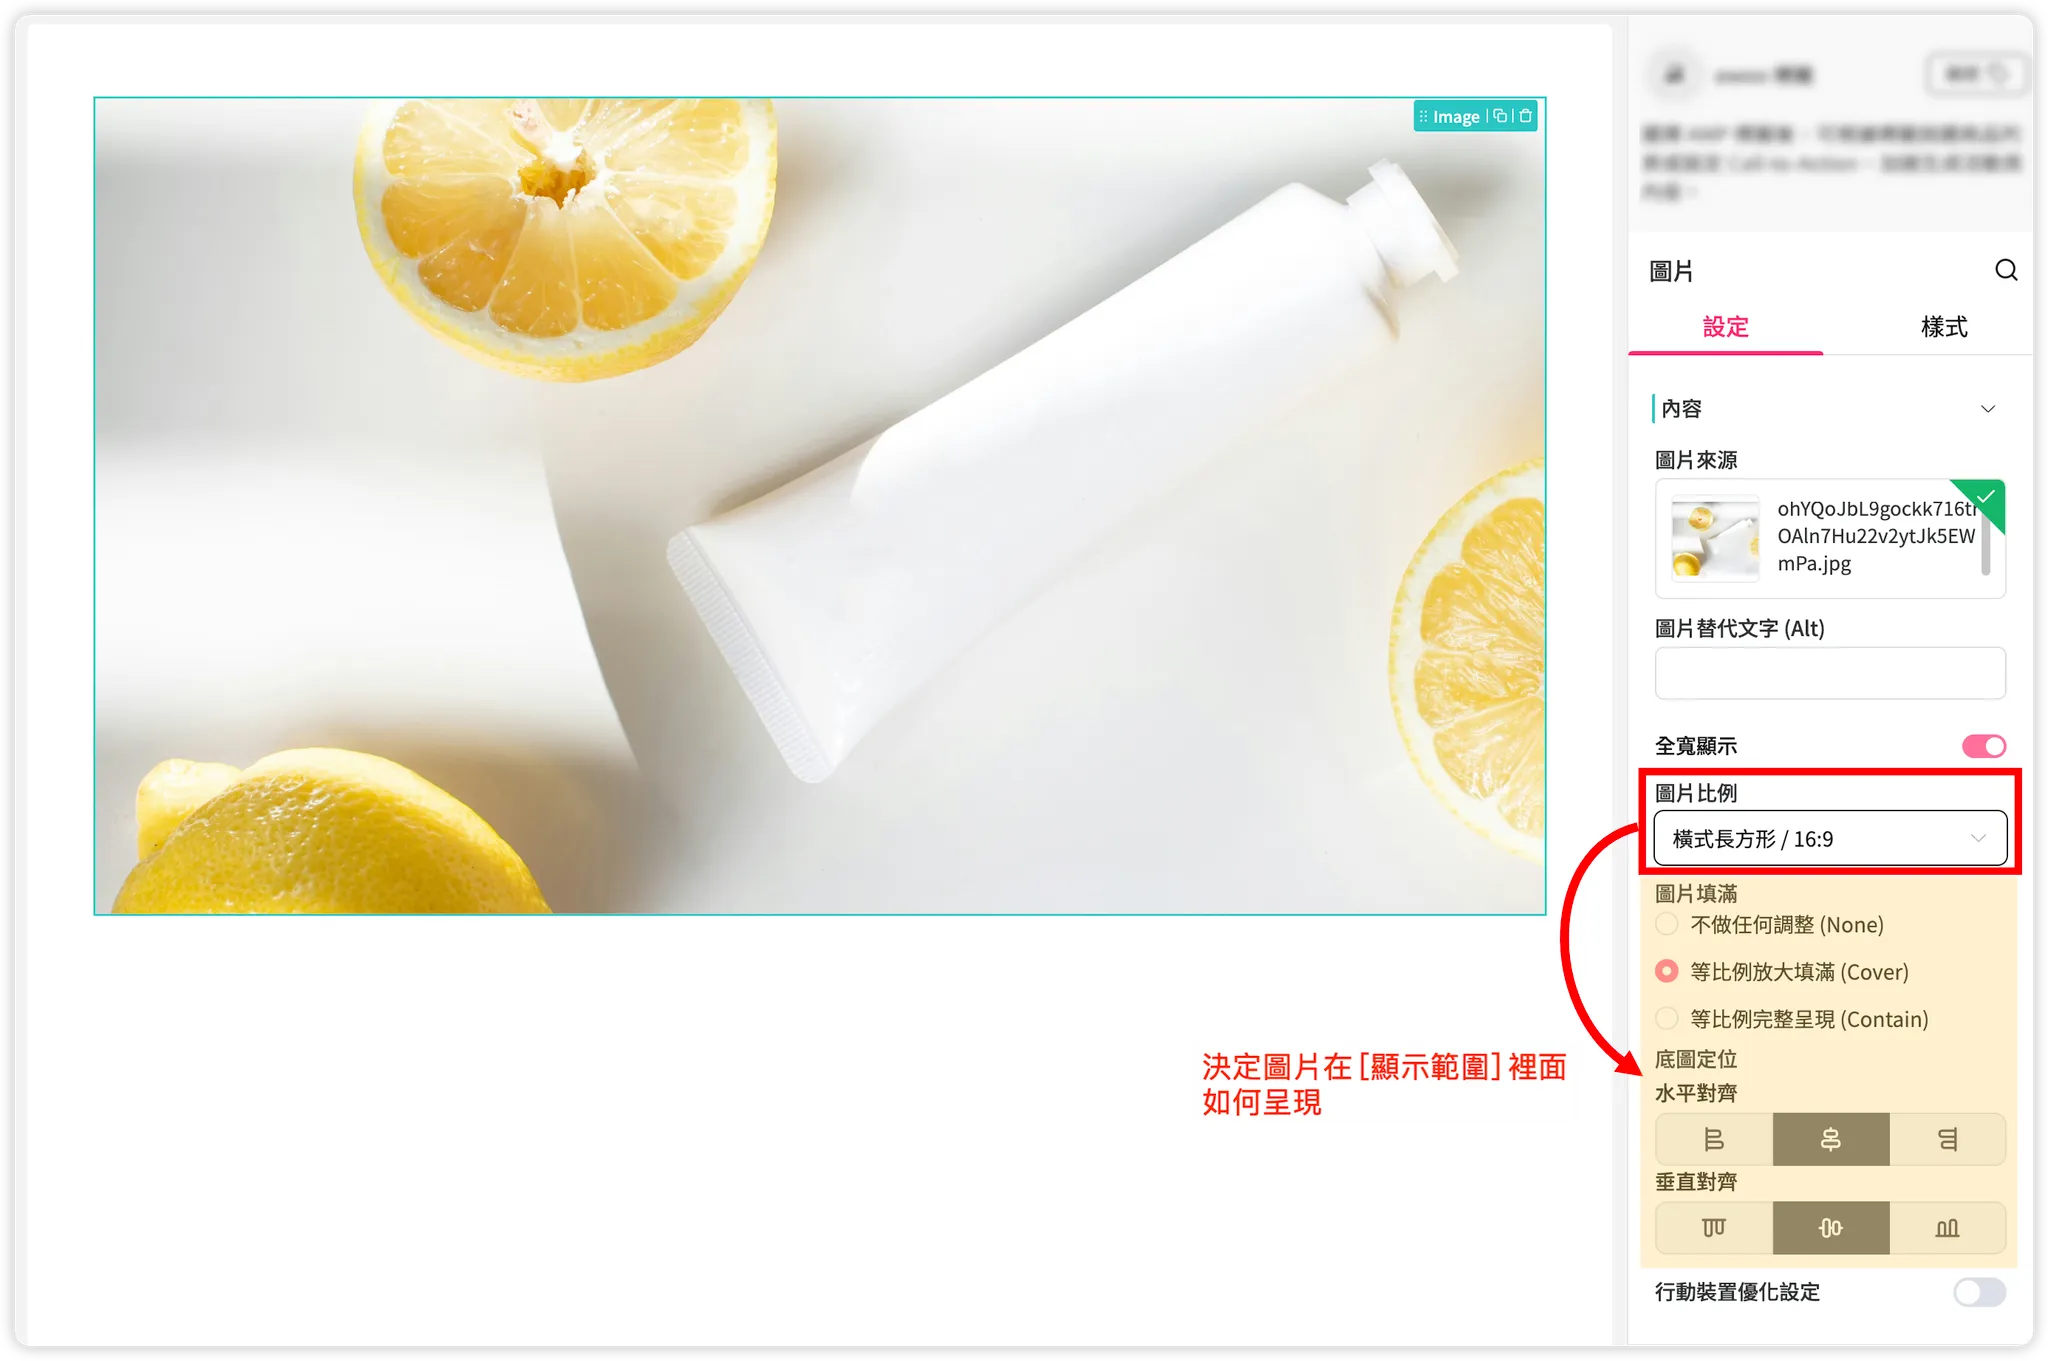
When image ratio is NOT 'Original', two extra settings appear: 'Image Fit' and 'Image Position'
Newly upgraded setting panel as of 2024/09/13:
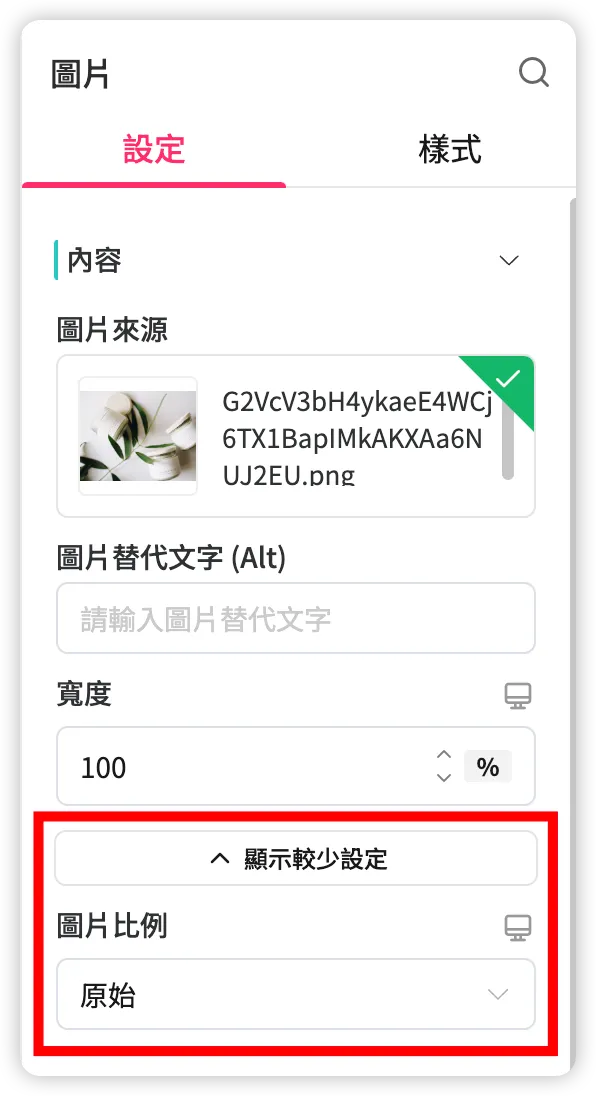
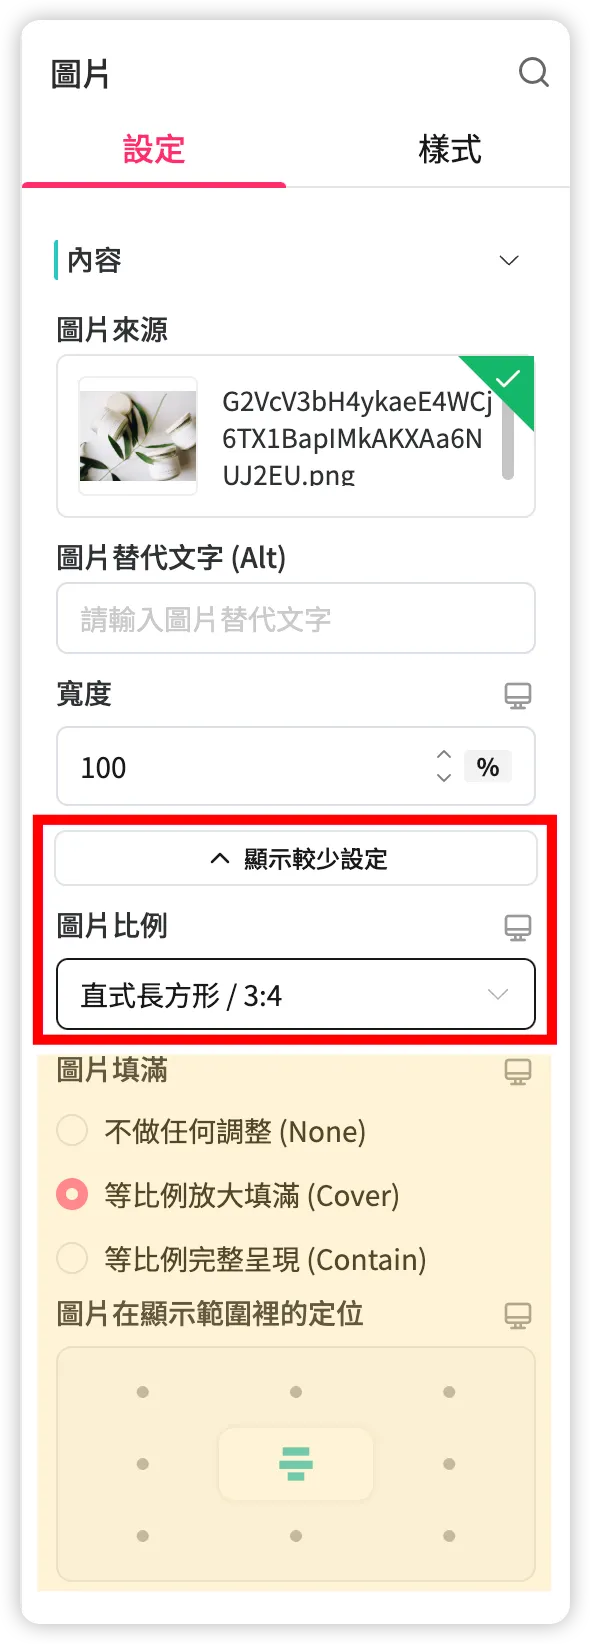
▌ Set Image Fill Mode within the Display Area
Through the "Image Fit" setting, you can decide how the image fills the display area.
-
None
The image is rendered faithfully according to its actual size, without necessarily filling the display area.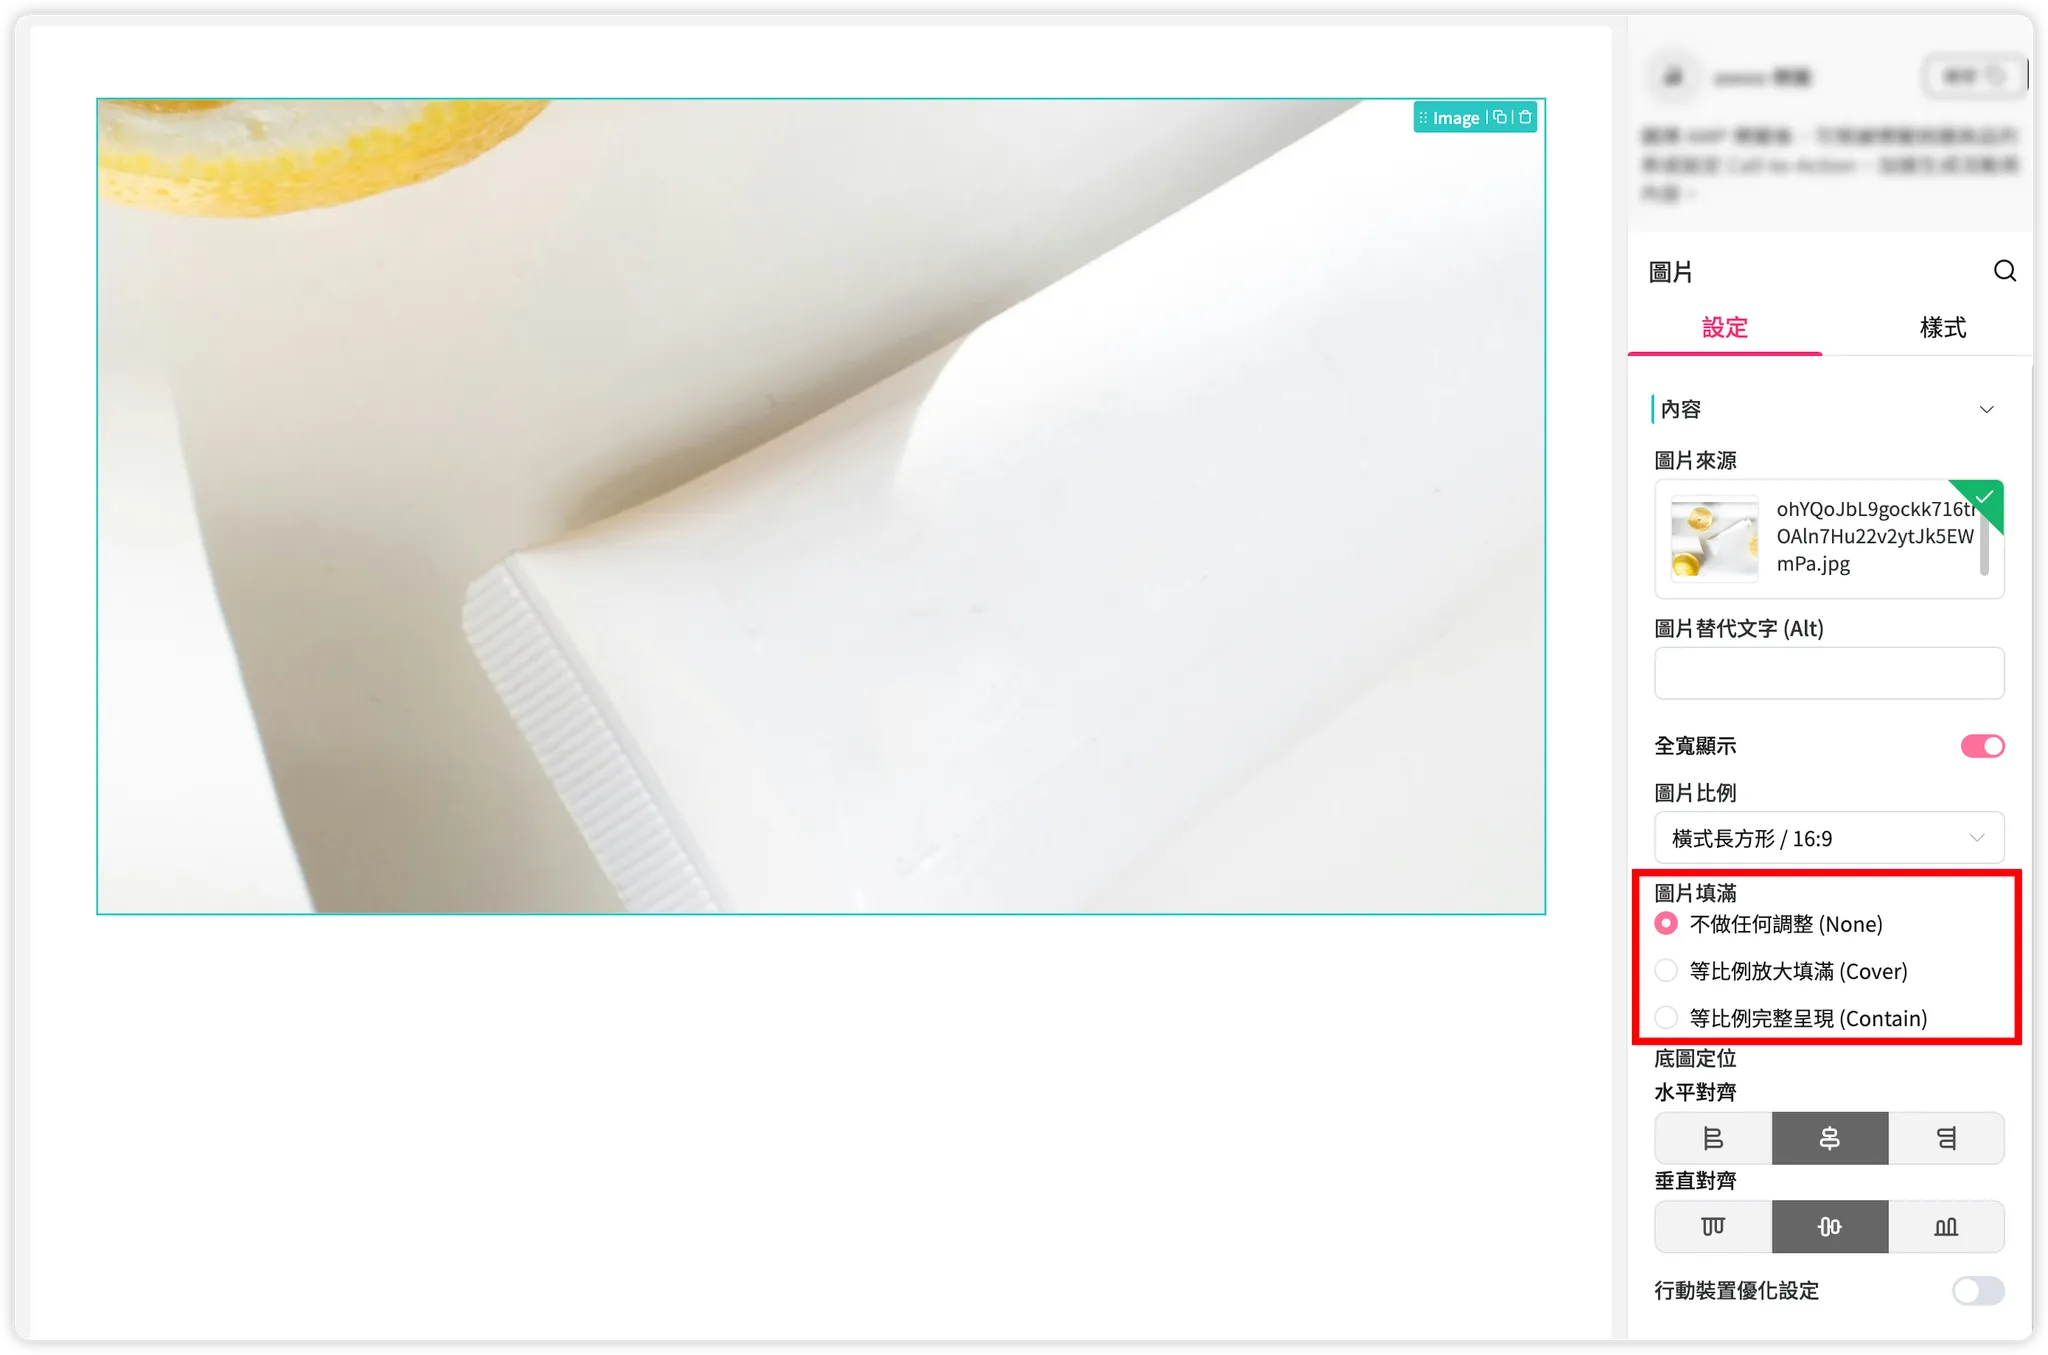
-
Cover
The image will definitely fill the entire display area according to the specified ratio without distortion.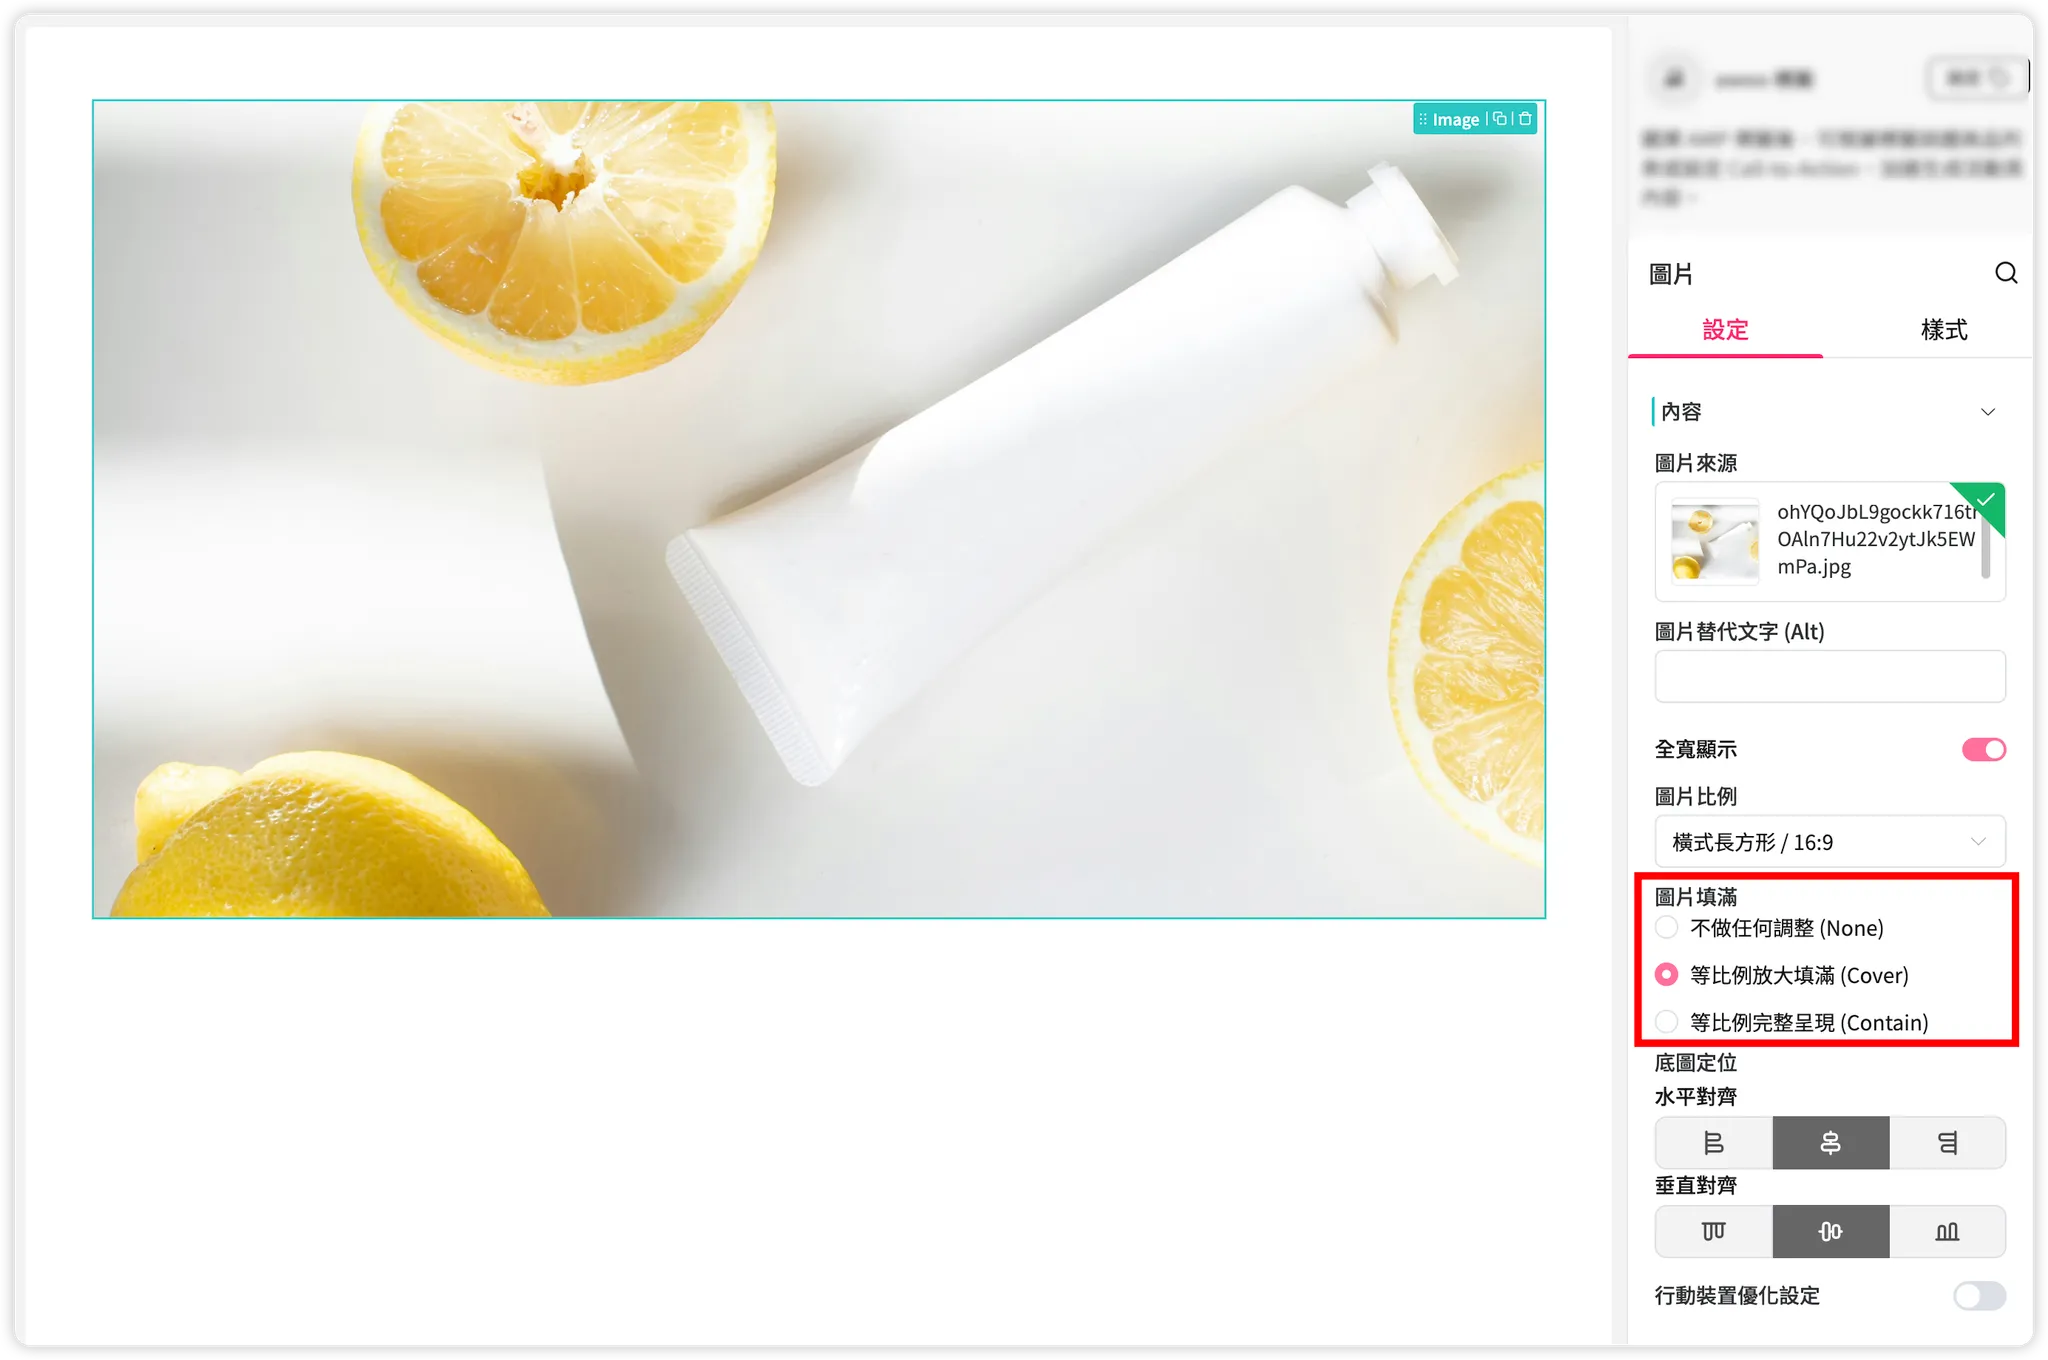
-
Contain
The image may not fill the entire display area; it will display as much of the image as possible within the area according to the specified ratio.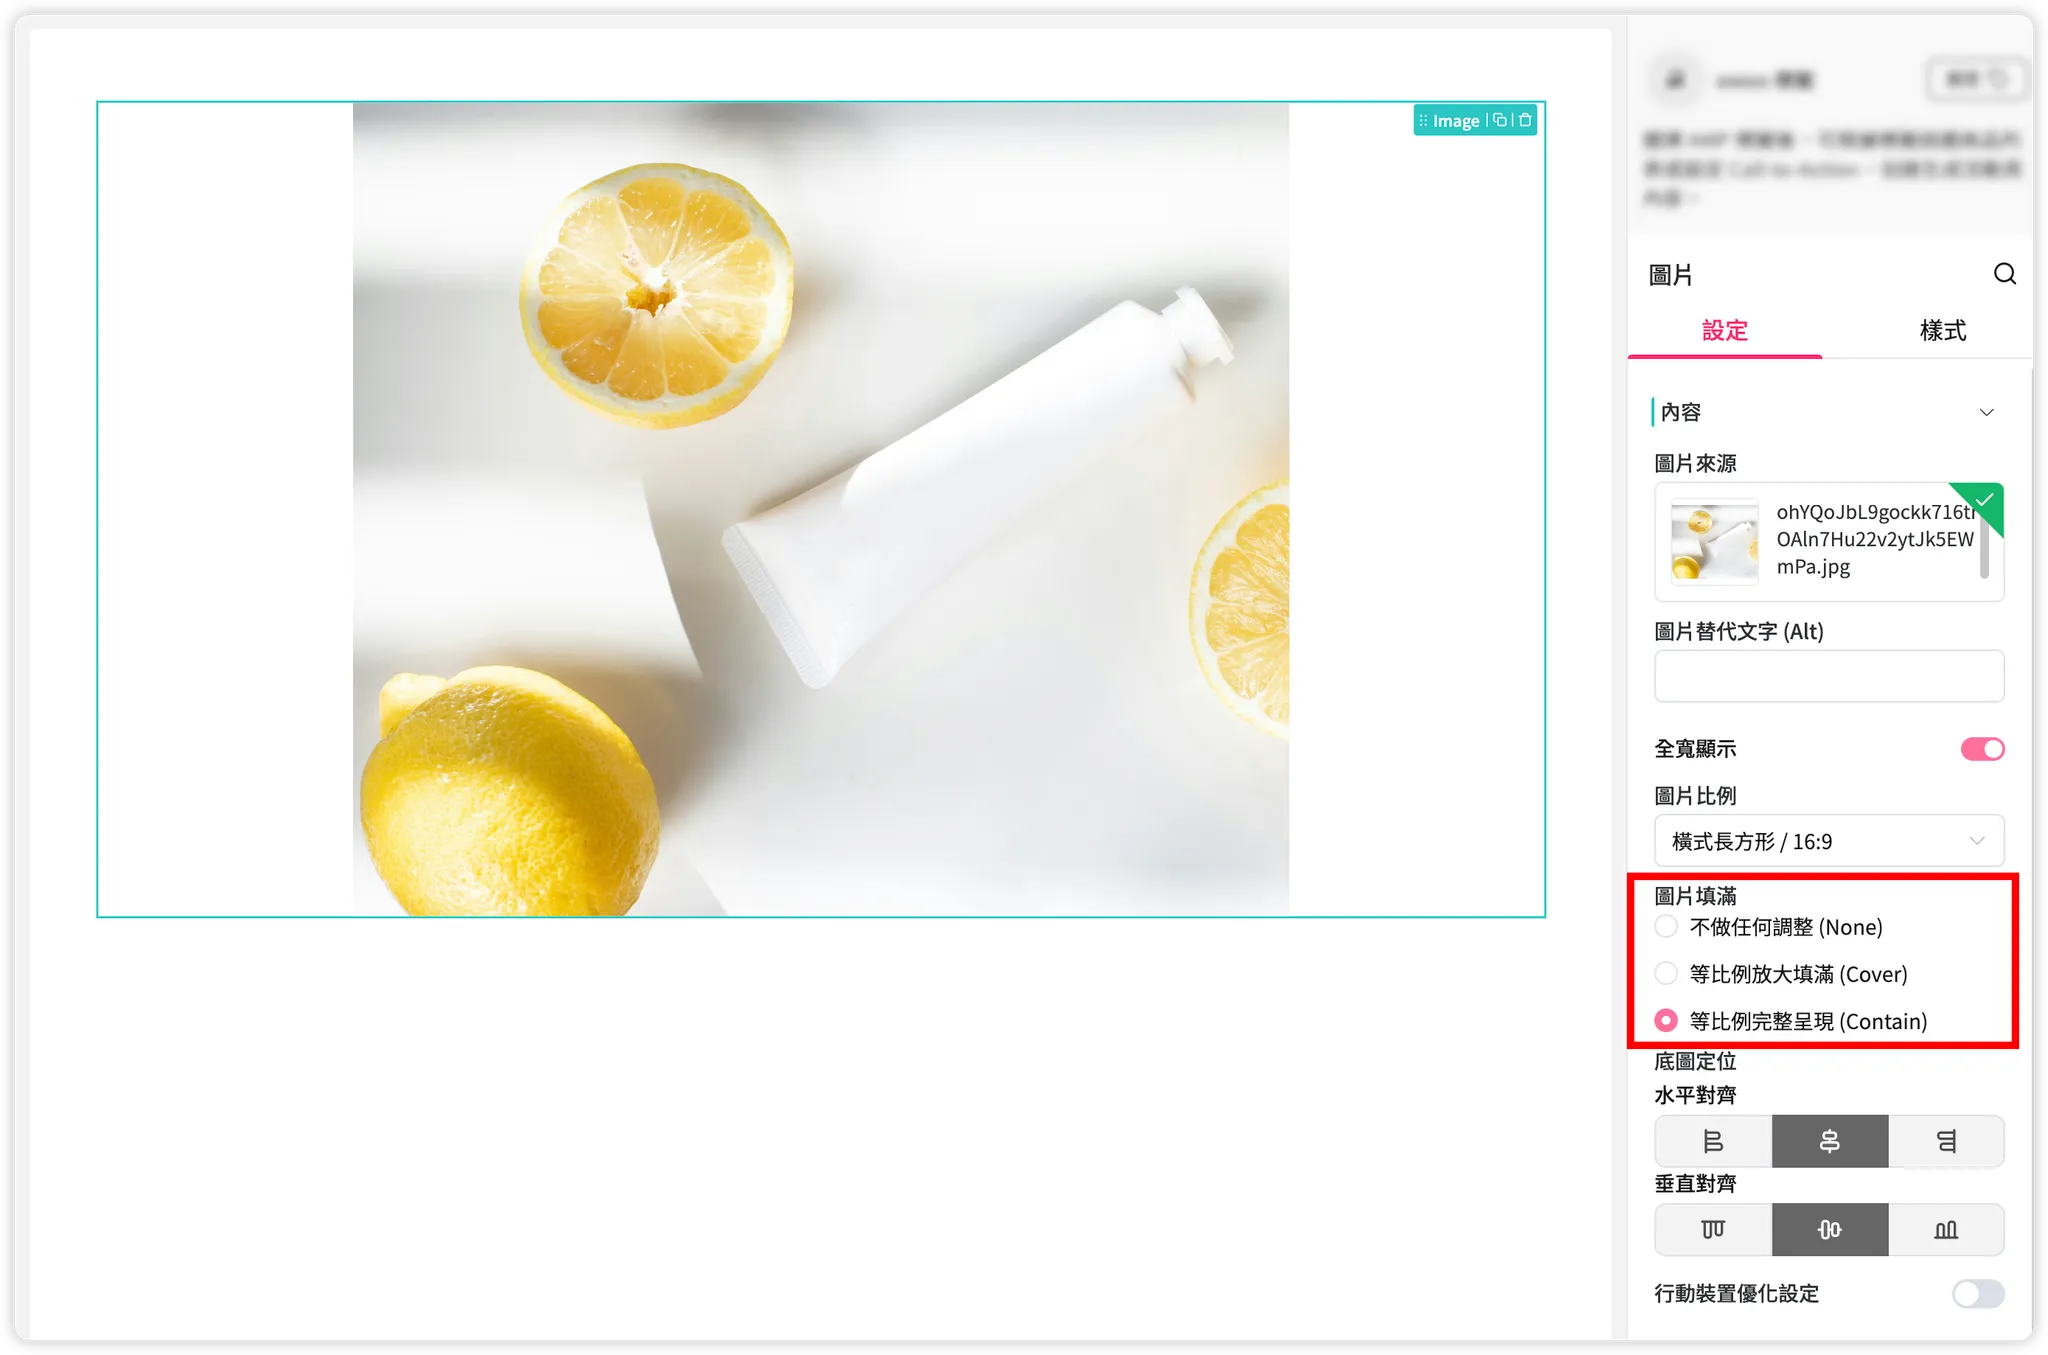
▌ Set Image Position within the Display Area
Using the "Image Position" setting, you can determine which part of the image to prioritize when it exceeds the display area. This is similar to how you crop an Instagram photo by dragging the image within a frame to decide what to show and what to discard.
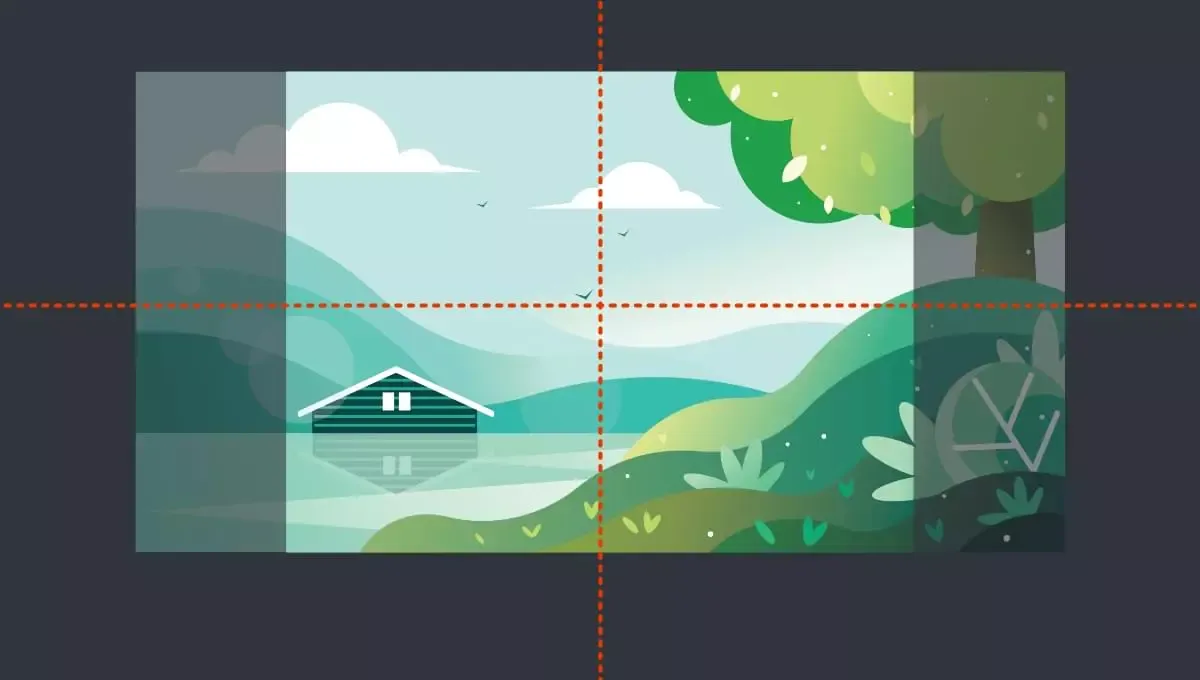
-
Horizontal Positioning Demo:
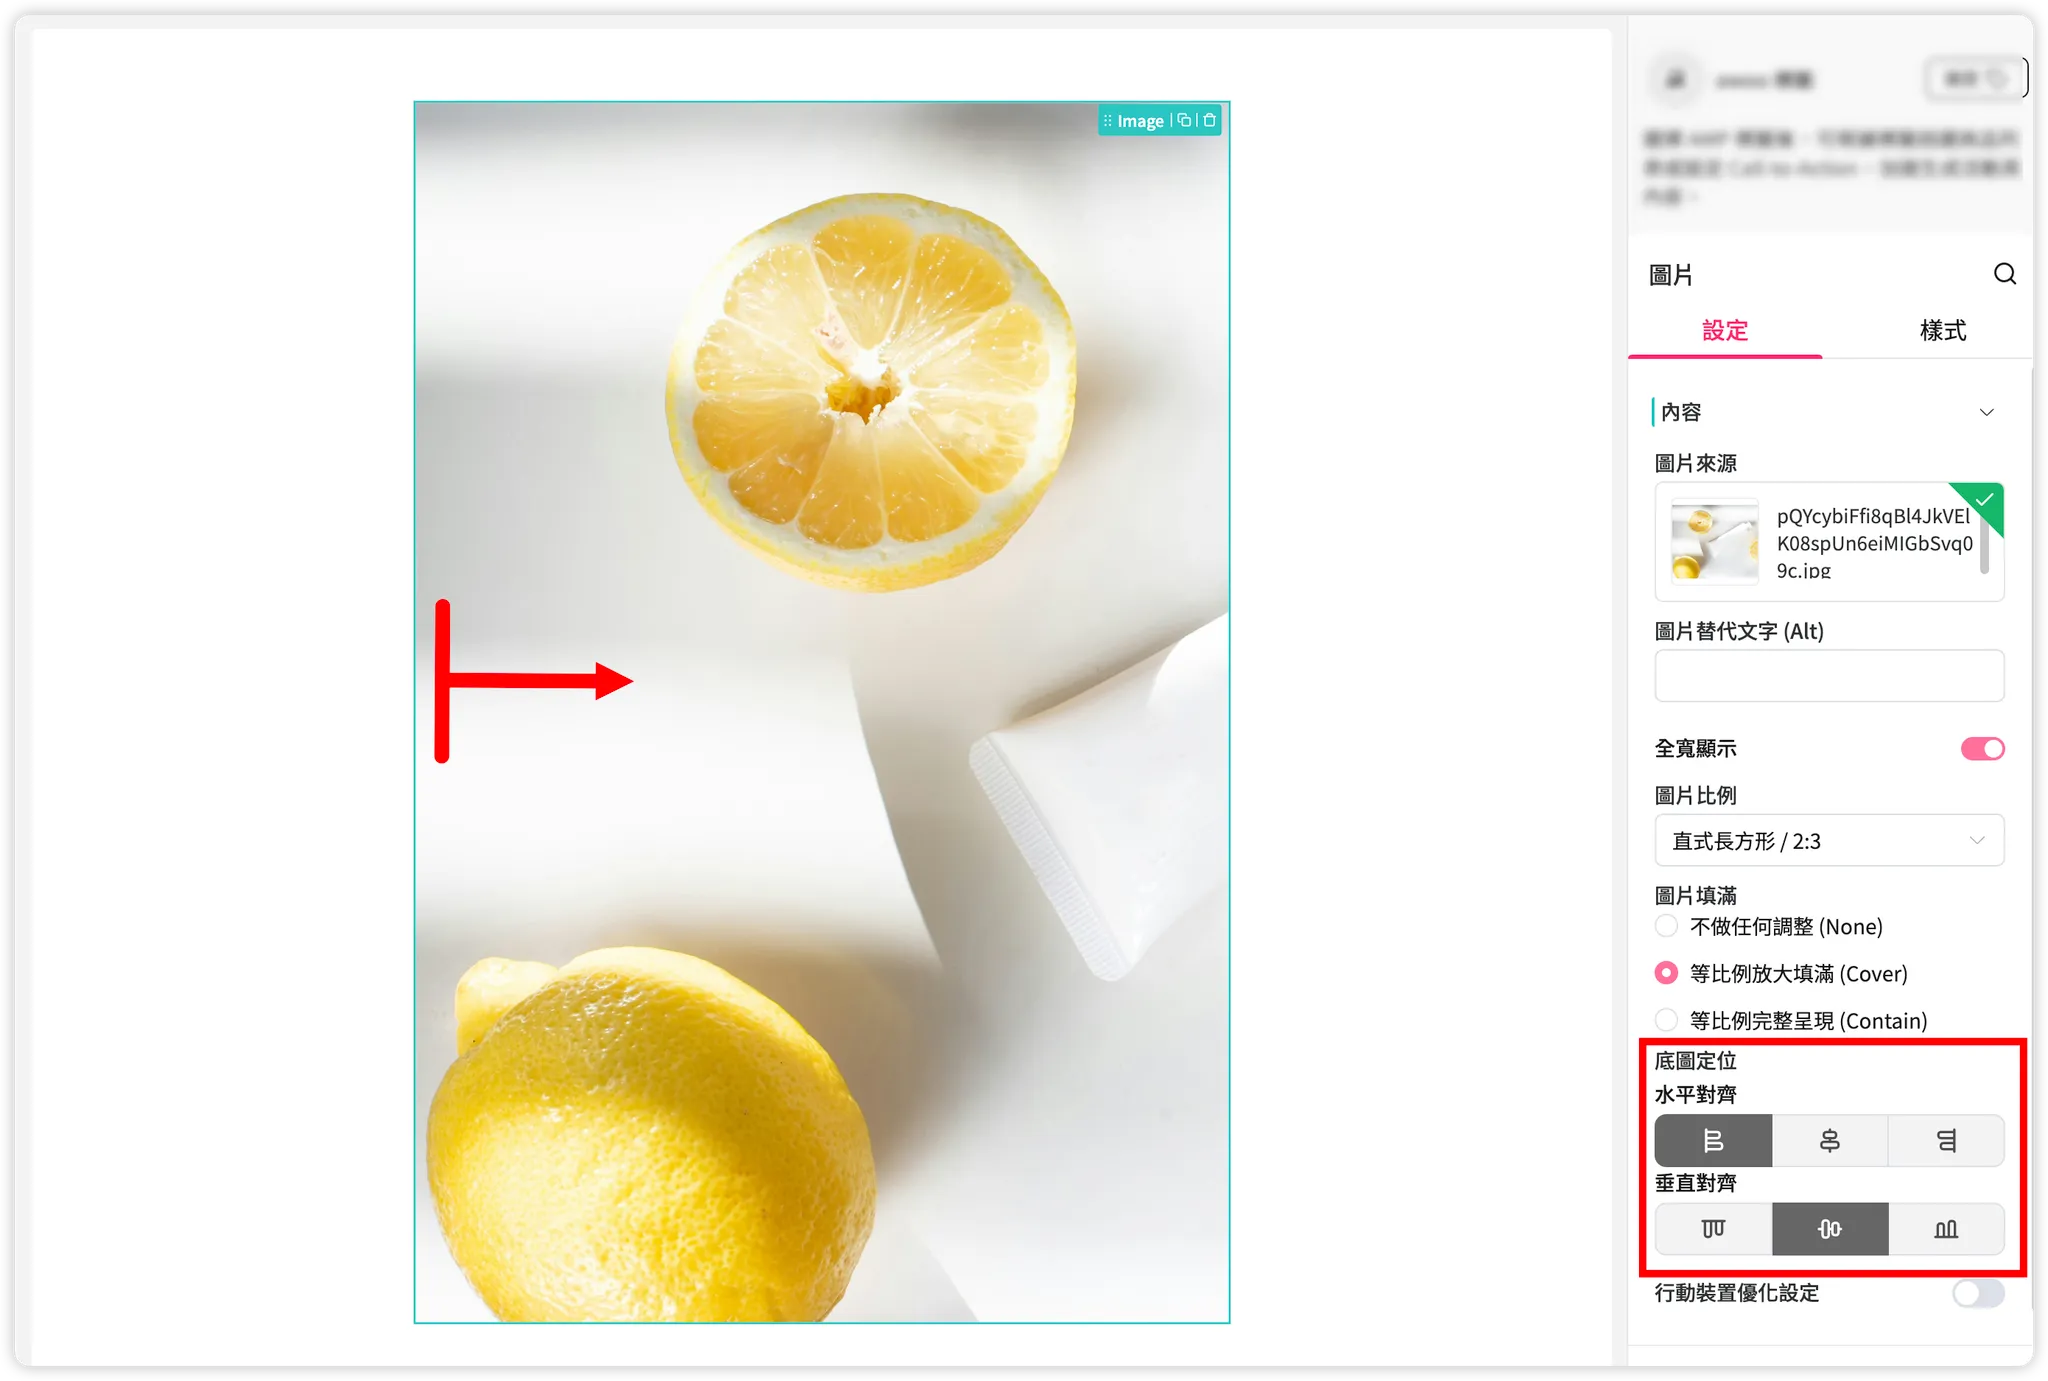
Left
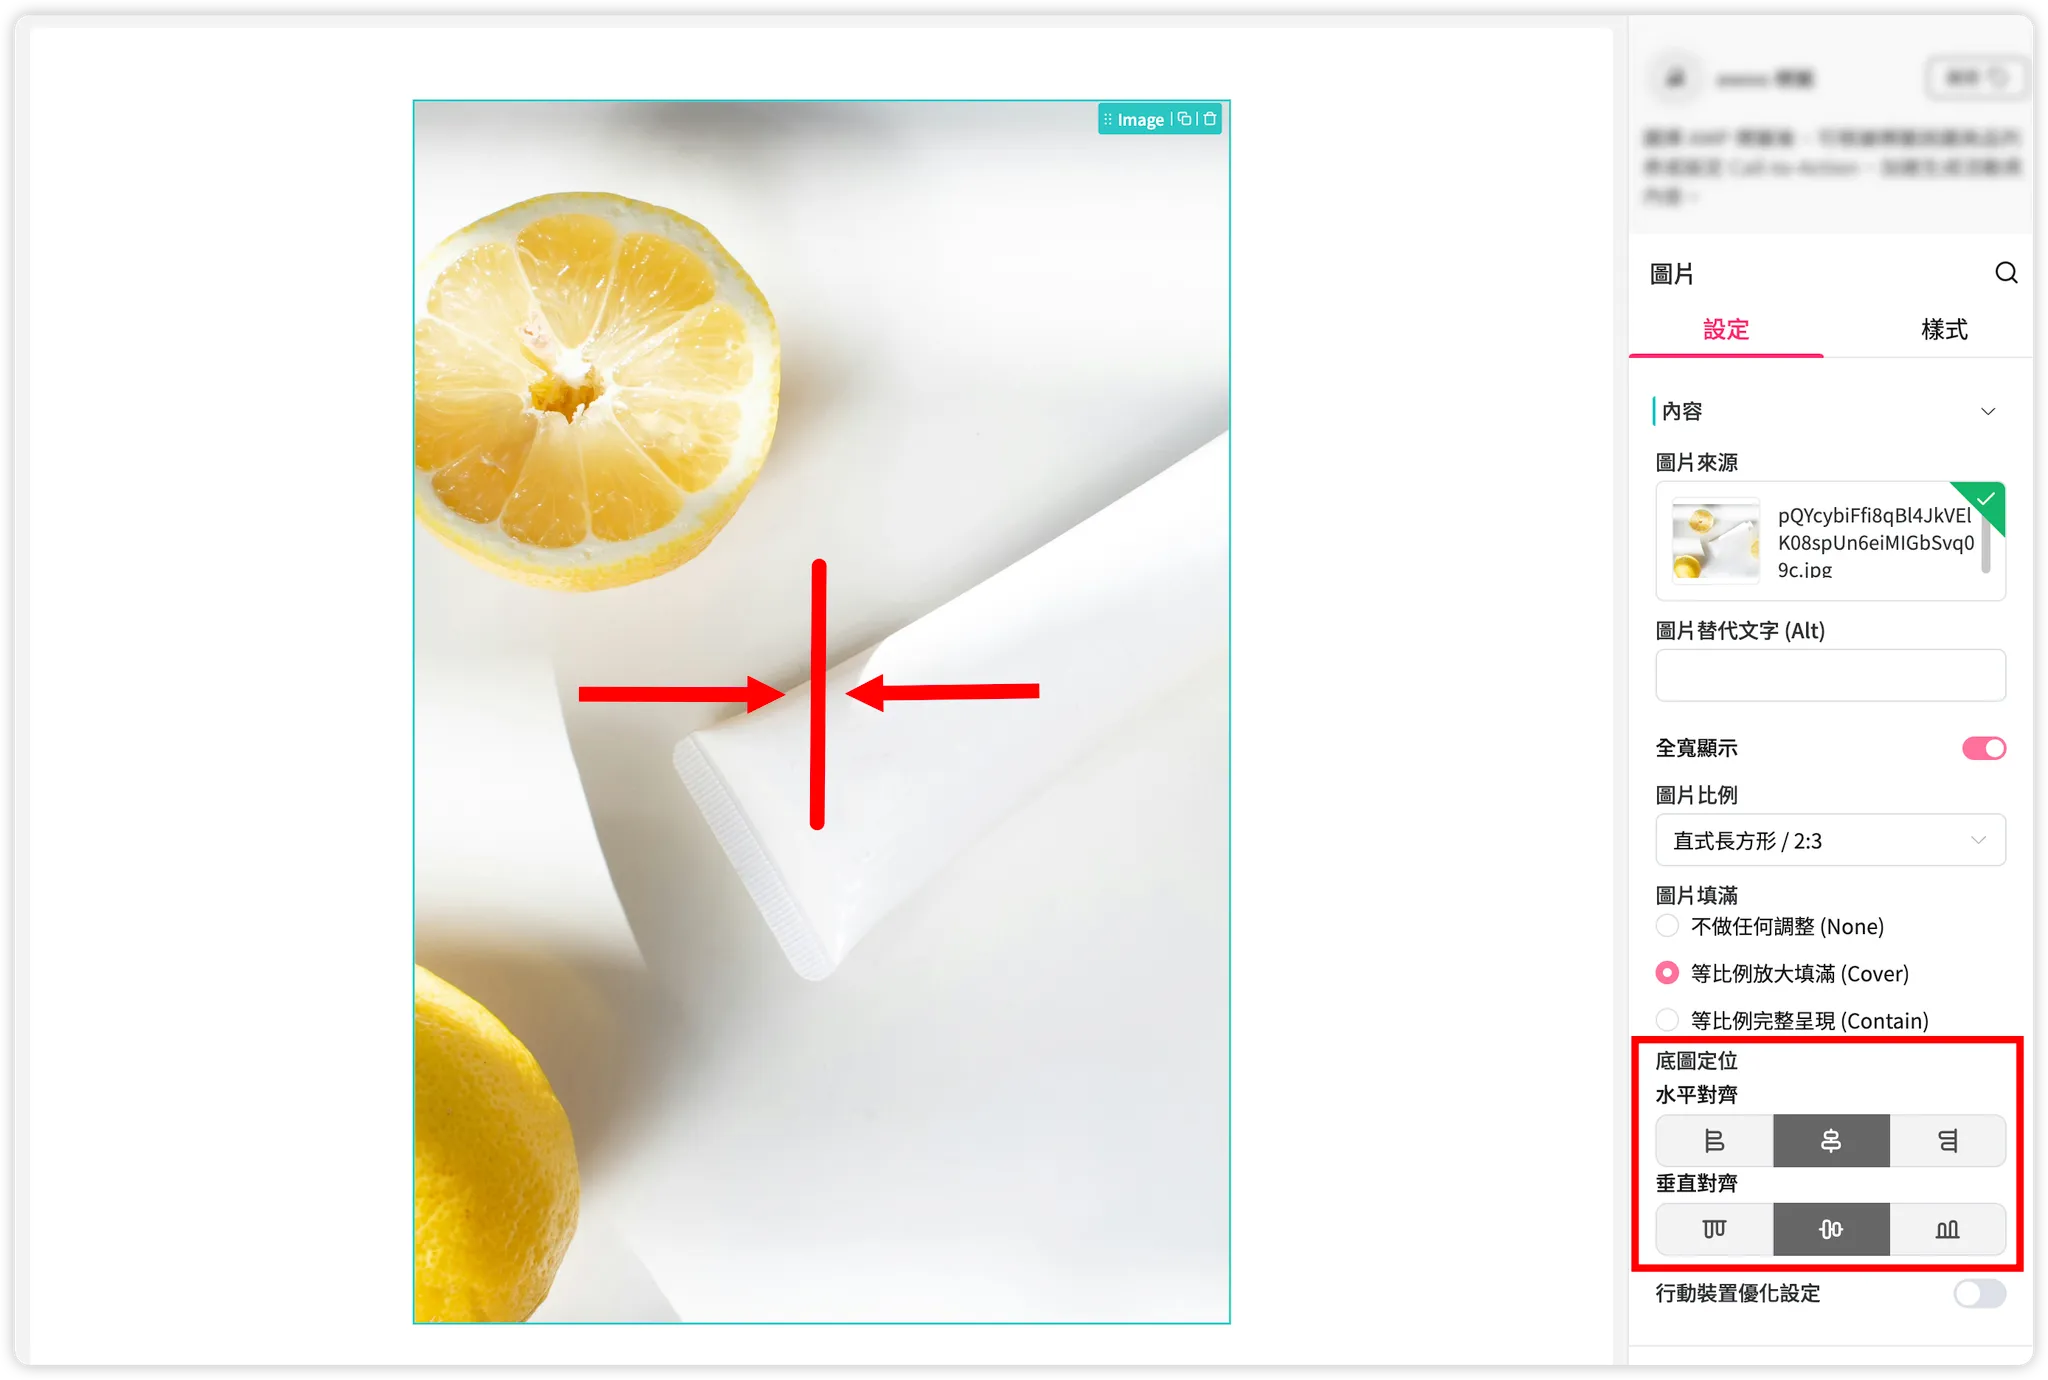
Center
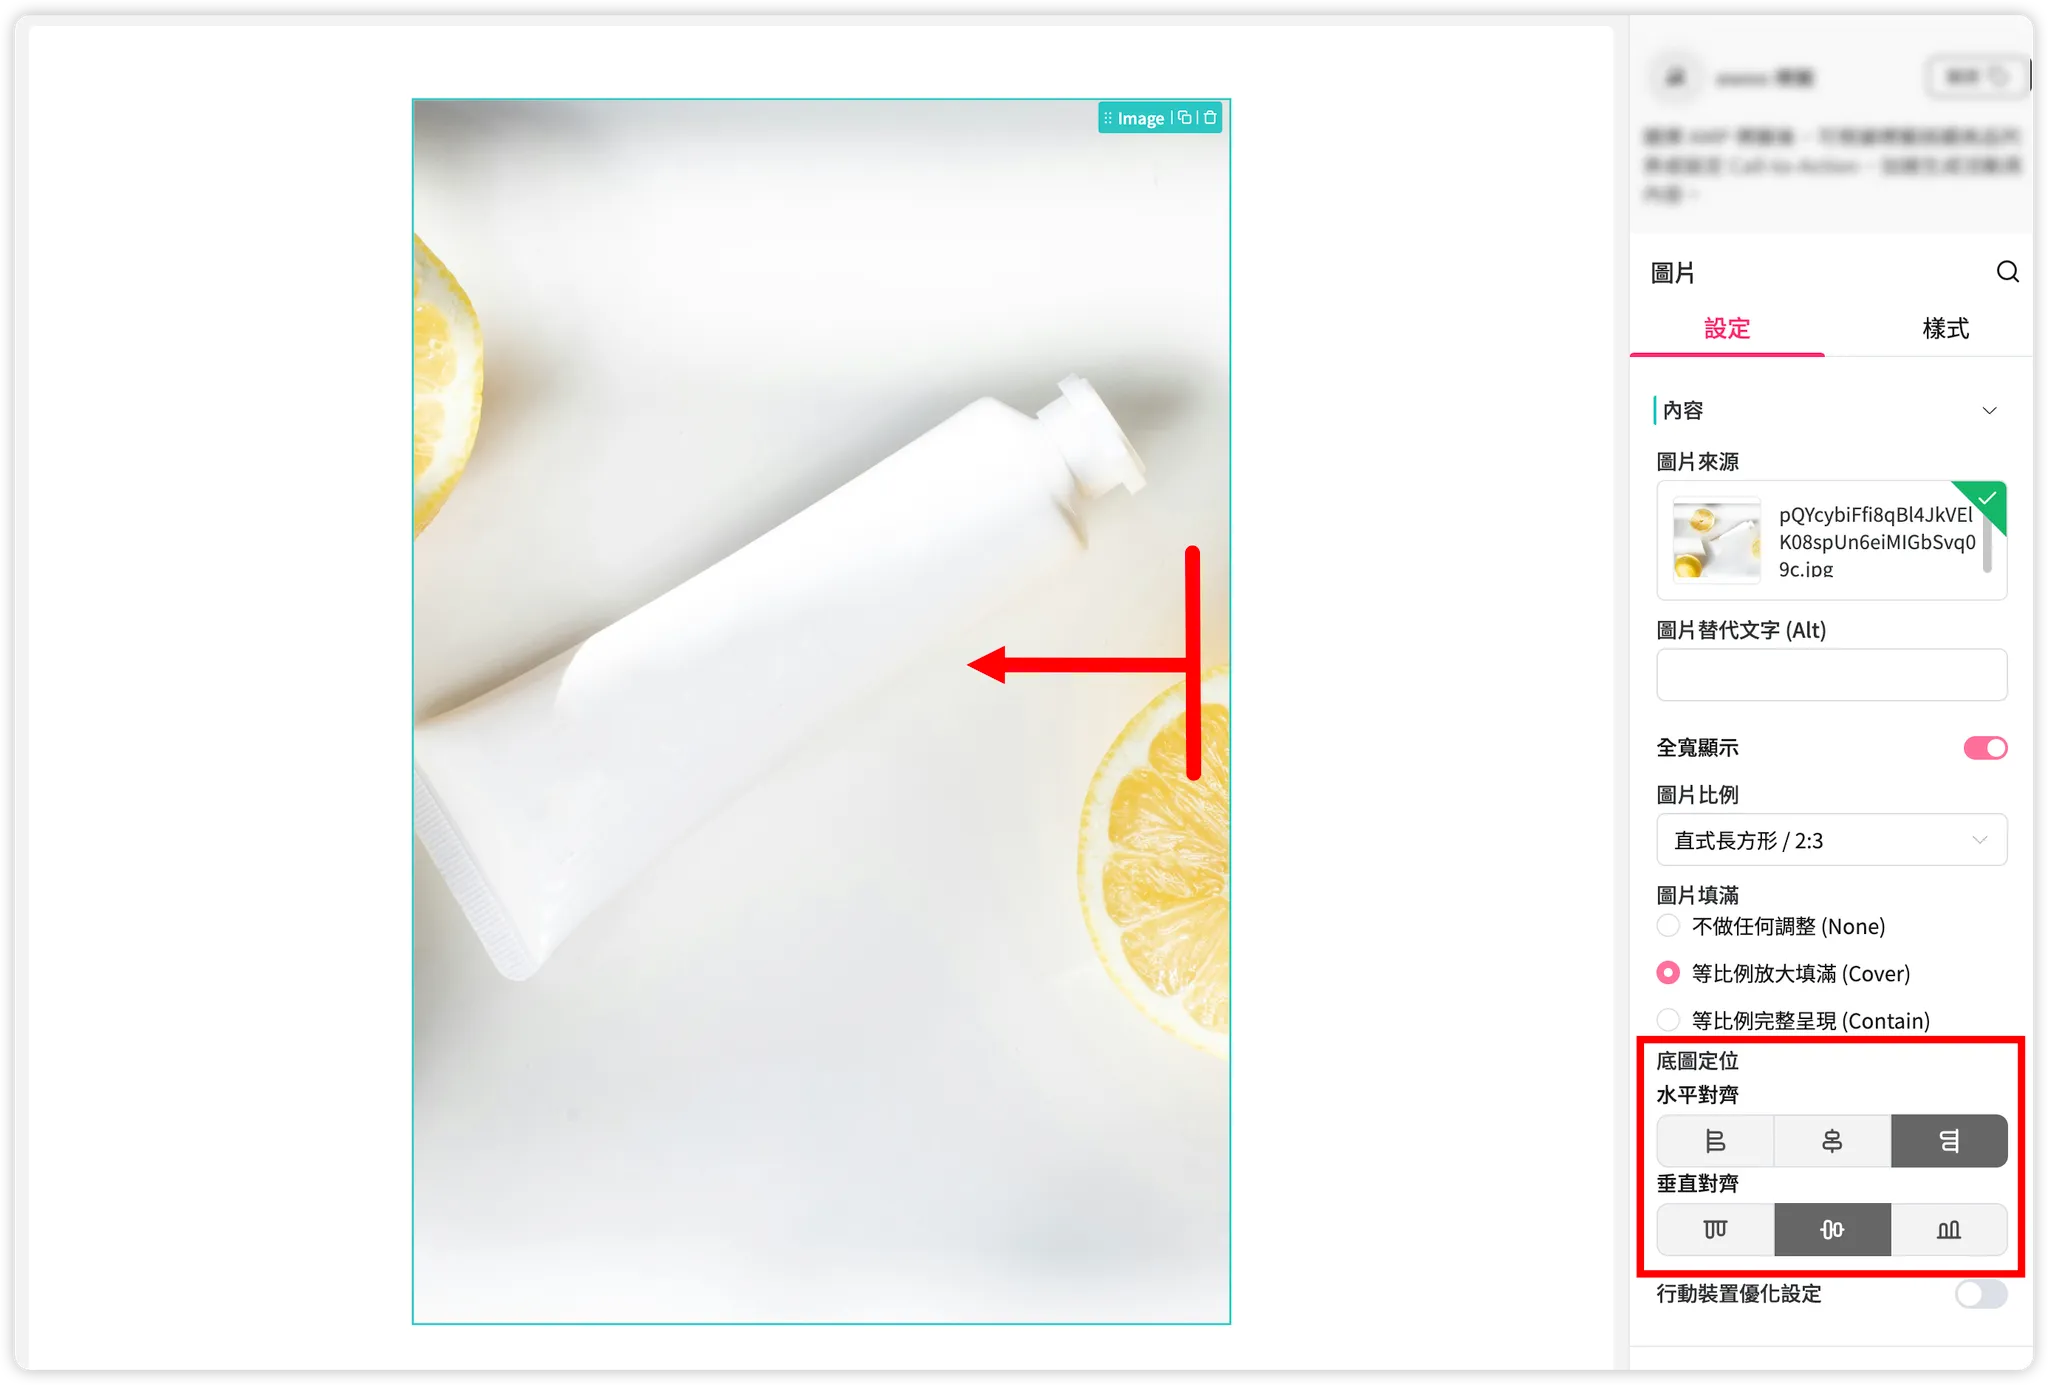
Right
-
Vertical Positioning Demo:
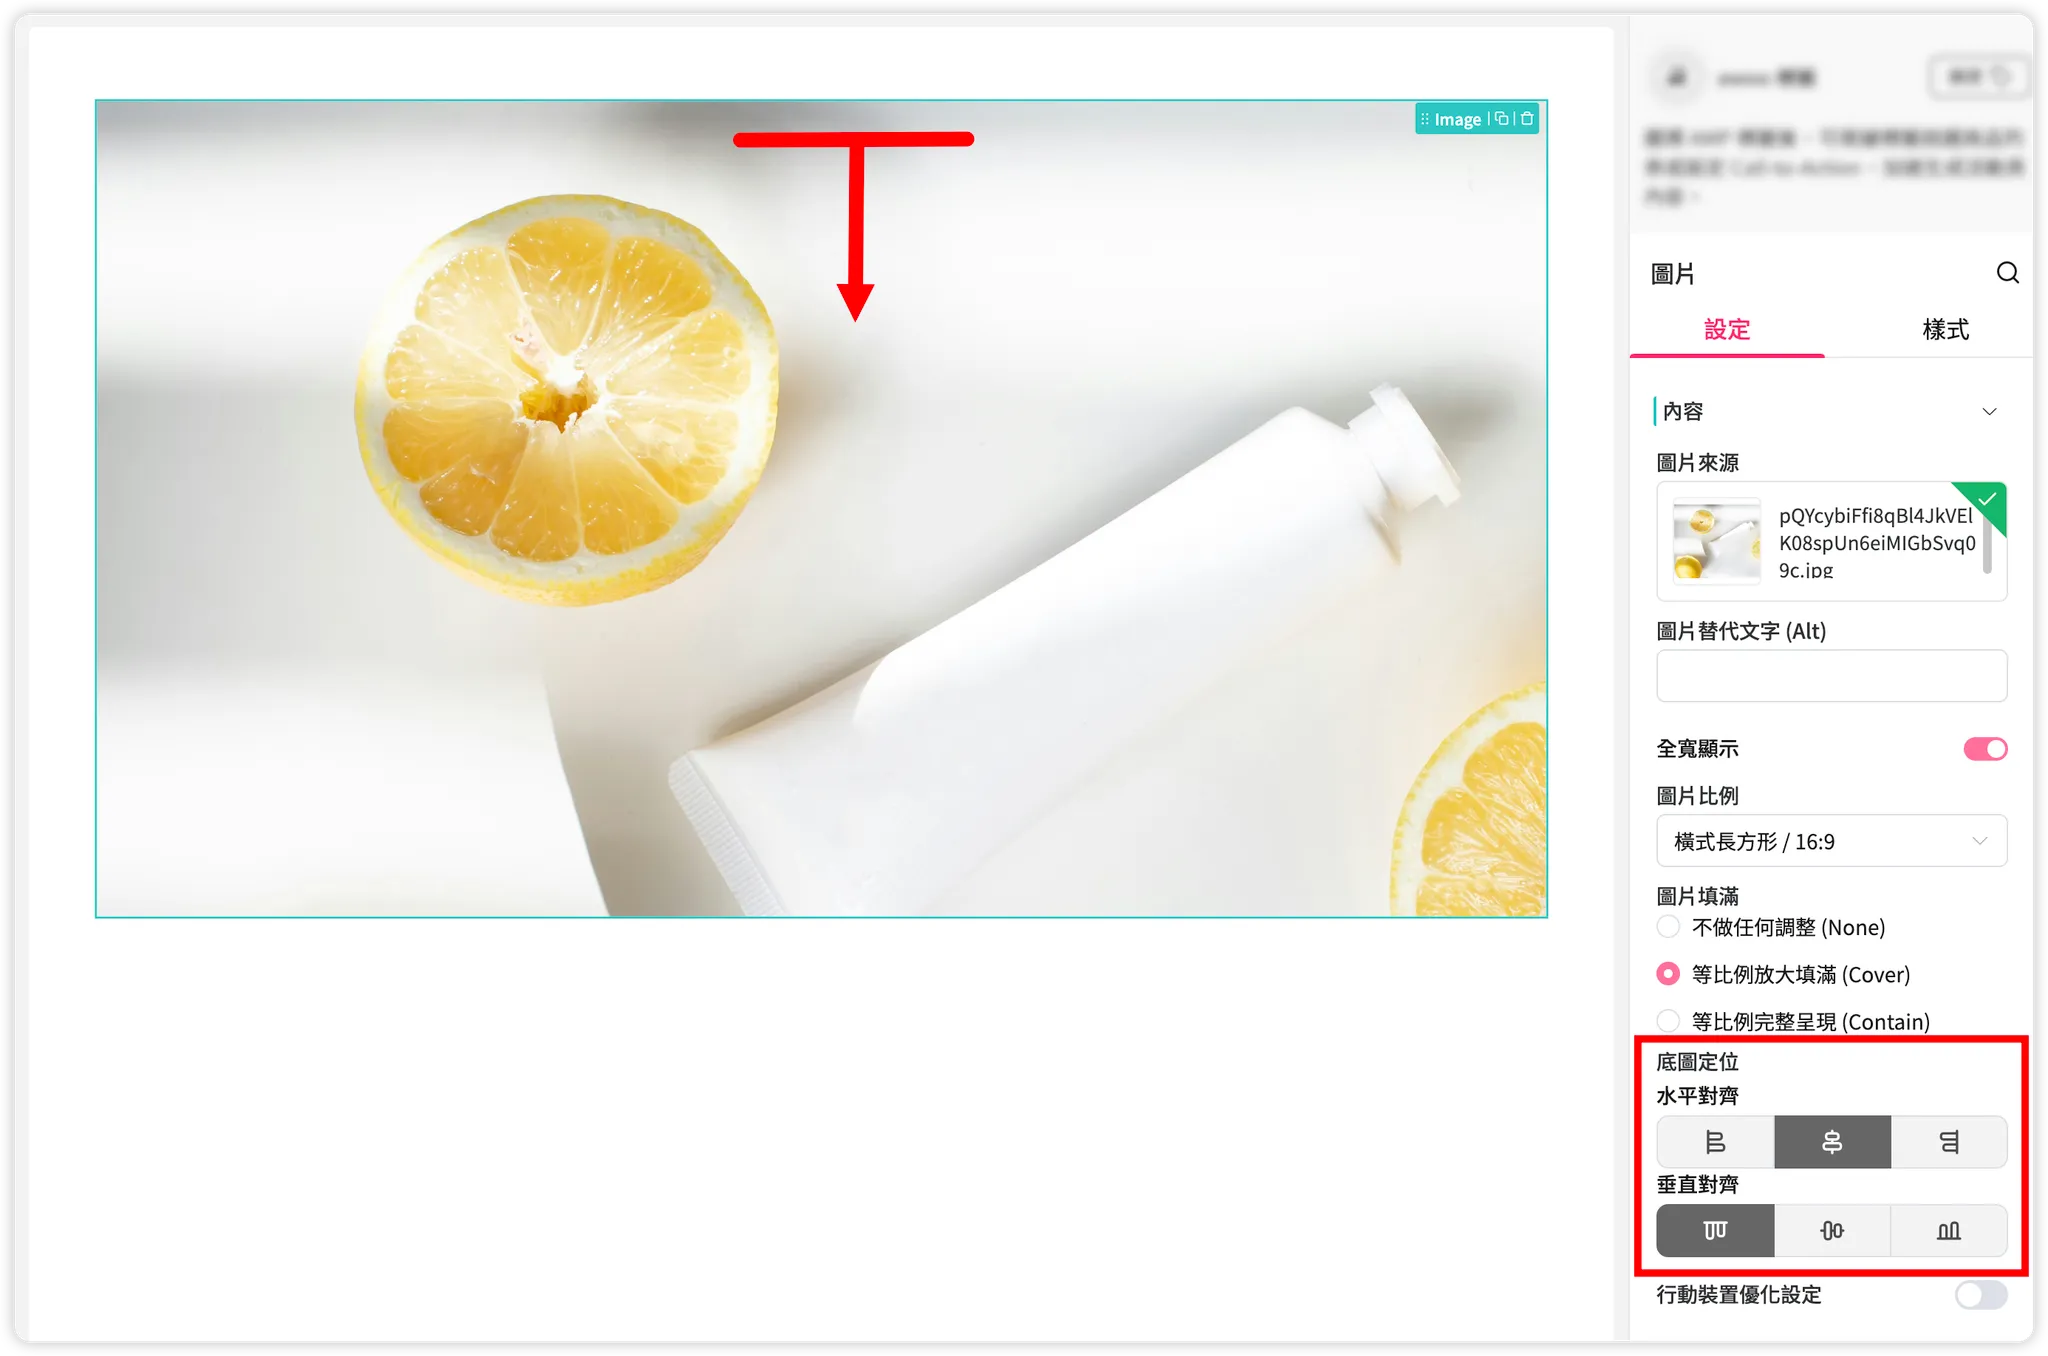
Top
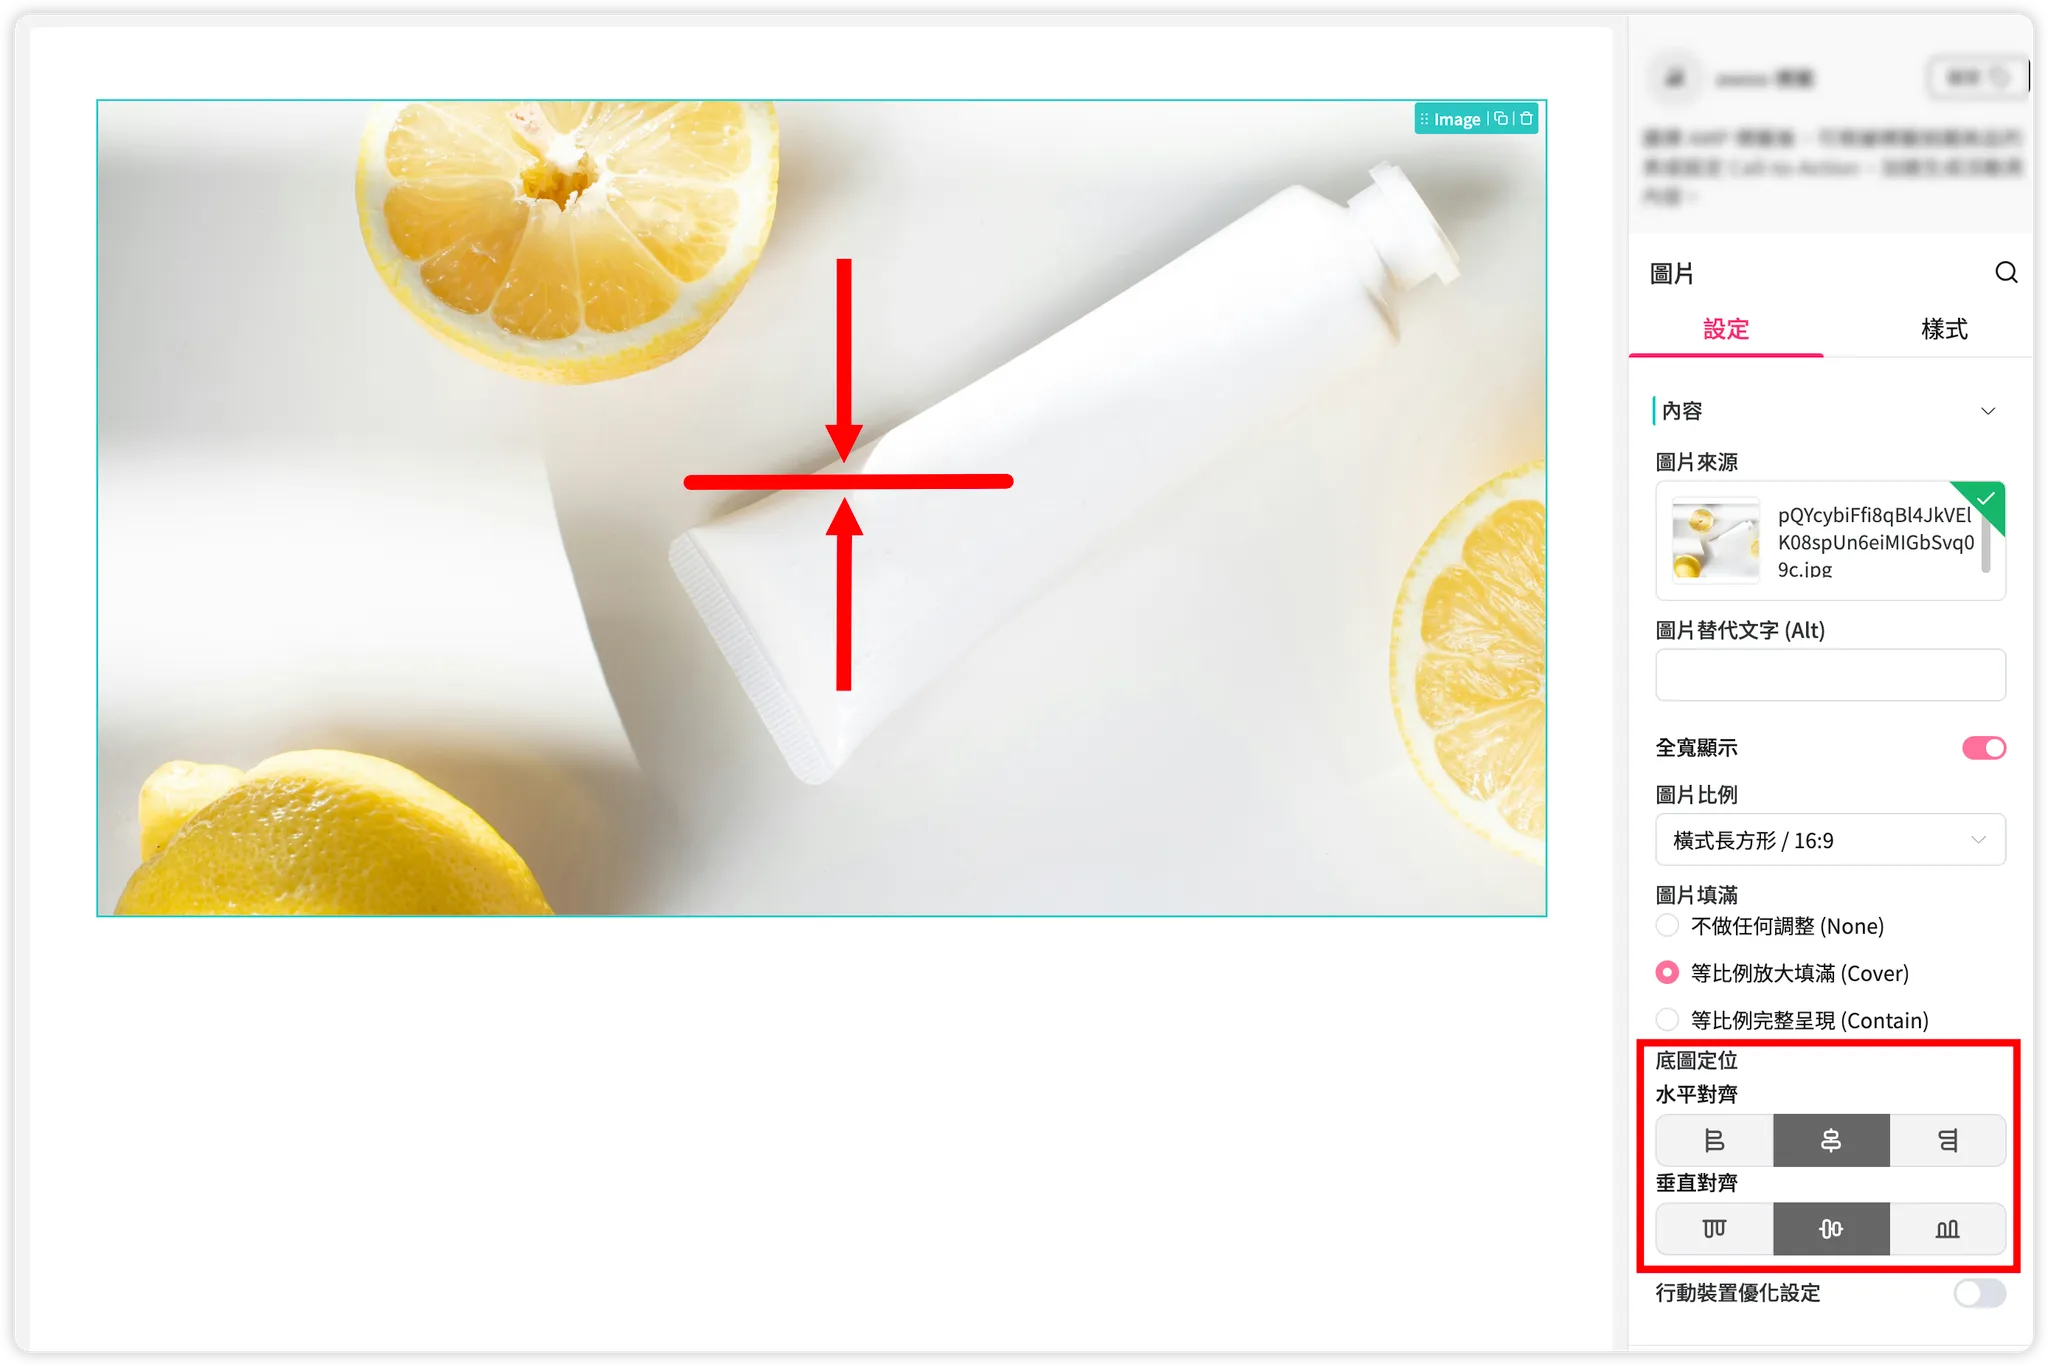
Middle
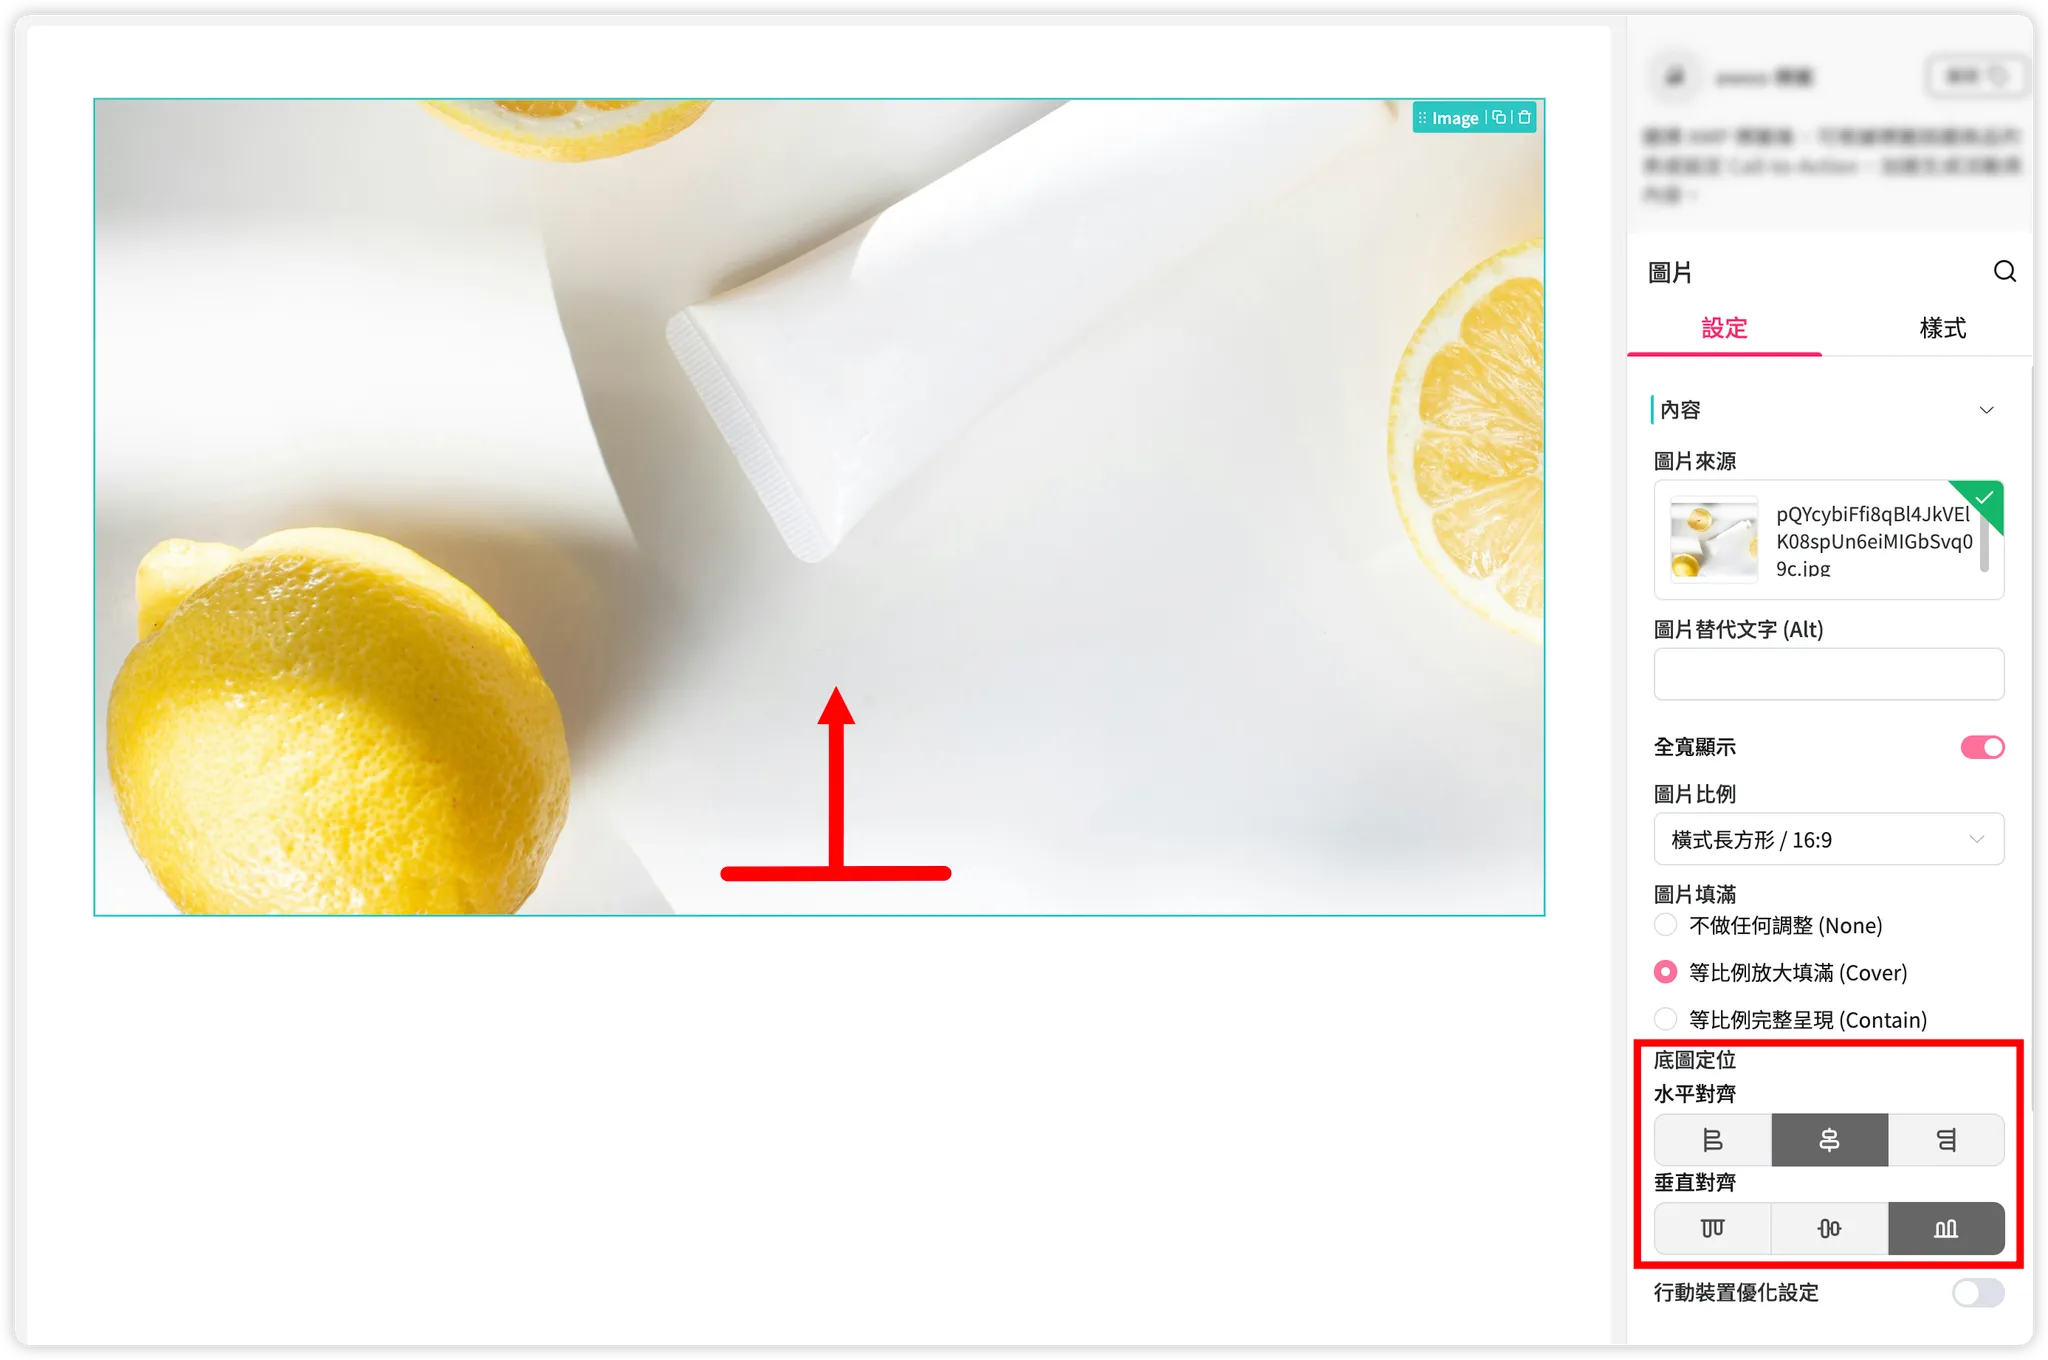
Bottom
Note: If the image size does NOT exceed the display area and no parts are cropped, it is normal that adjusting "Image Position" will have no visible effect.
▌ Set Image Alignment within the Parent Container
When the image display area is narrower than the component bounding box, you can decide the horizontal alignment within that bounding box.
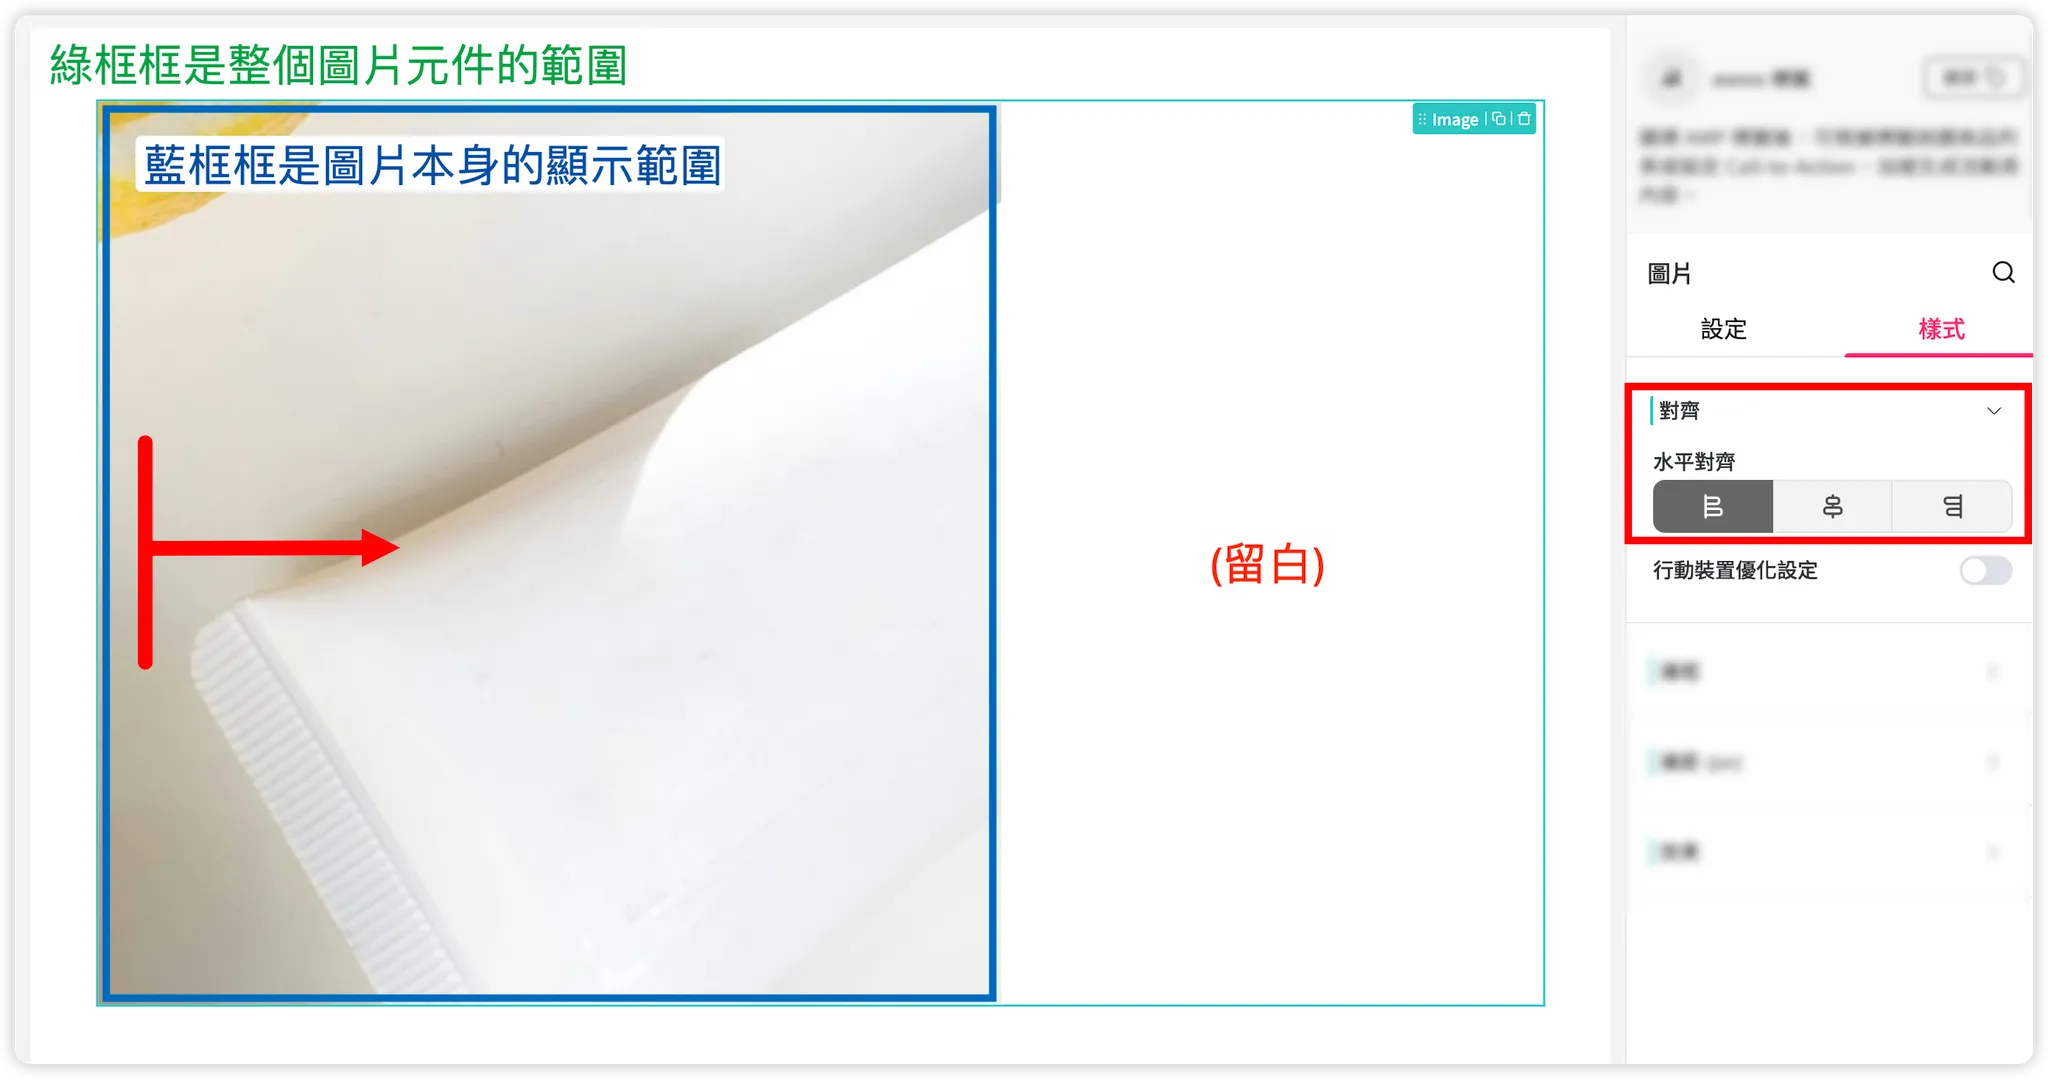
Left
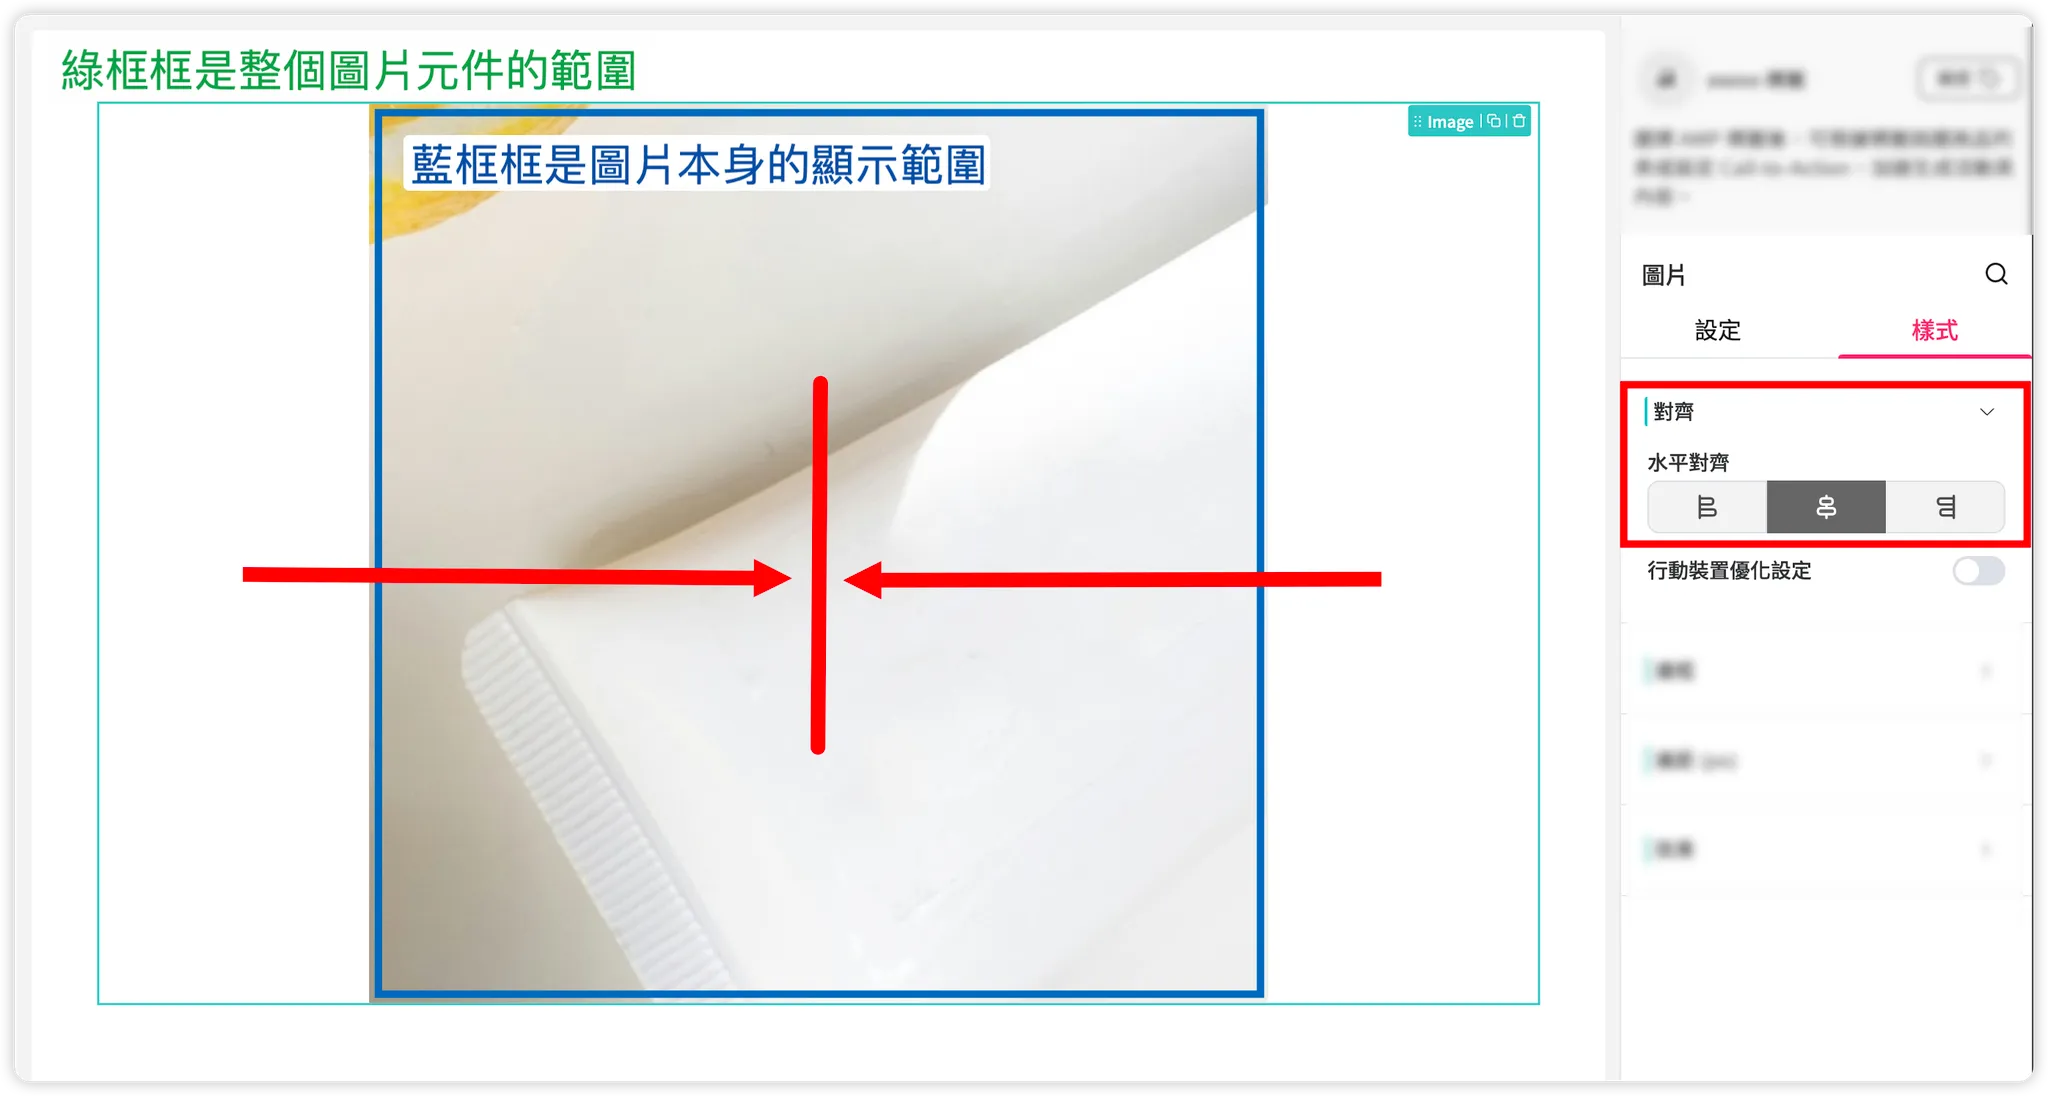
Center
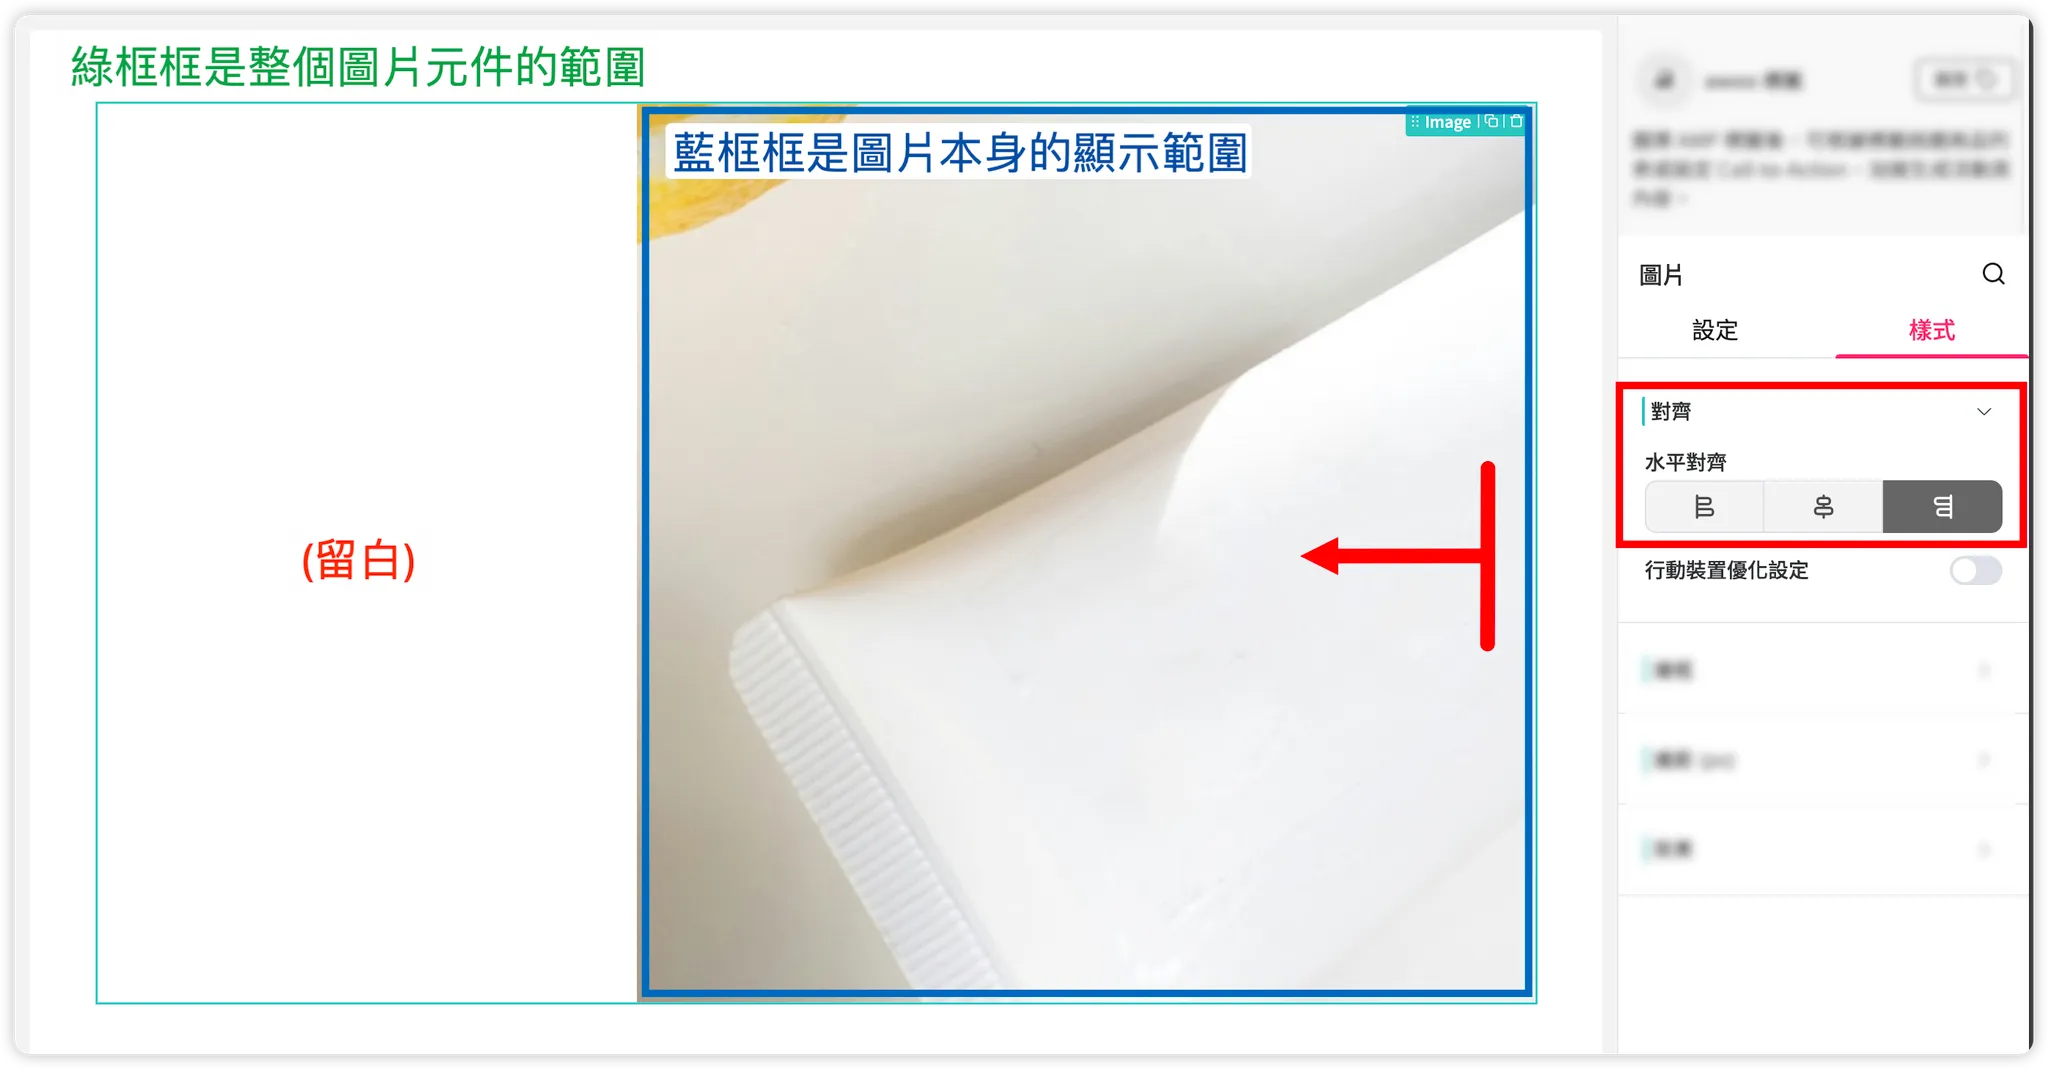
Right
Note: If the image display area fills the entire width of the component bounding box with no whitespace, it is normal that adjusting "Image Alignment" will have no visible effect.
Updated 8 months ago