
Basic Element: Image Box
Overlaying other elements on images is a common method for displaying content. The 'Image Box' component is a container-type component, which means you can drag and add other components on top of this image container to create diverse campaign page layouts.
Why use an Image Box?
In the past, if you wanted to overlay text or other content on an image, you had to set a background image for structural container components like Section, Row, or Column, and then drag content into them.
This had several limitations:
❌️ Background images cannot be assigned a URL hyperlink.
❌️ Background images cannot have Alt Text for search engines to read.
❌️ Background images cannot have their width and height set directly; they require padding/margin to expand the display area of the structural container.
The Image Box component allows you to set an image directly on the container layer and then add content inside that container.
This offers several benefits:
✅️ The image layer of the Image Box can be assigned a URL hyperlink.
✅️ The image layer of the Image Box can have Alt Text for search engines.
✅️ The image layer of the Image Box allows direct configuration of width, height, and ratio, making it better suited for RWD (Responsive Web Design).
How to Operate
-
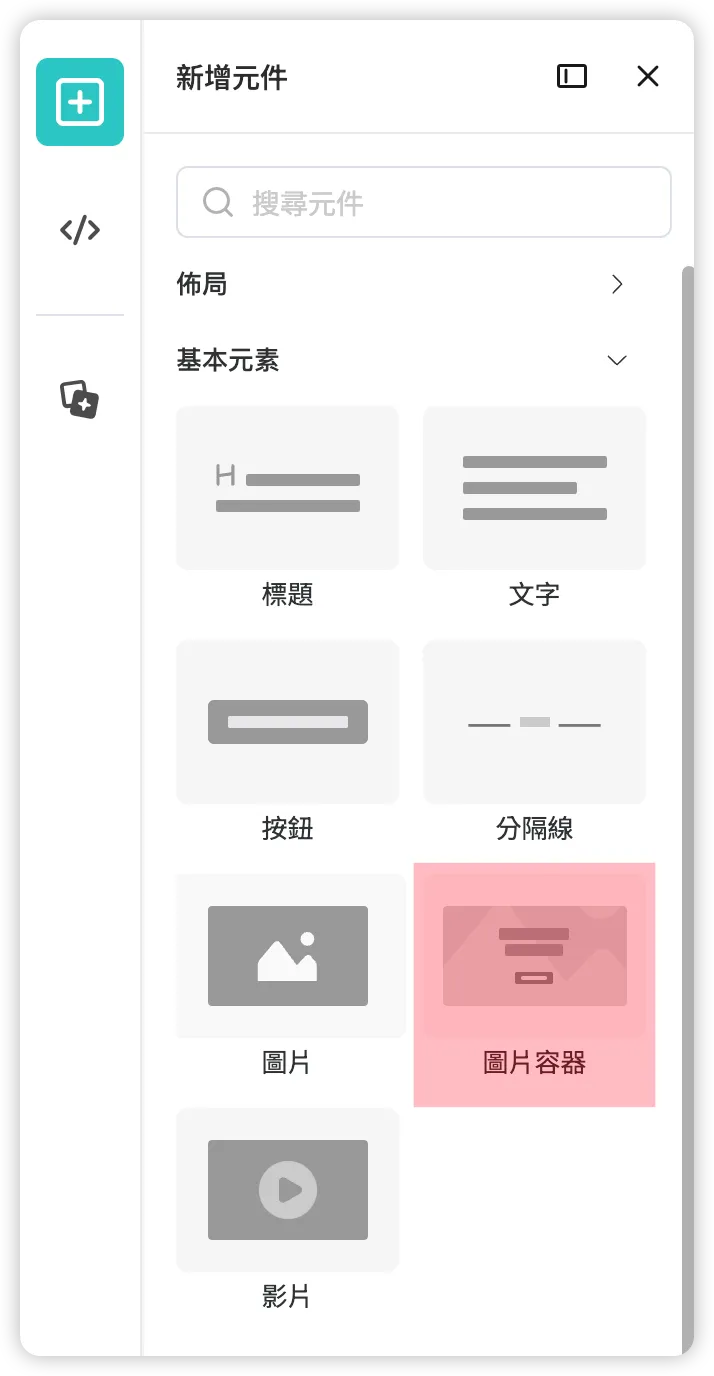
Add to canvas from the component library on the left
-
Configure the image for the "Image box" layer (Basic operations are identical to the "Image" component)
-
In [Settings] tab > [Content] section:
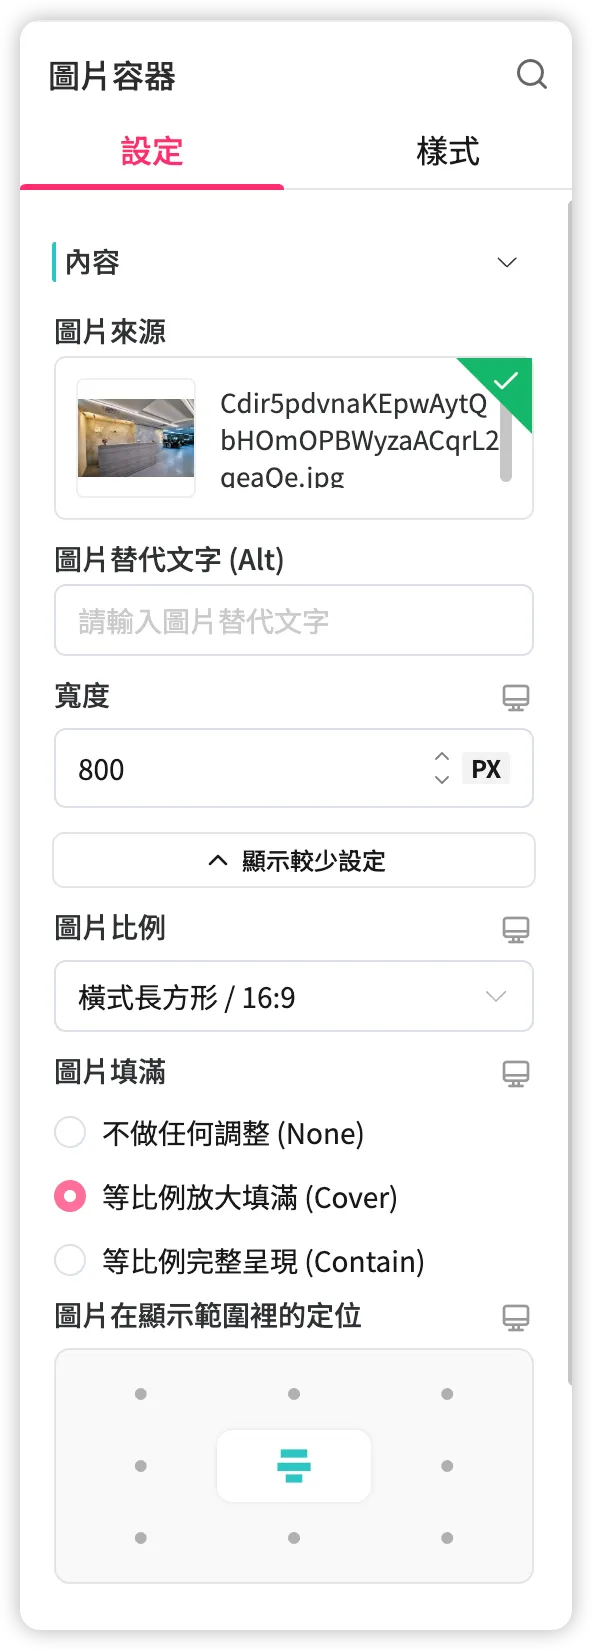
- Image Source
Three upload methods: Upload file, Enter URL, or Select website product image. - Image Width
Defaults to 100%, inheriting the width of the parent structure. Can be manually changed to N px. - Show More Settings > Image Ratio
Defaults to "Original." Controls for "Image Fit" and "Image Position" only appear when a specific ratio is set that might prevent the full image from being displayed. - Show More Settings > Image Fit
Determines how the image fills the display area. - Show More Settings > Image Position within Display Area
When the image exceeds the display area and parts are cropped, adjust the positioning reference point to optimize the presentation.
- Image Source
-
In [Style] tab > [Alignment] section:
-
Horizontal Alignment
When the image display area is narrower than the Image Box bounding box, you can determine the horizontal alignment of the image within that box. If the image is the same width as the box, no visible effect will occur.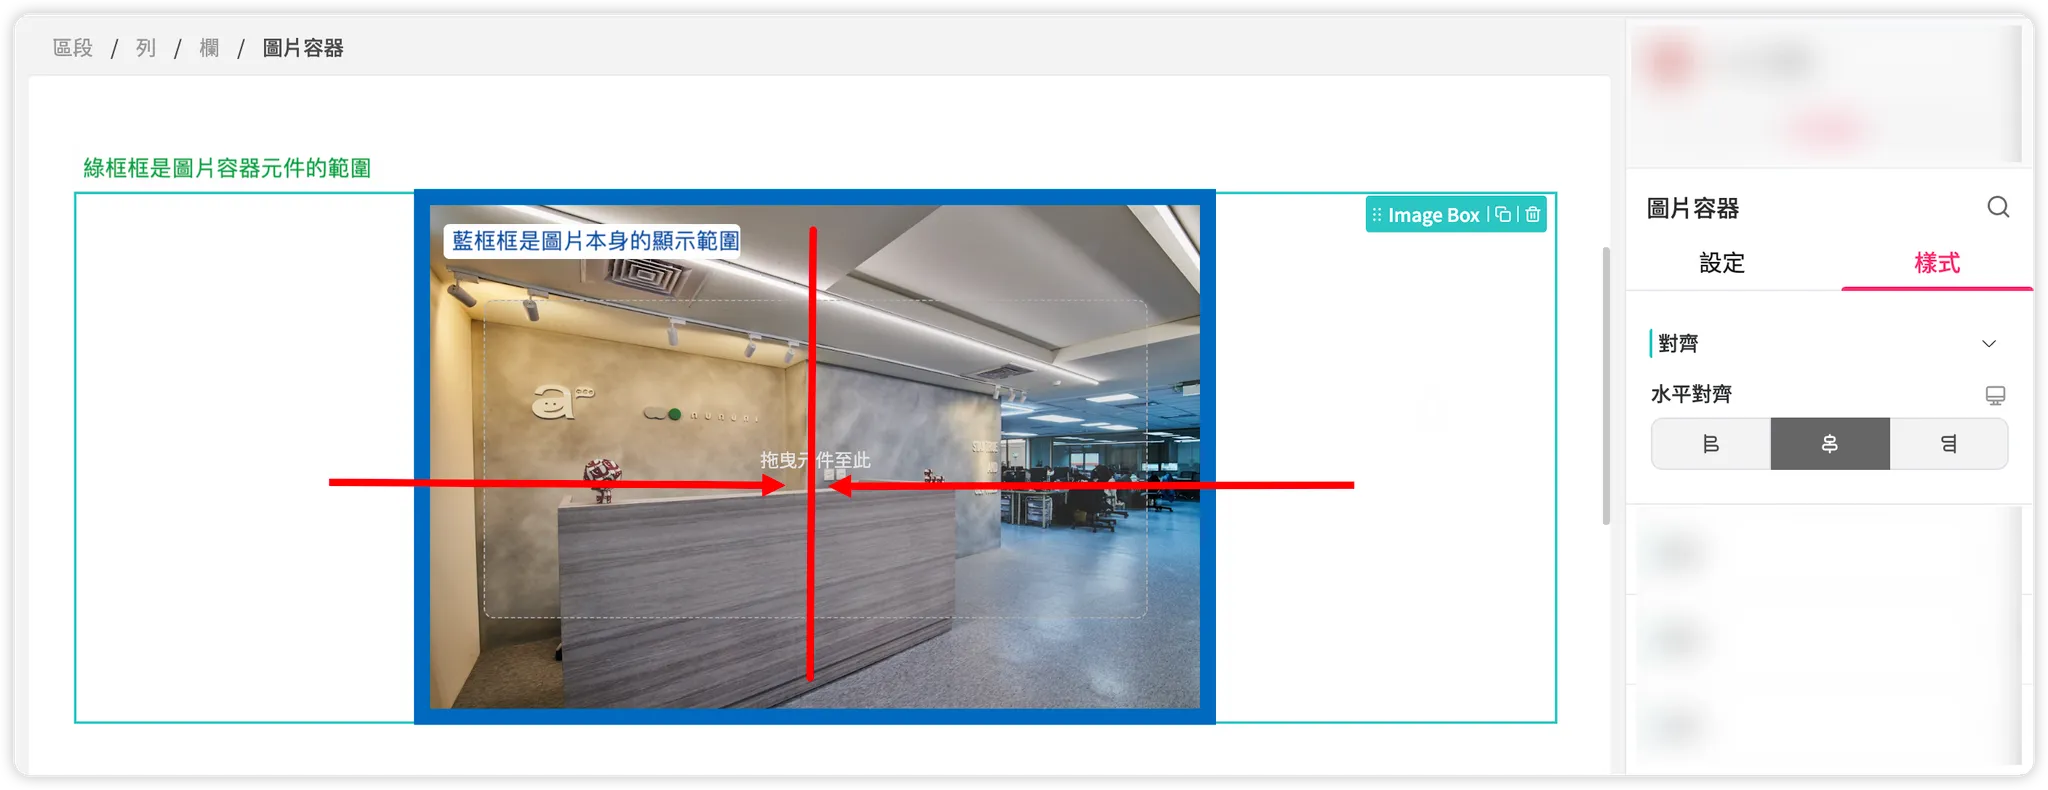
-
-
-
Drag desired content into the container
-
Return to the "Image box" layer to change content alignment
- In [Settings] tab > [Layout] section:
-
Child Component Position in Container
When the child component bounding box is narrower than the Image Box display area, you can determine the horizontal alignment of these child components. If they are the same width, no visible effect will occur.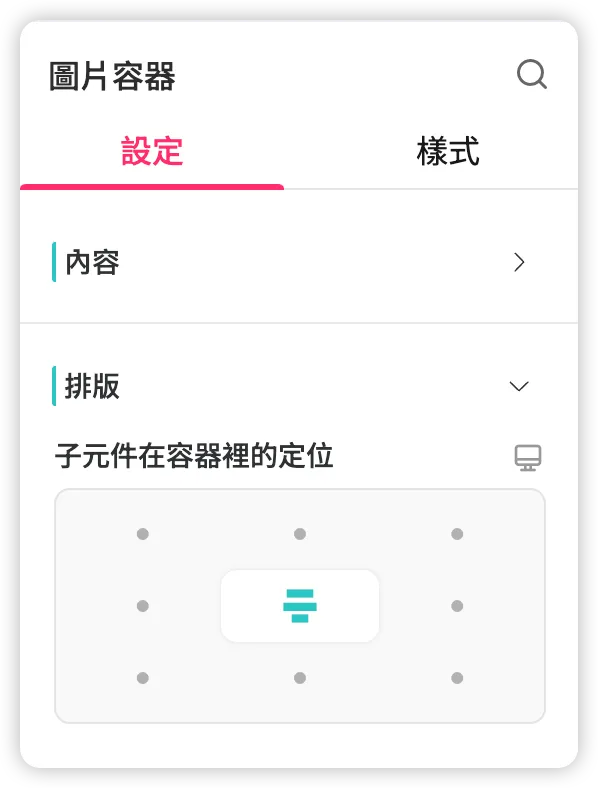
-
- In [Settings] tab > [Layout] section:
Other Considerations
- The Image Box does not support placing the following items inside:
- Section
- Product list
- Category list
- Instagram gallery
- Other Image boxes
- When exporting to Email HTML, since the email format does not support overlaying content on images, the content of the Image Box will appear below the image.
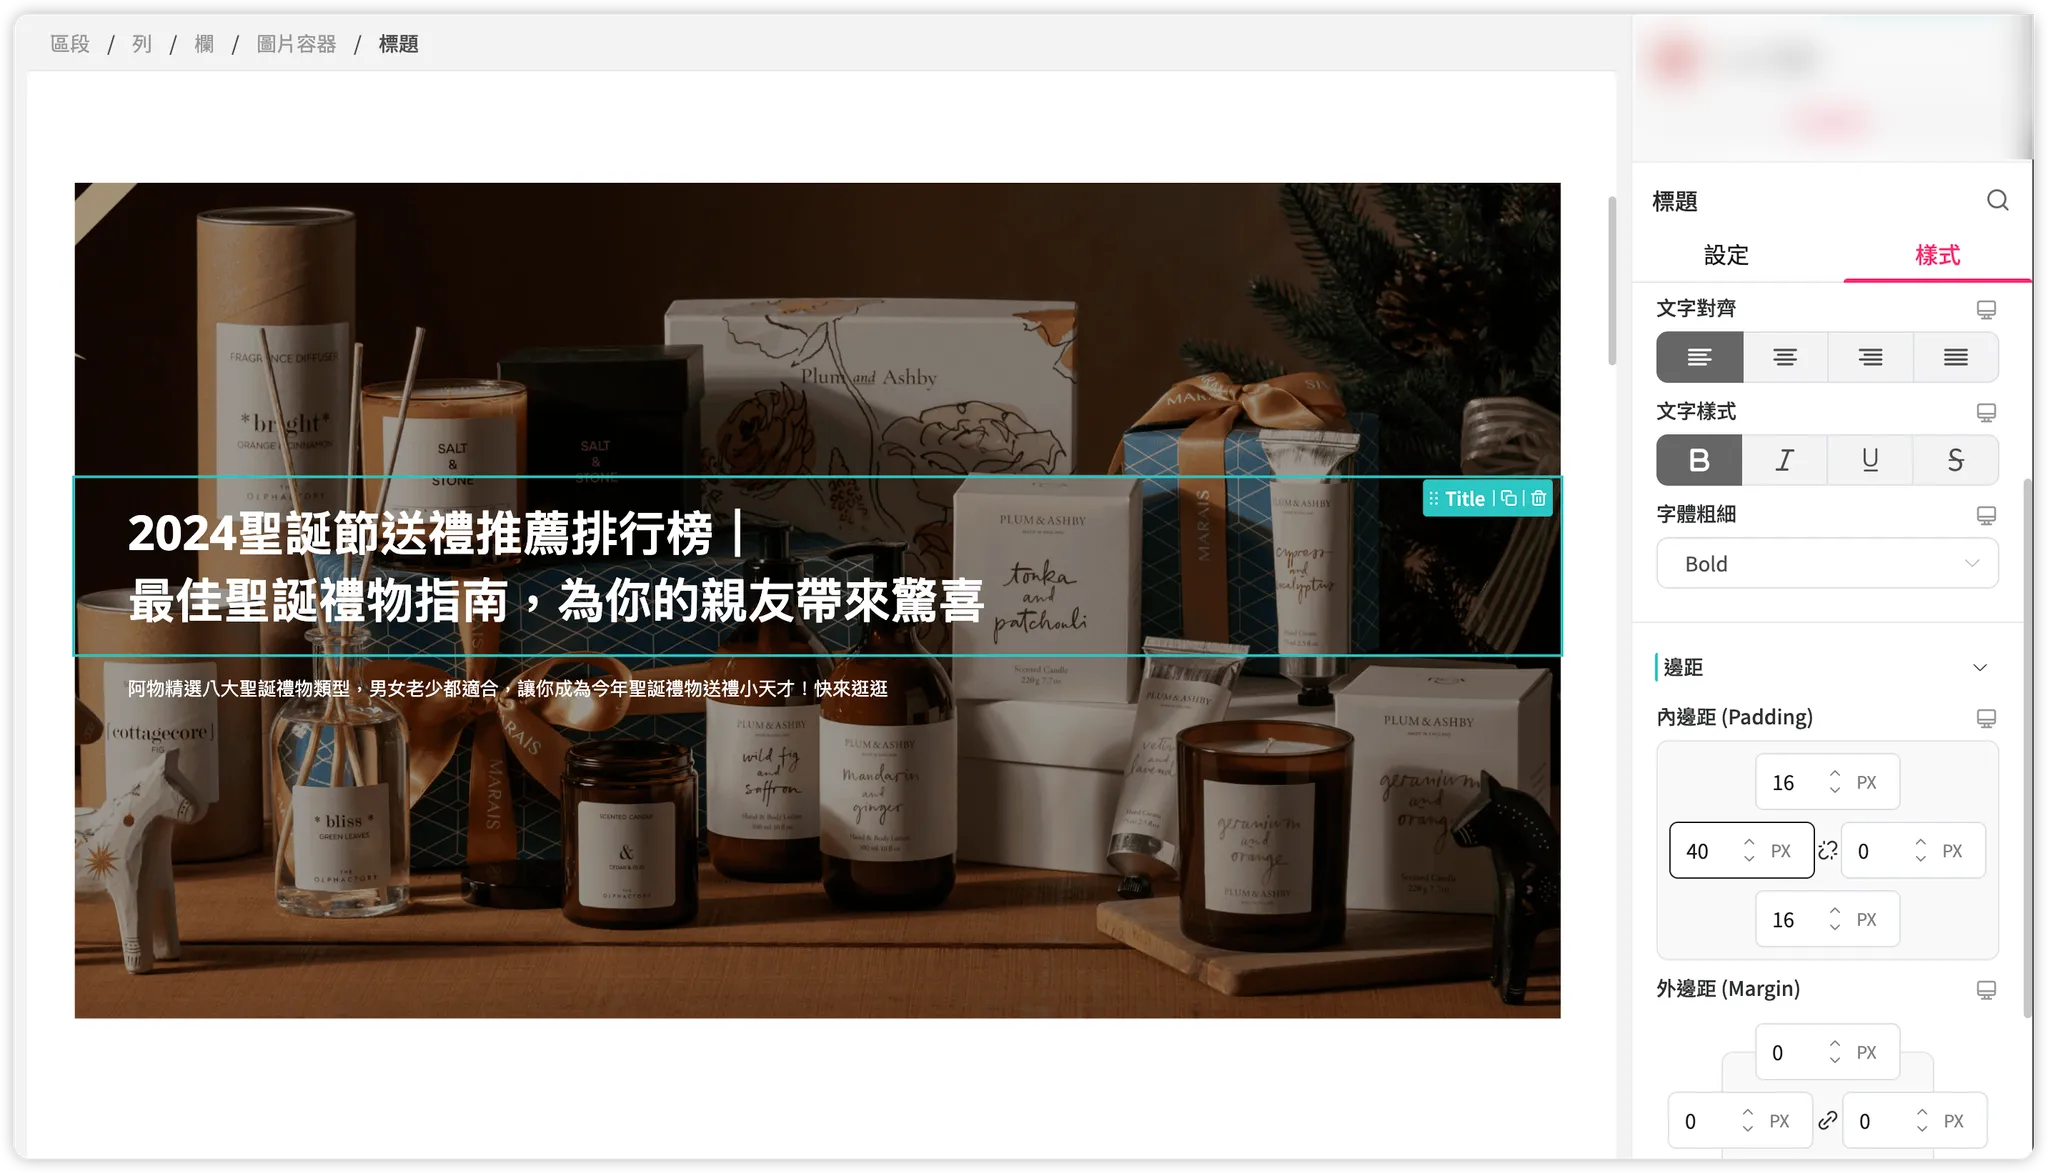
Usage Example: Clickable Hero Banner
-
Set the background image on the "Image box" layer.
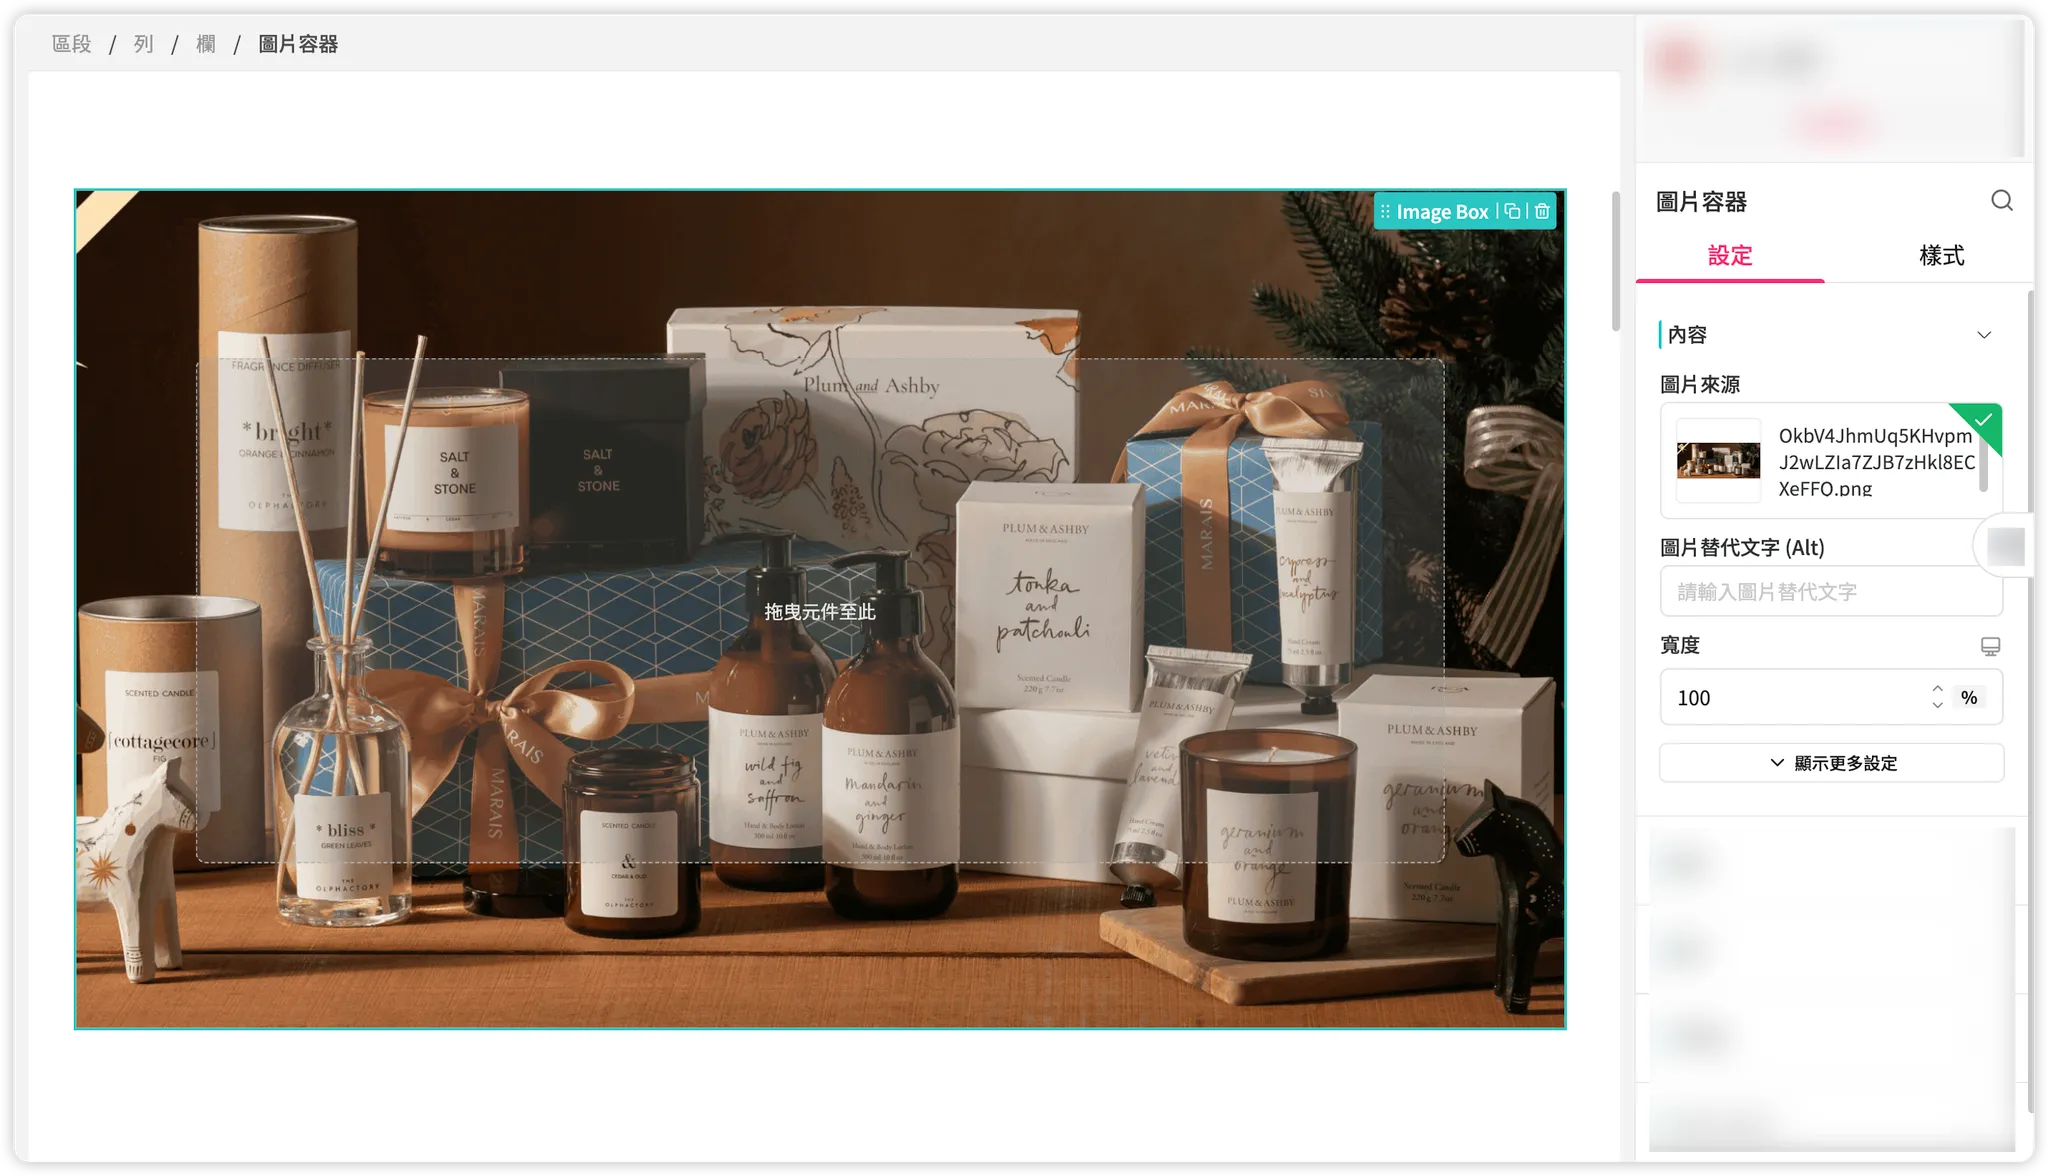
-
Enable overlay on the "Image box" layer, set color to
#000000and opacity to 40%.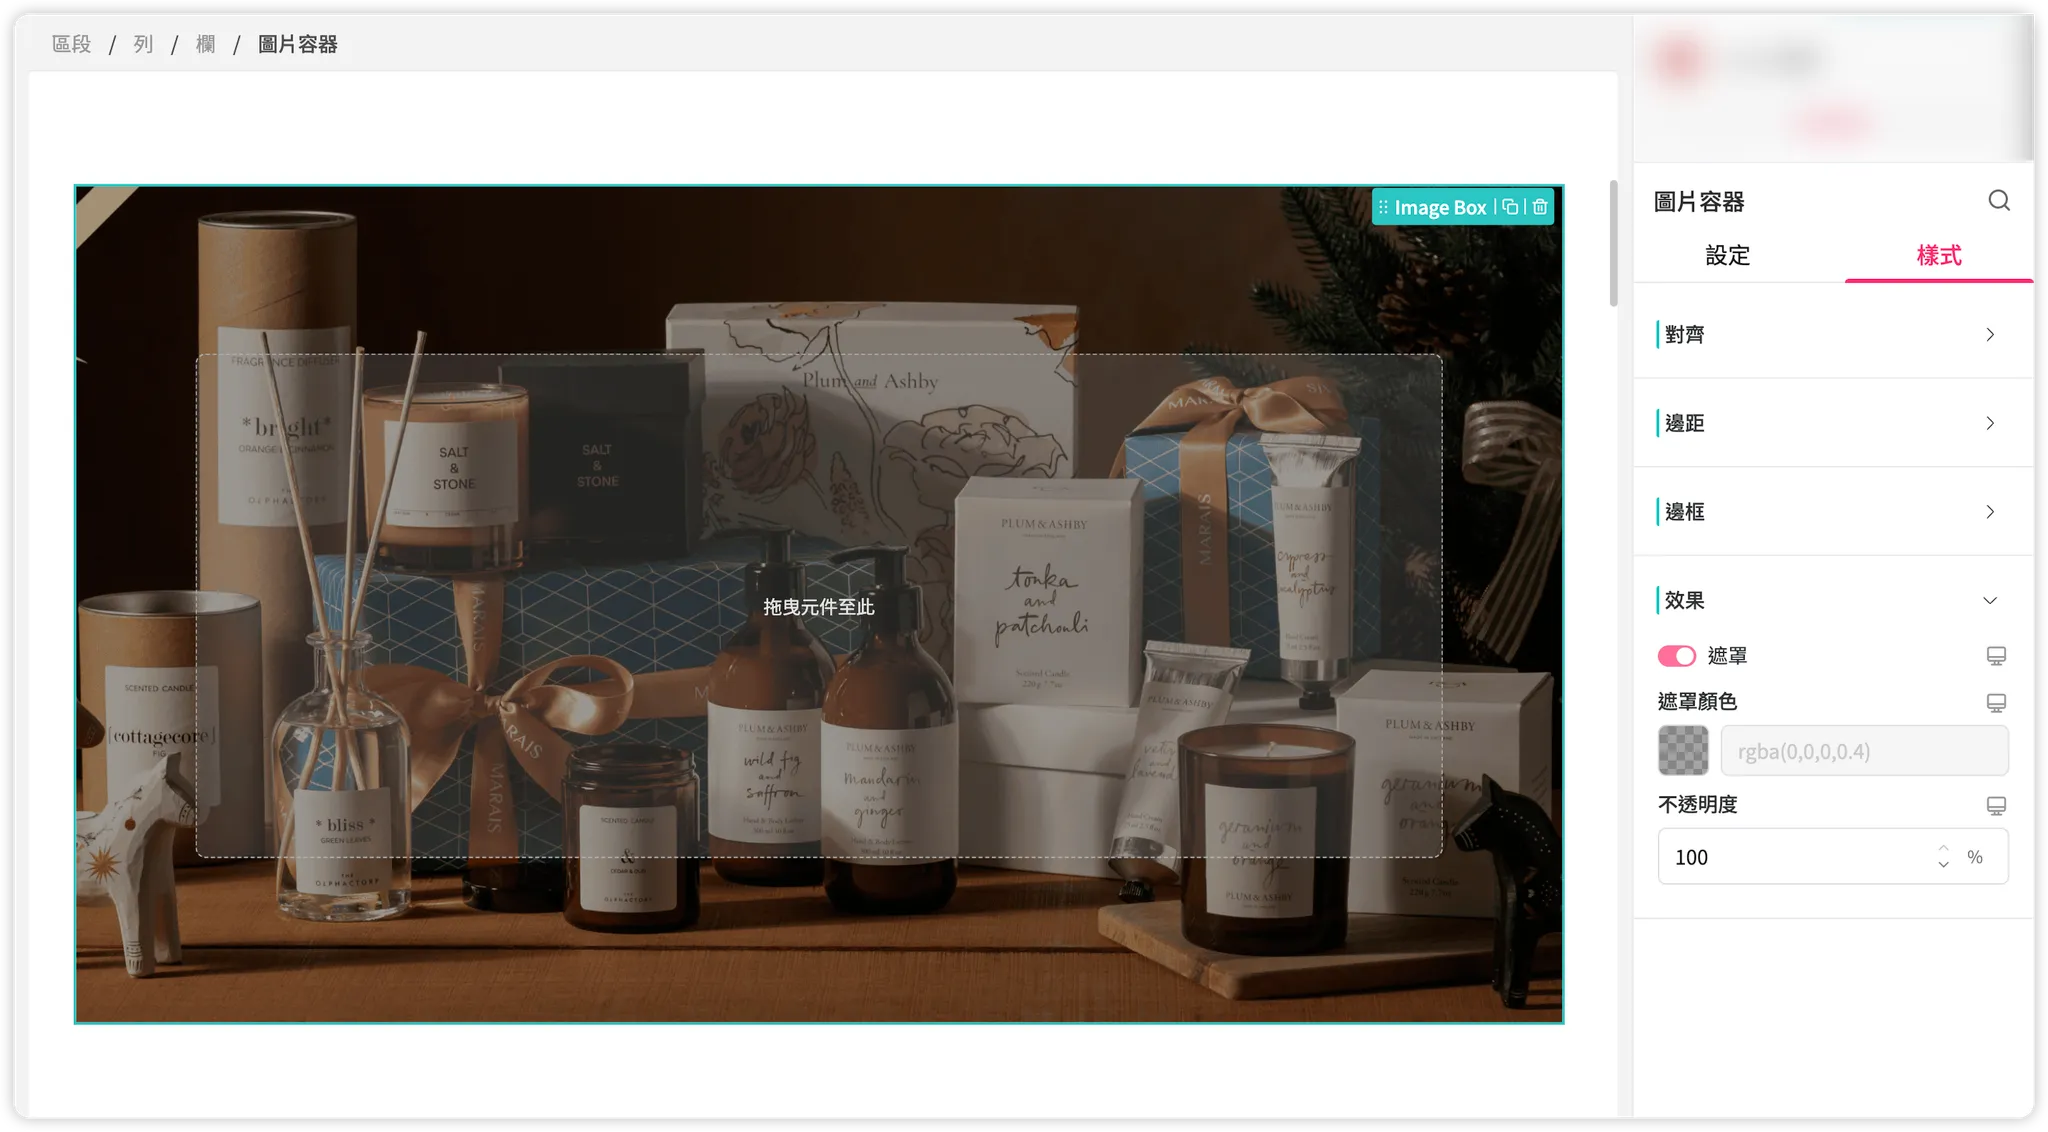
-
Set the URL hyperlink on the "Image box" layer.
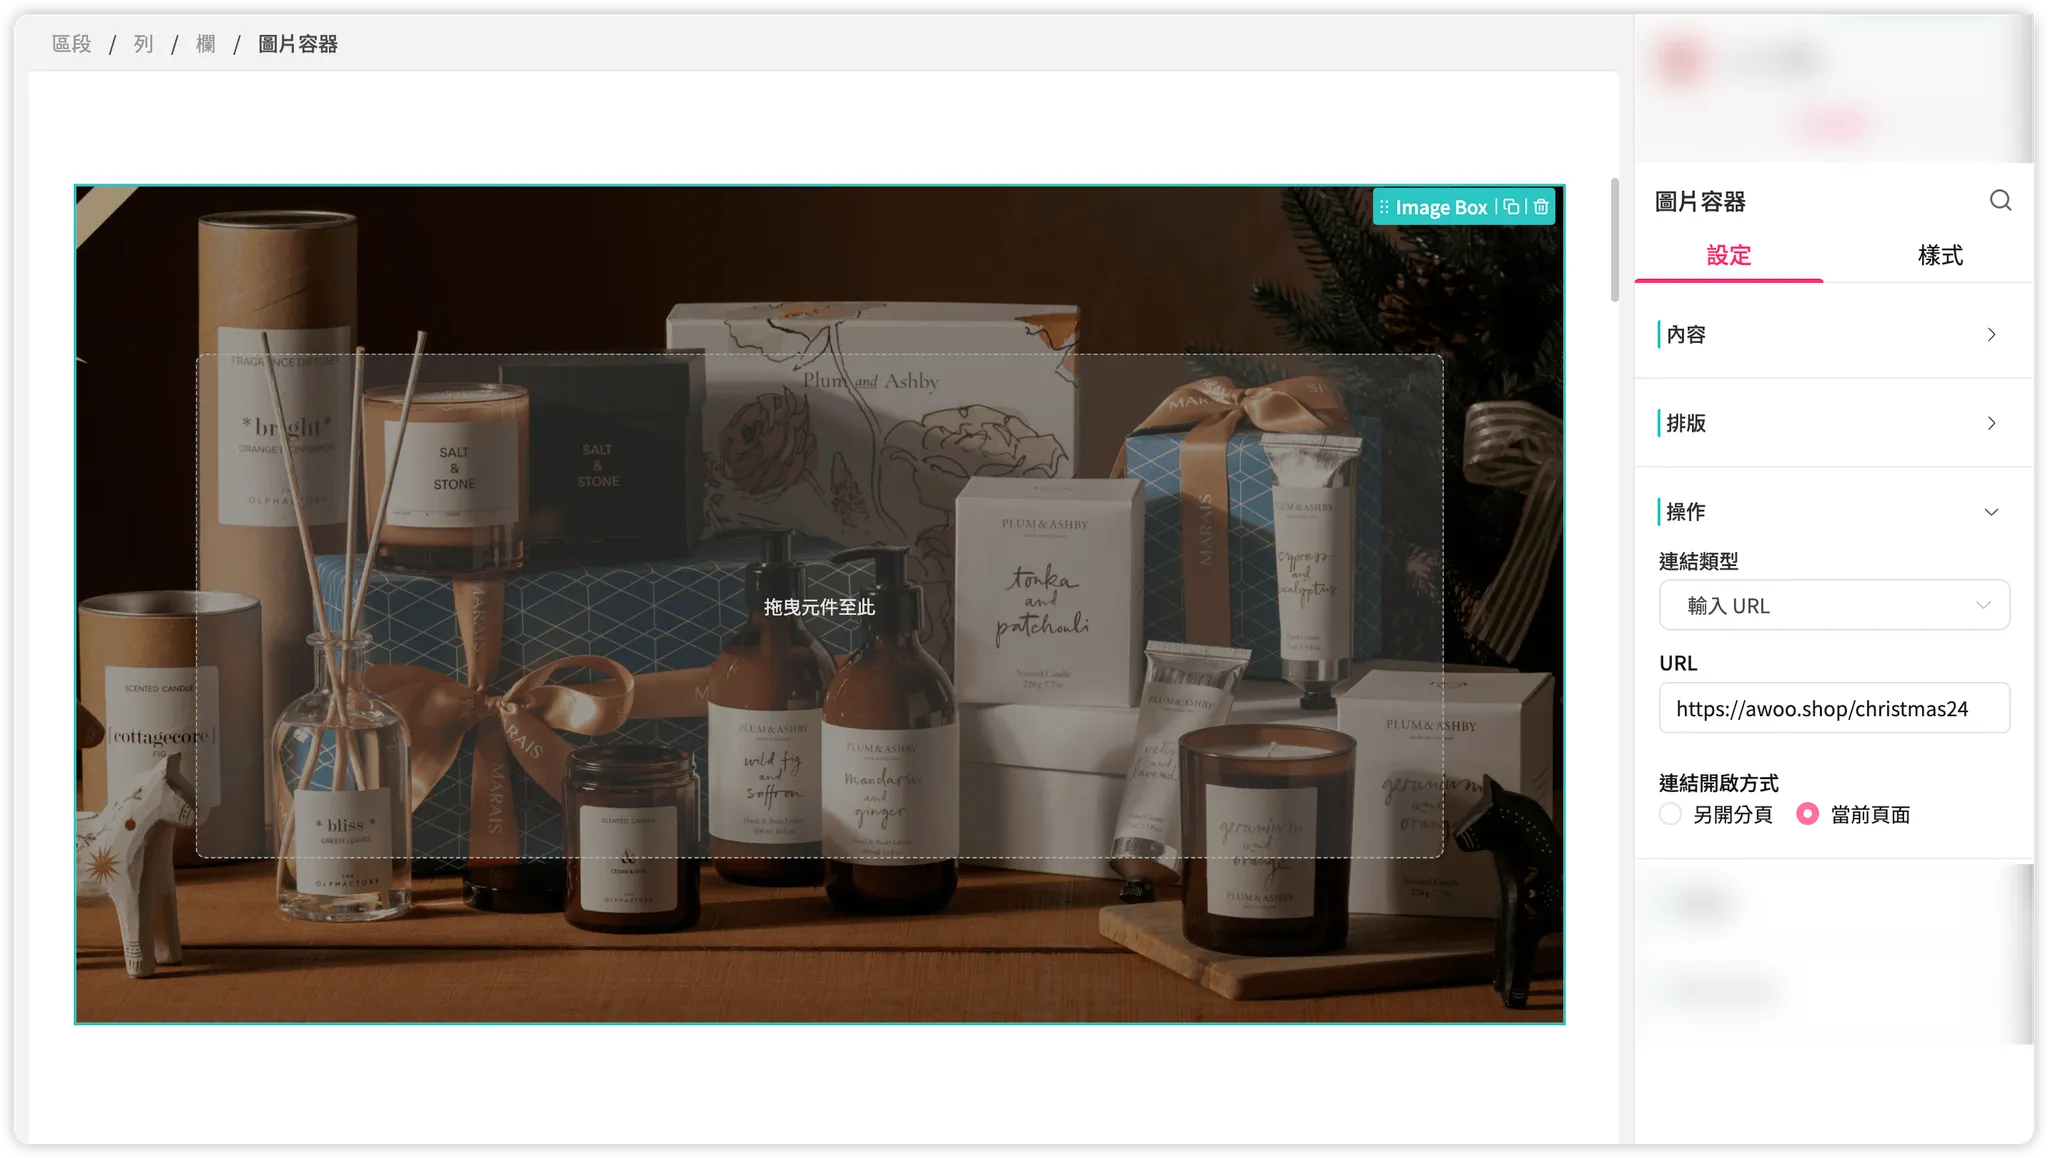
-
Drag "Heading" and "Text" components inside, then switch to the [Style] tab to change text color to
#FFFFFF.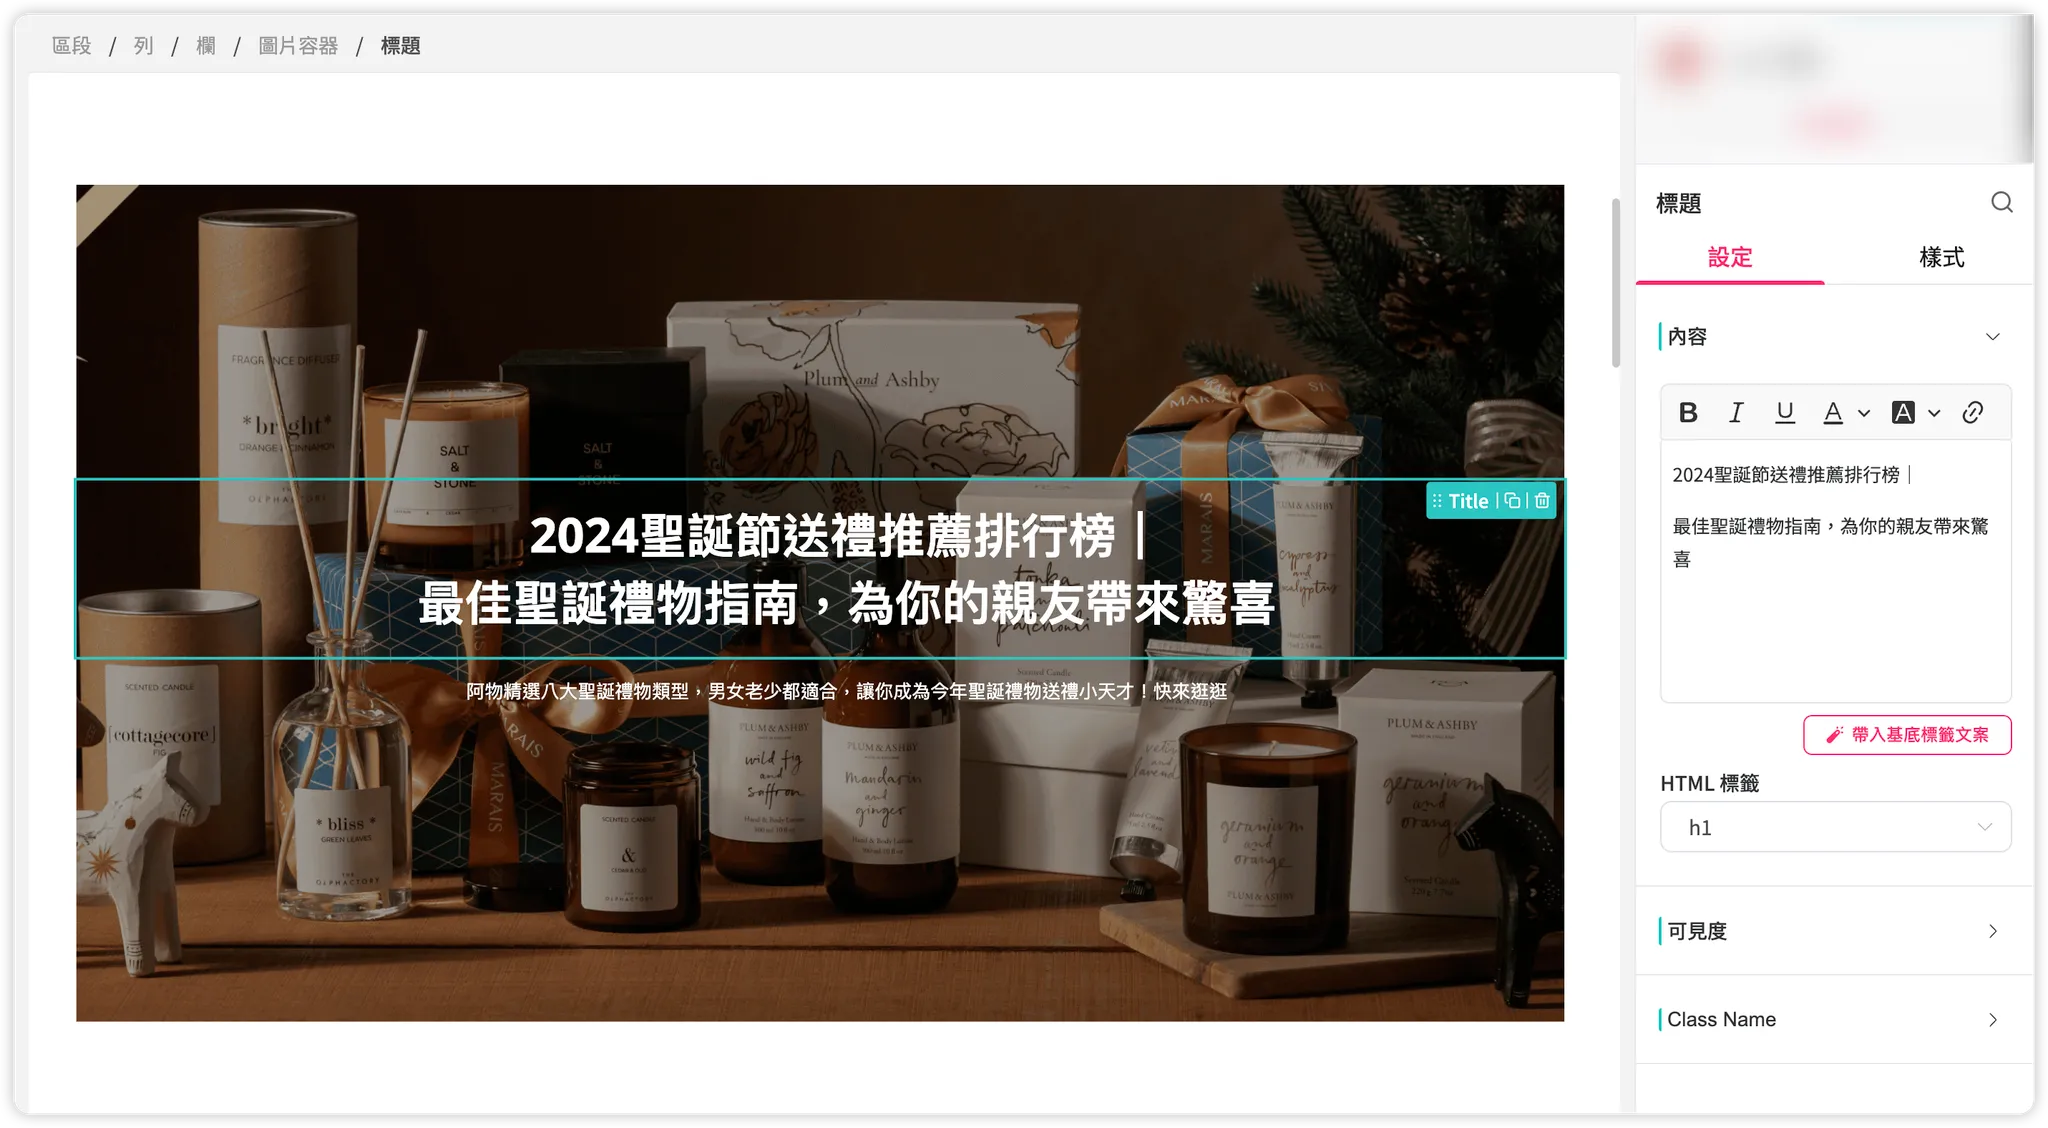
-
Adjust text alignment to "Left" and set left padding to "40px" in the [Style] tab.
Updated 8 months ago